


🚨 Need to create a standalone subscription in NetSuite? 🚨
This tutorial will guide you through the steps to set up a standalone subscription effectively. 💻📅
Step-by-Step Guide 📋
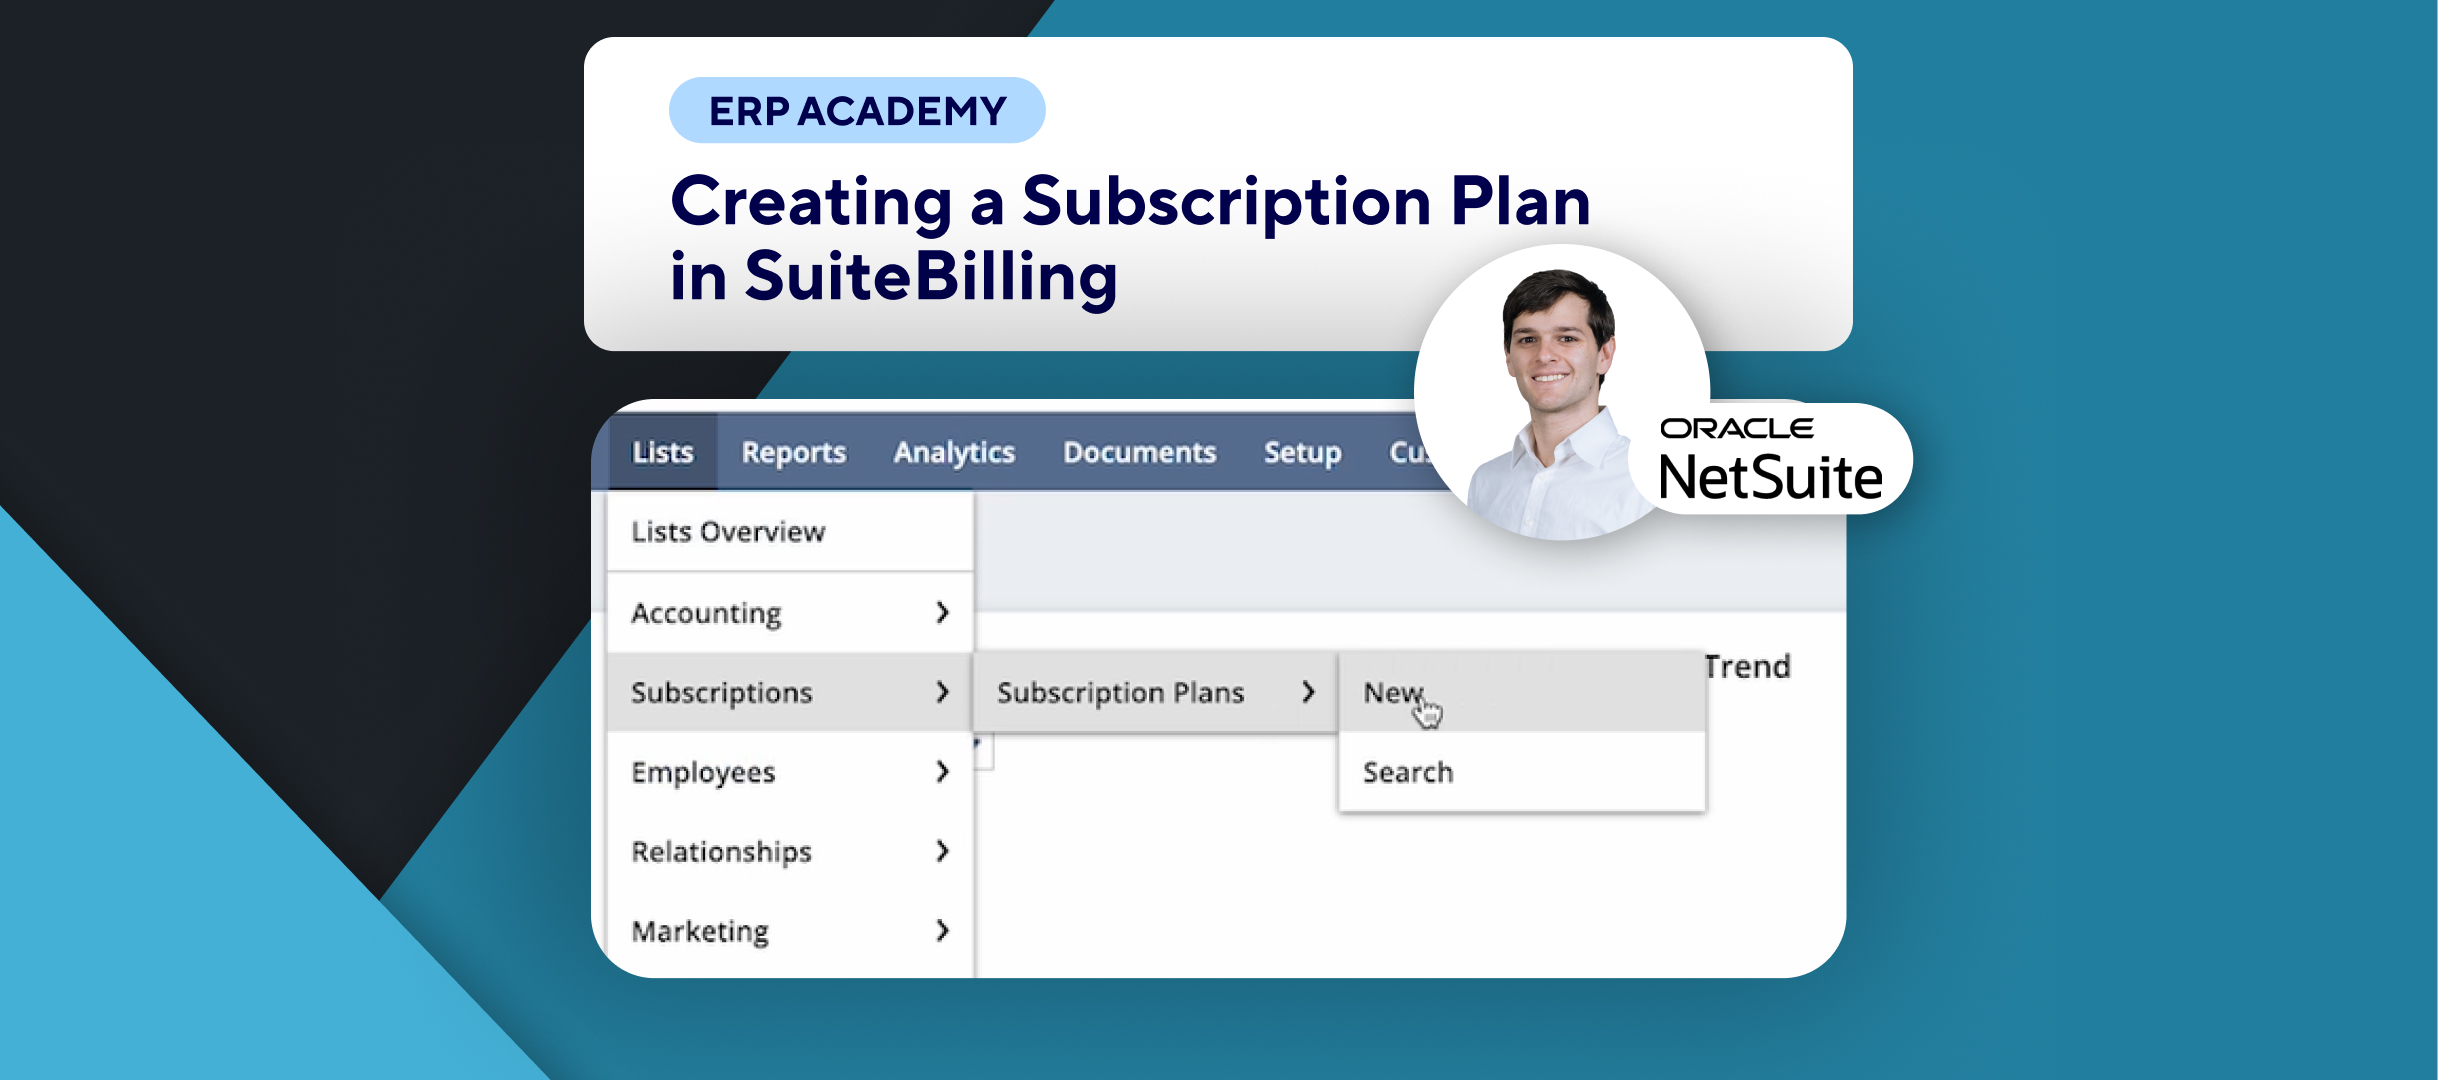
- Navigate to Create Subscriptions
- First, go to Transactions, then Subscriptions, and select Create Subscriptions. 🗂️
- Fill Out Key Fields
- You will need to fill out some key fields. 📝
- Select Customer
- In the Customer field, select the customer for whom you’re creating the subscription (e.g., “About The Cloud”). 👤
- You can create a new customer if needed.
- Autofill Fields
- After selecting the customer, NetSuite will autofill the Subsidiary and Currency fields according to the customer settings. 💱
- You can also select a Subsidiary if applicable.
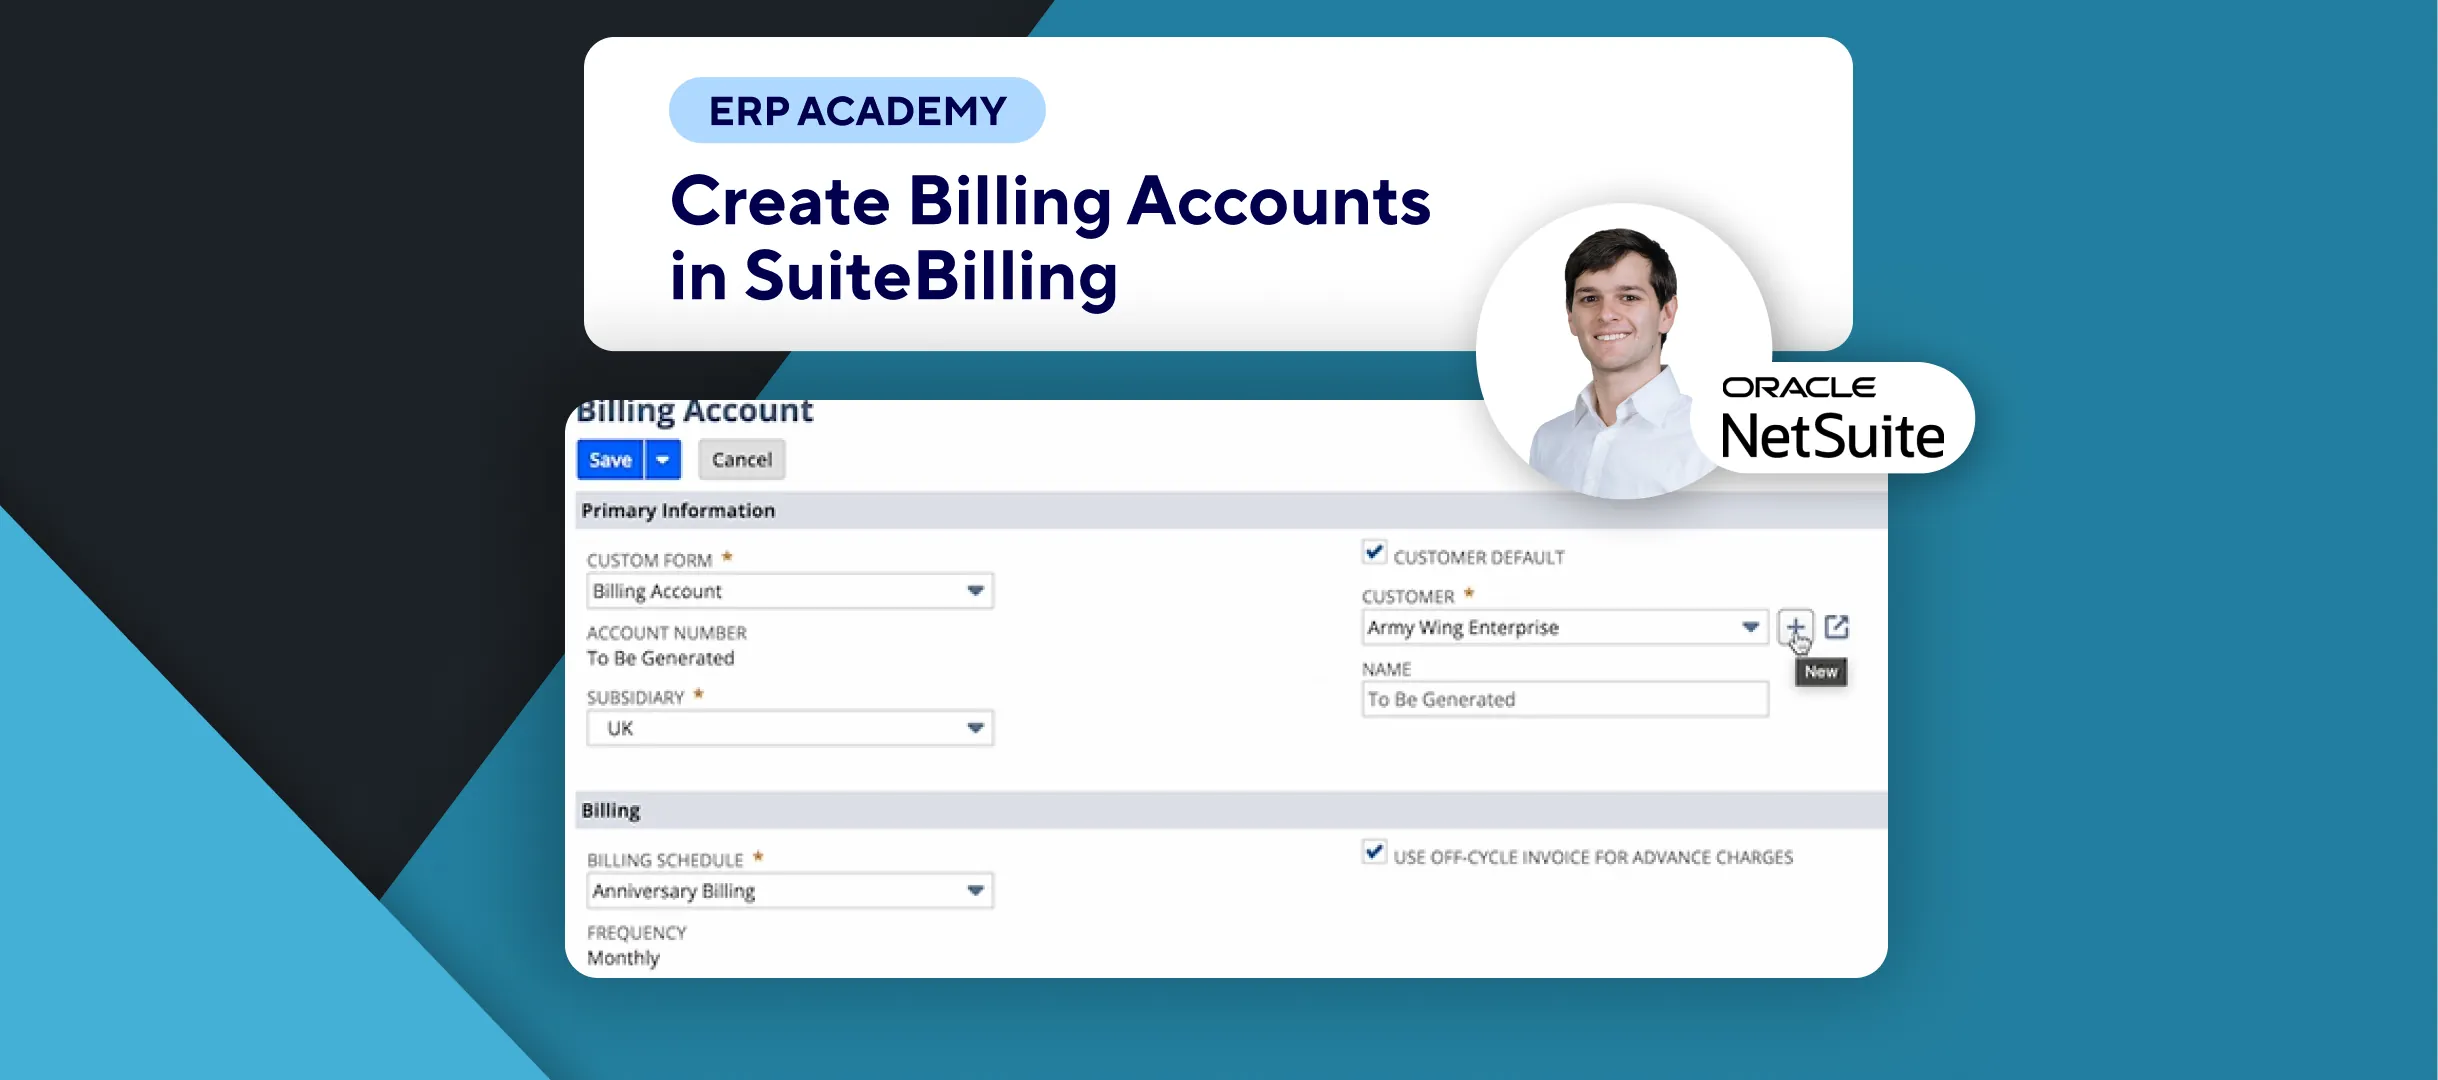
- Create Billing Account
- You can create a new Billing Account if required. 🏦
- Note that you cannot activate the subscription until the Billing Account matches the Customer, Subsidiary, and Currency values.
- Select Subscription Plan
- In the Plan and Term, select a Subscription Plan (e.g., “Consumption Plan”). 📅
- Only plans with matching Currency and Subsidiary values will be available.
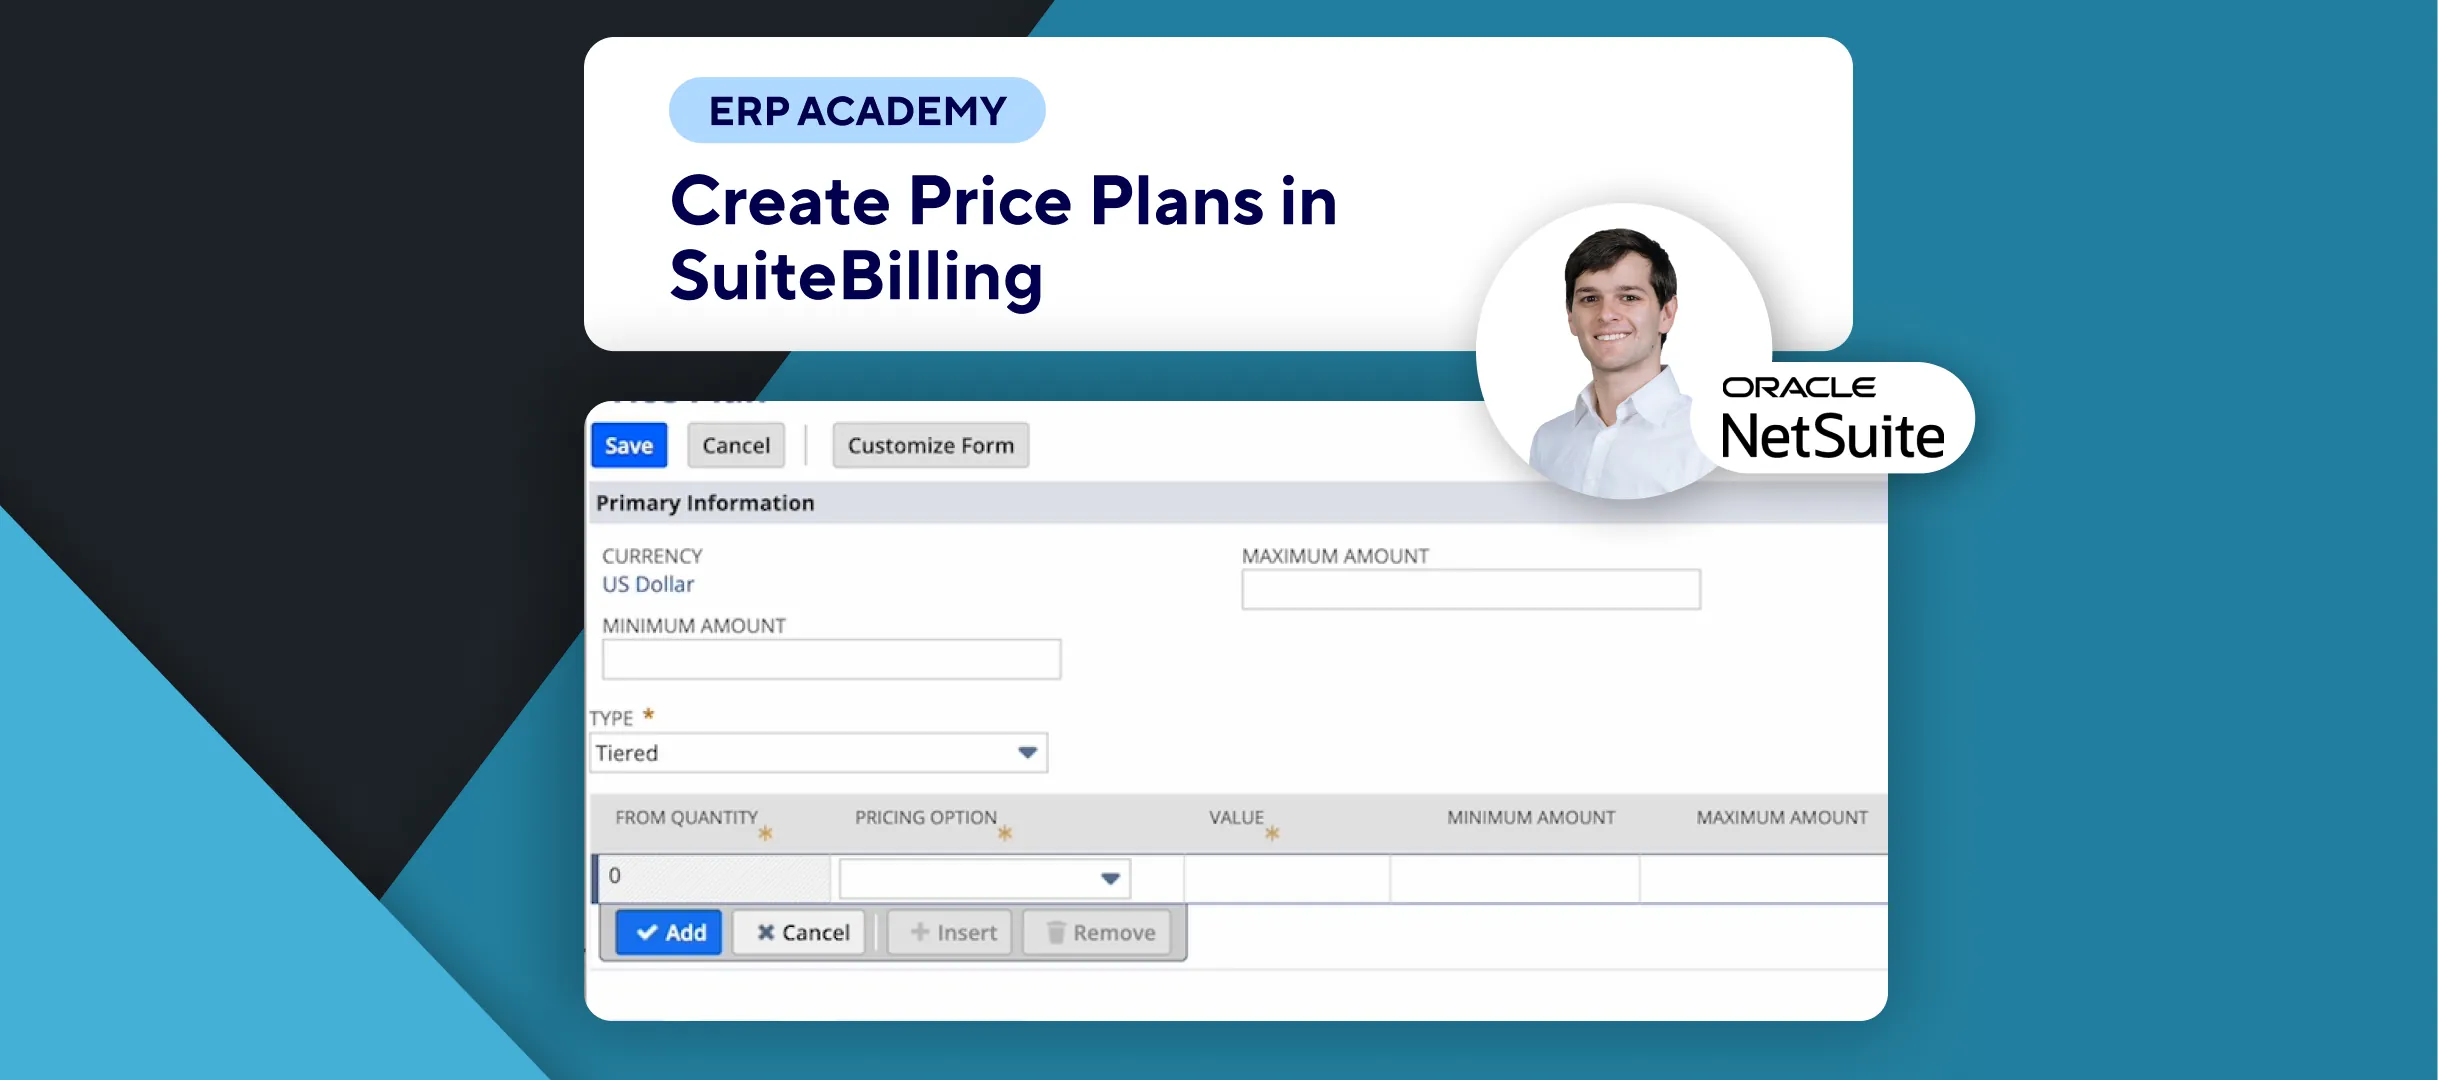
- Choose Price Book
- If needed, select a Price Book from the list. 💰
- The options available may vary based on your subscription plan.
- Define Subscription Details
- On the right-hand side, specify the Start Date (default is today’s date). 🗓️
- Optionally, define Class, Department, and Location for reporting purposes.
- Add-On Items and Discounts
- You can define one or more add-on items and apply discounts as needed. 🎁
- Discounts can apply to one-time usage, commitments, overages, and recurring subscription line items.
- Advanced Revenue Recognition
- If enabled, set your revenue recognition option accordingly. 💹
- You can define an Uplift Percentage if you want to increase pricing at renewal.
- Save Subscription
- Once you’re happy with everything, click Save in the bottom left or top left. 💾
- Remember to activate each line individually after creating the subscription.
Congratulations! 🎊 You’ve successfully created a standalone subscription in SuiteBilling! 🌟🎉
If you found this tutorial helpful, please subscribe to this channel for more tips and tutorials. Visit www.kolleno.com for more tools to enhance your accounting processes! 🎥✨