


🚨 Problem: Need to create subscription plans in NetSuite but not sure how? 🚨
This tutorial will guide you through the steps to create subscription plans in NetSuite, enabling seamless management of your recurring services. 📅💼
Step-by-Step Guide 📋
1. Introduction to Subscription Plans
- A subscription plan consists of various items such as recurring services, usage, commit plus overage, and one-time charges. 💡
- You can simplify the process by using add-on item lines without needing a full plan or price book.
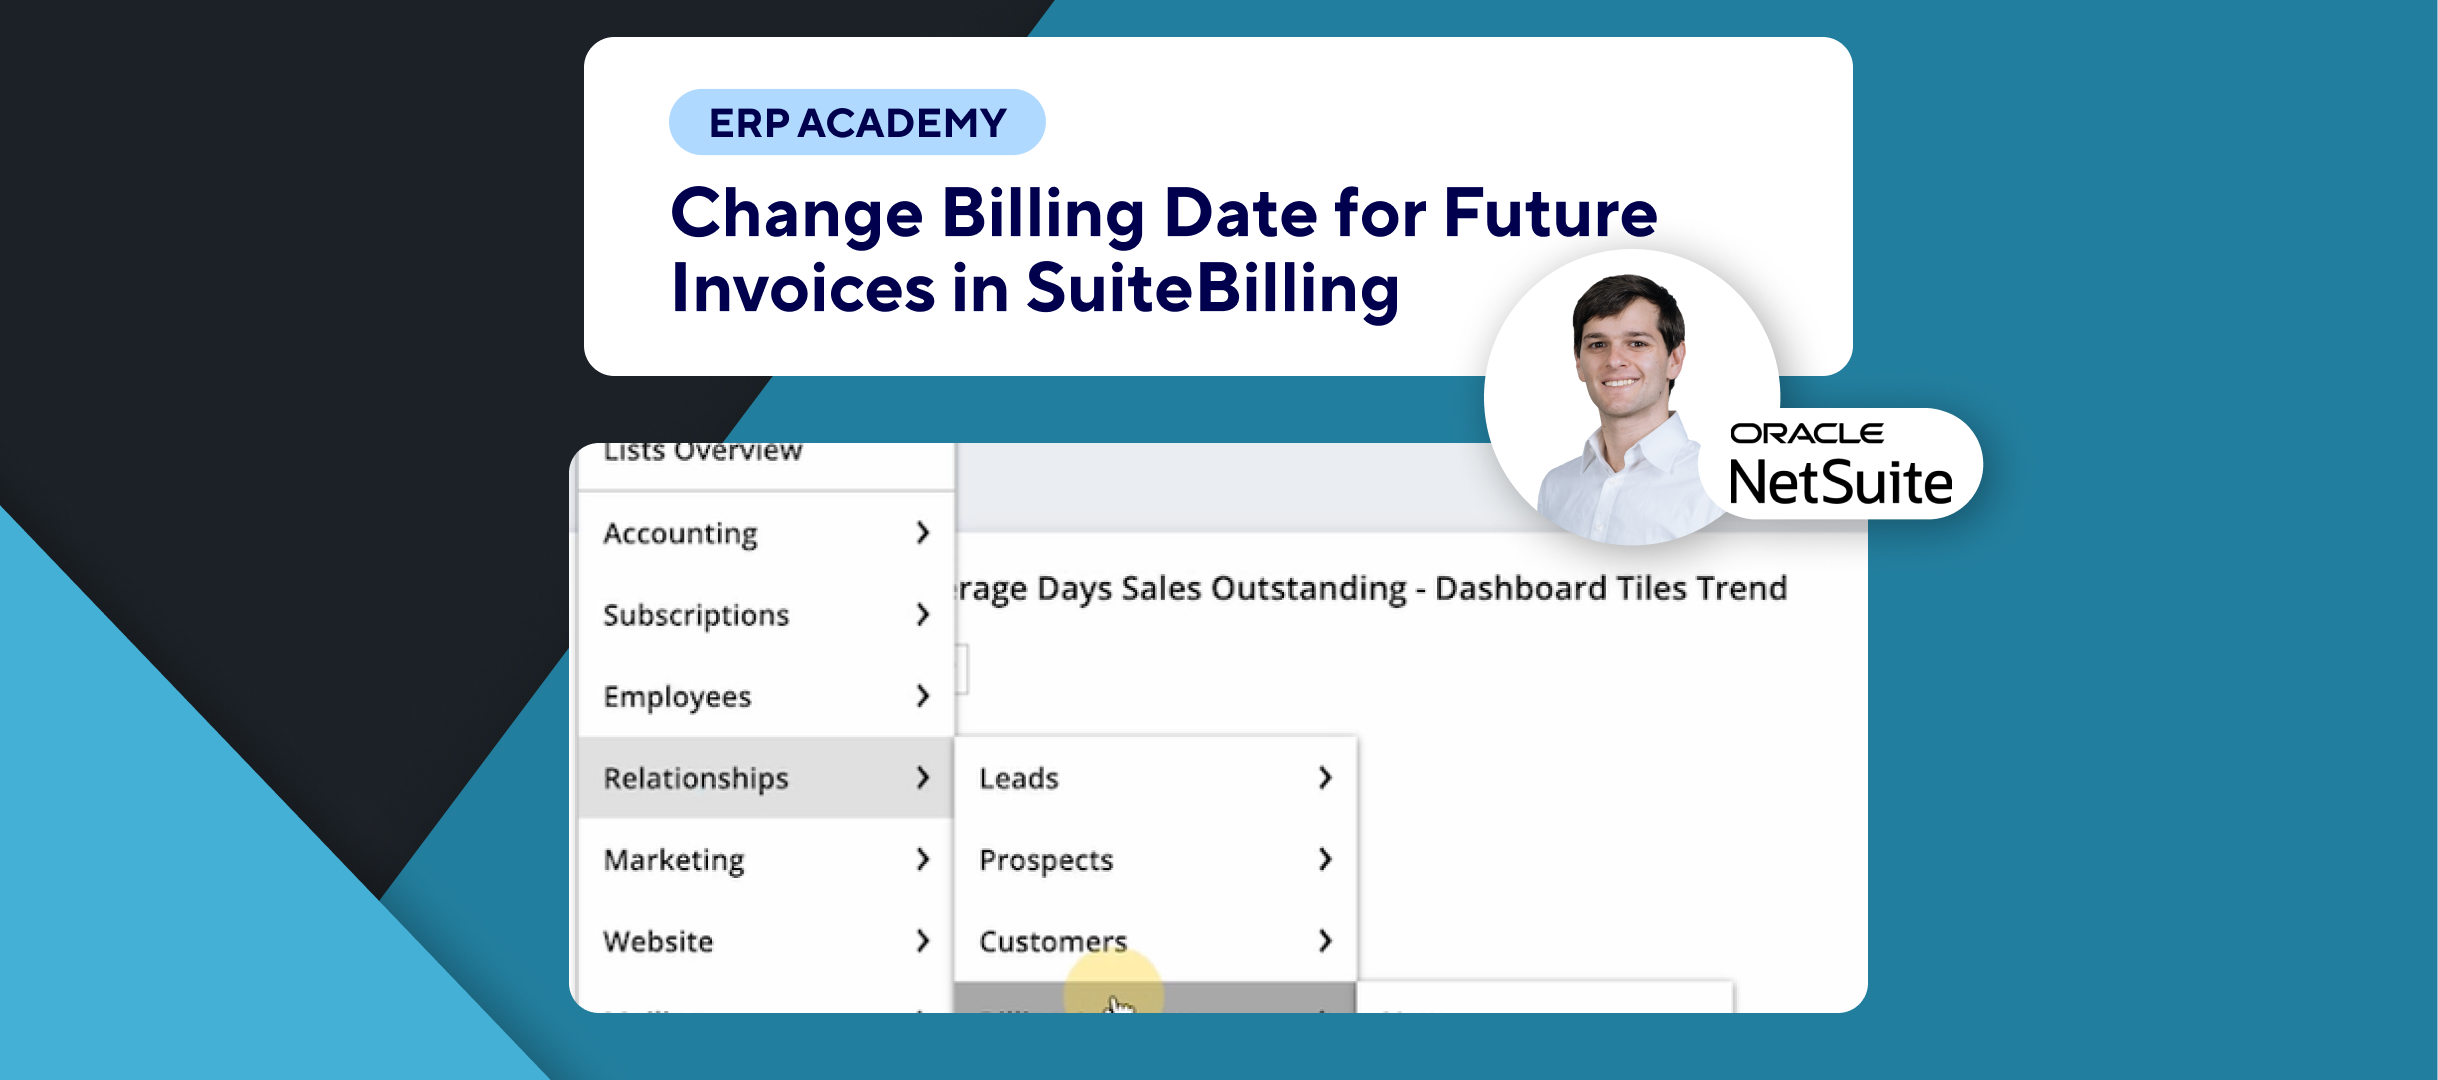
2. Navigate to Subscription Plans
- Go to Lists > Subscription > Subscription Plans > New to create a new subscription plan. 🔍
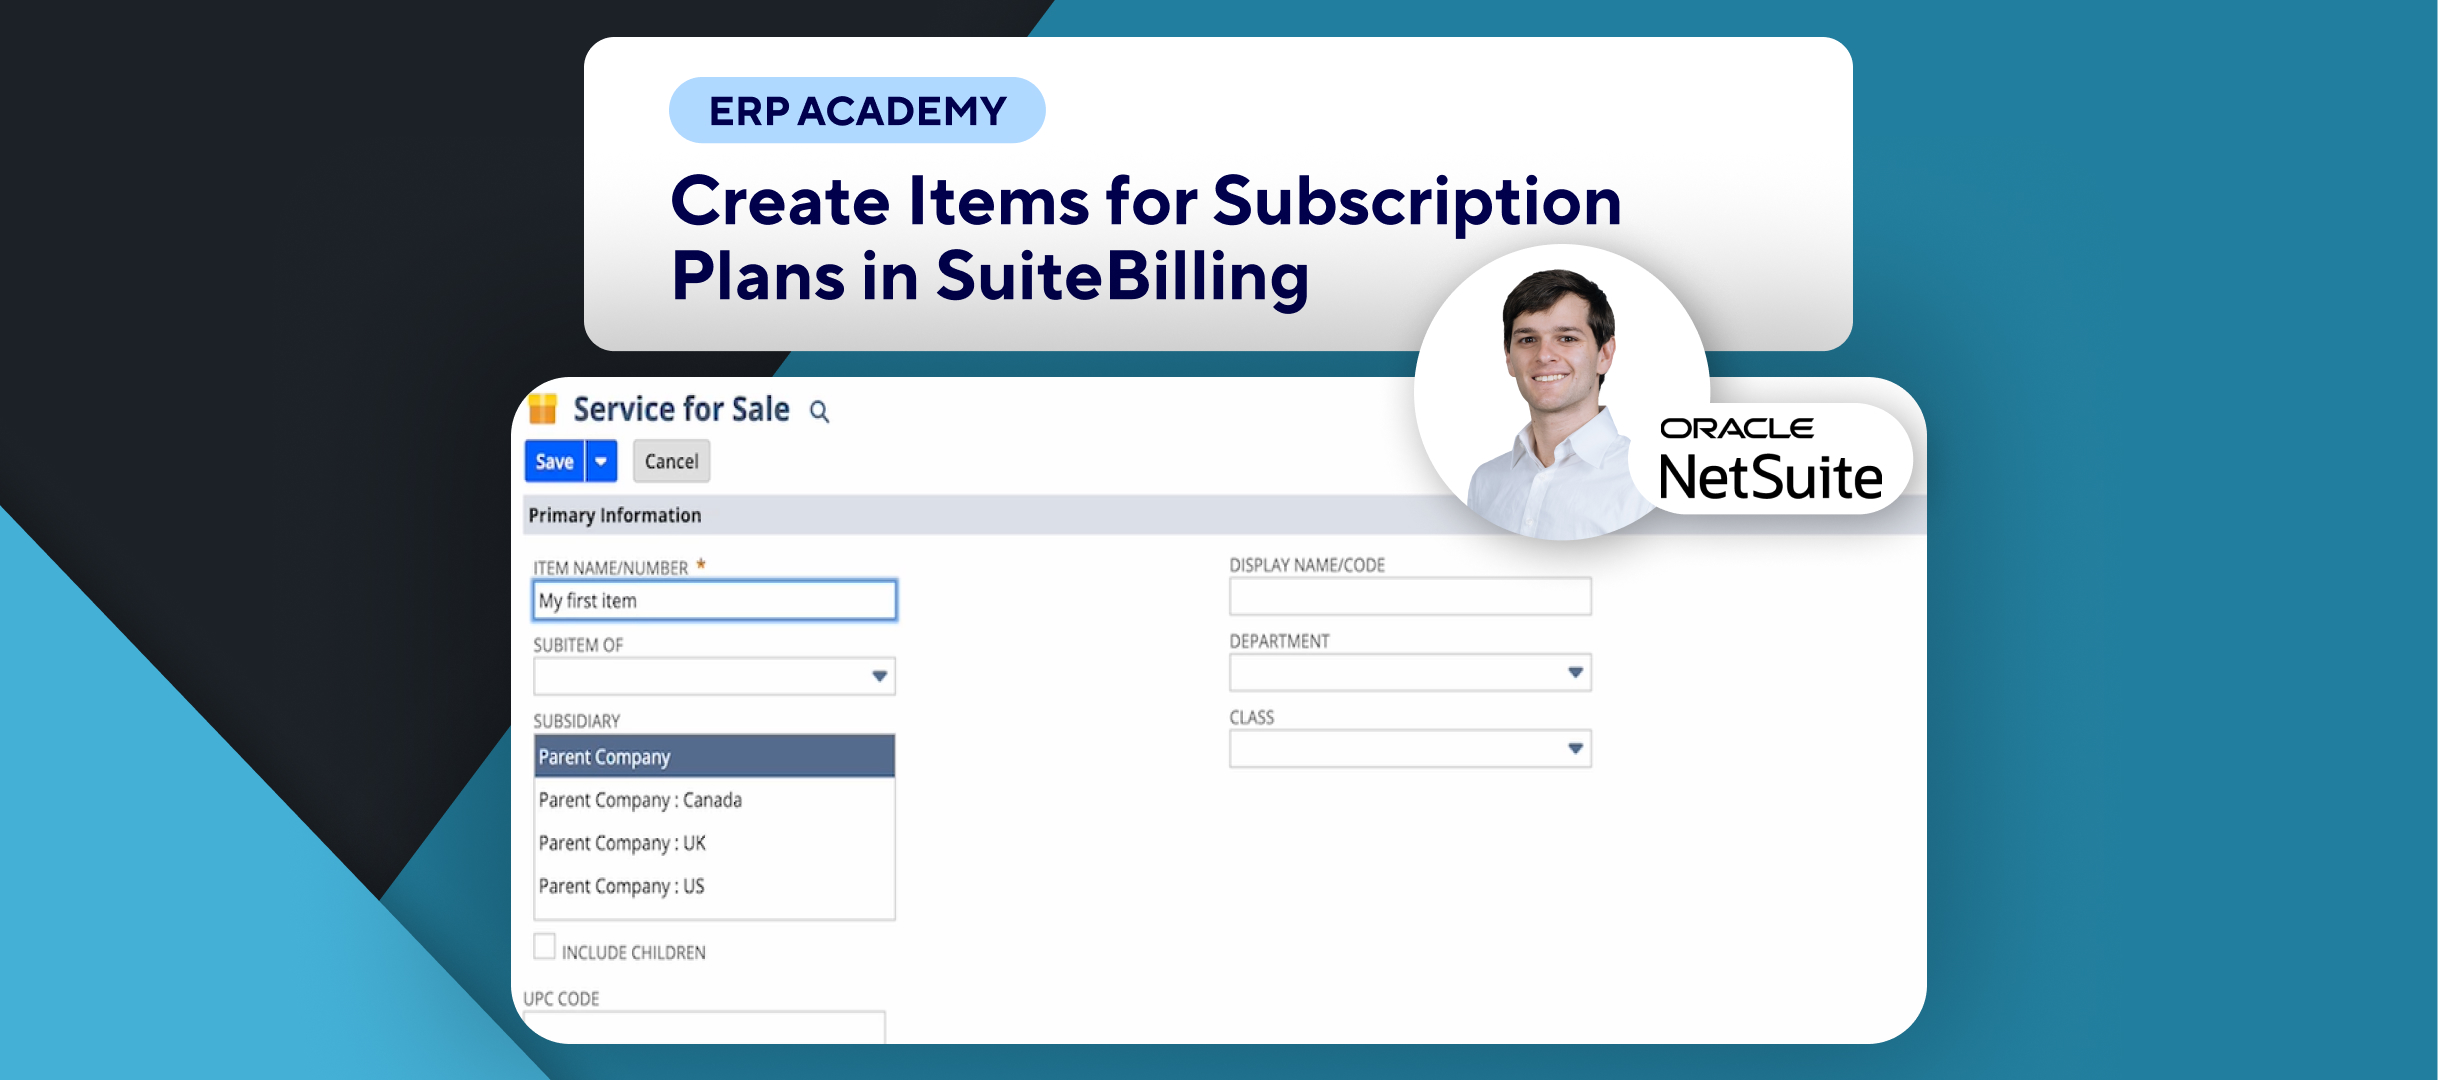
3. Enter Subscription Plan Details
- In the Name field, enter a name for your plan (e.g., “My First Plan”). ✏️
- Select the Initial Terms (e.g., one year) from the dropdown menu. 📅
- Various options are available for the subscription term length.
4. Understand Subscription Term Options
- The standard term aligns all items based on the subscription start date and indicated term.📅
- For custom terms, set the subscription level end date, which defines the end date for all items.
- Note that one-time subscription lines are only active for one day.⚠️
- The subscription level end date for custom terms remains editable until any subscription line becomes active.🔄
5. Evergreen Term Setup
- The evergreen term allows revenue to continue for two years unless the invoicing preference is extended. ⏳
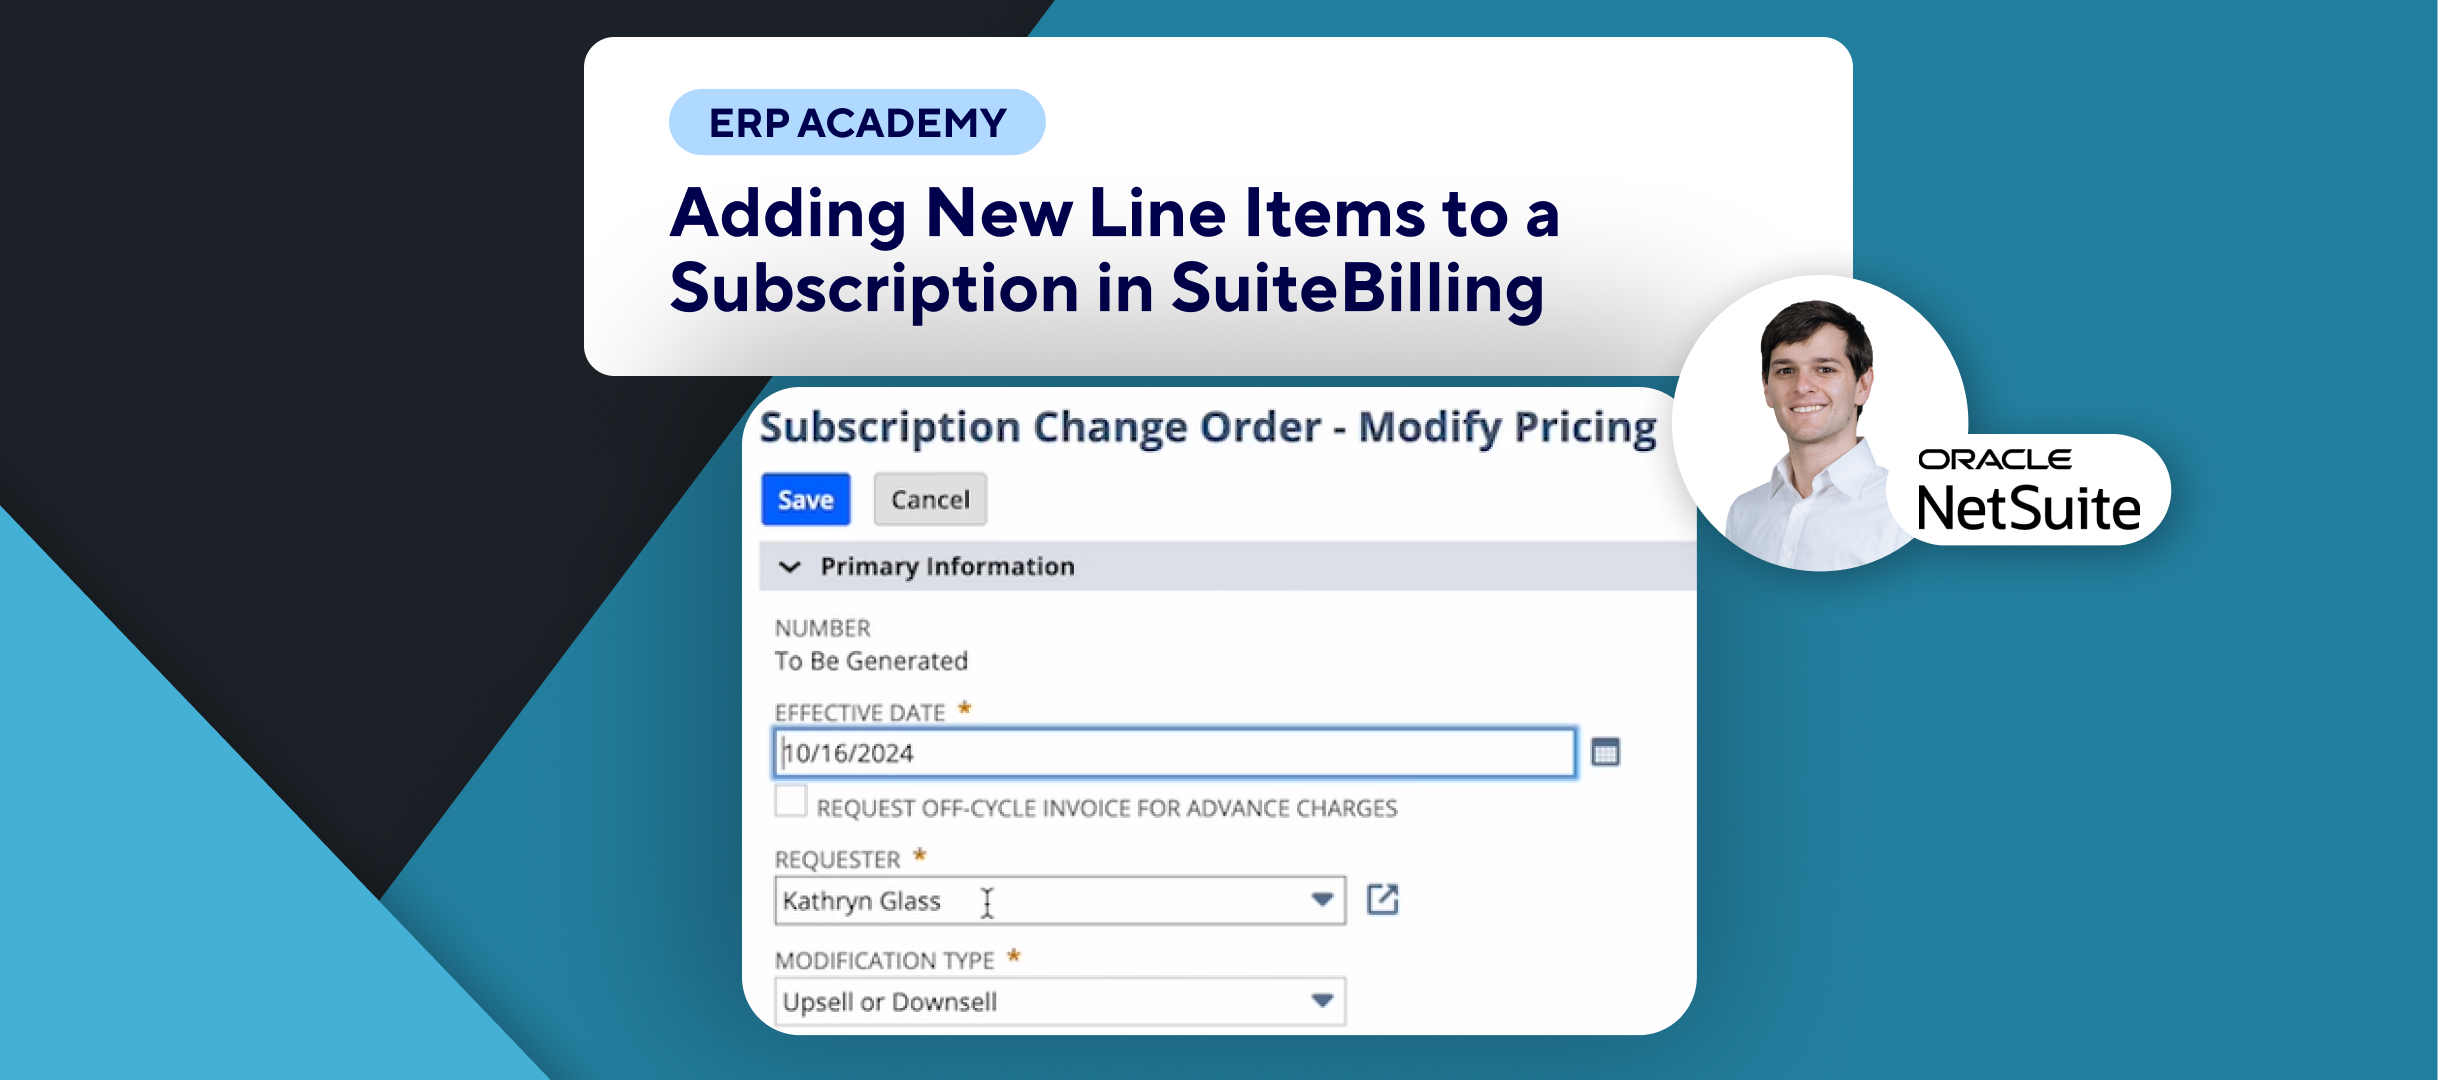
6. Configure Line Items
- In the Line subtab, select items in the Item column. 🛠️
- Specify if the item is Required or optional.✔️
- Choose the Type (options include one-time, recurring, usage, commit-plus overage).🔍
- Set the Billing Mode to either in advance or in arrears.💳
7. Include Renewal Preferences
- You can choose to include items in renewal subscriptions and set the Prorate Start Date and Prorate End Date if necessary. 🔄
8. Adding Items to Subscription Plan
- Click on Add for each item line to include them in the subscription plan. Repeat this for all necessary items. ➕
9. Set Renewal Preferences
- On the Renewal subtab, set preferences for automatic renewal and uplift pricing, if enabled. 📈
- Define price increases at renewal using the uplift percentage and frequency fields.
10. Price Book Setup
- After setting up your subscription plan, a Price Book subtab will become available, allowing you to create a price plan for each item. 💰
Congratulations! 🎊By following these steps, you’ll be able to successfully create a subscription plan in SuiteBilling! 💰📈
If you found this tutorial helpful, please subscribe to this channel for more tips and tutorials. Visit www.kolleno.com for more tools to enhance your accounting processes! 🎥✨