


🚨 Problem: Need to create a price book for subscription plans in NetSuite? 🚨
This tutorial will walk you through the steps of creating a price book essential for your subscription plans in NetSuite, ensuring effective pricing management. 📚✨
Step-by-Step Guide 📋
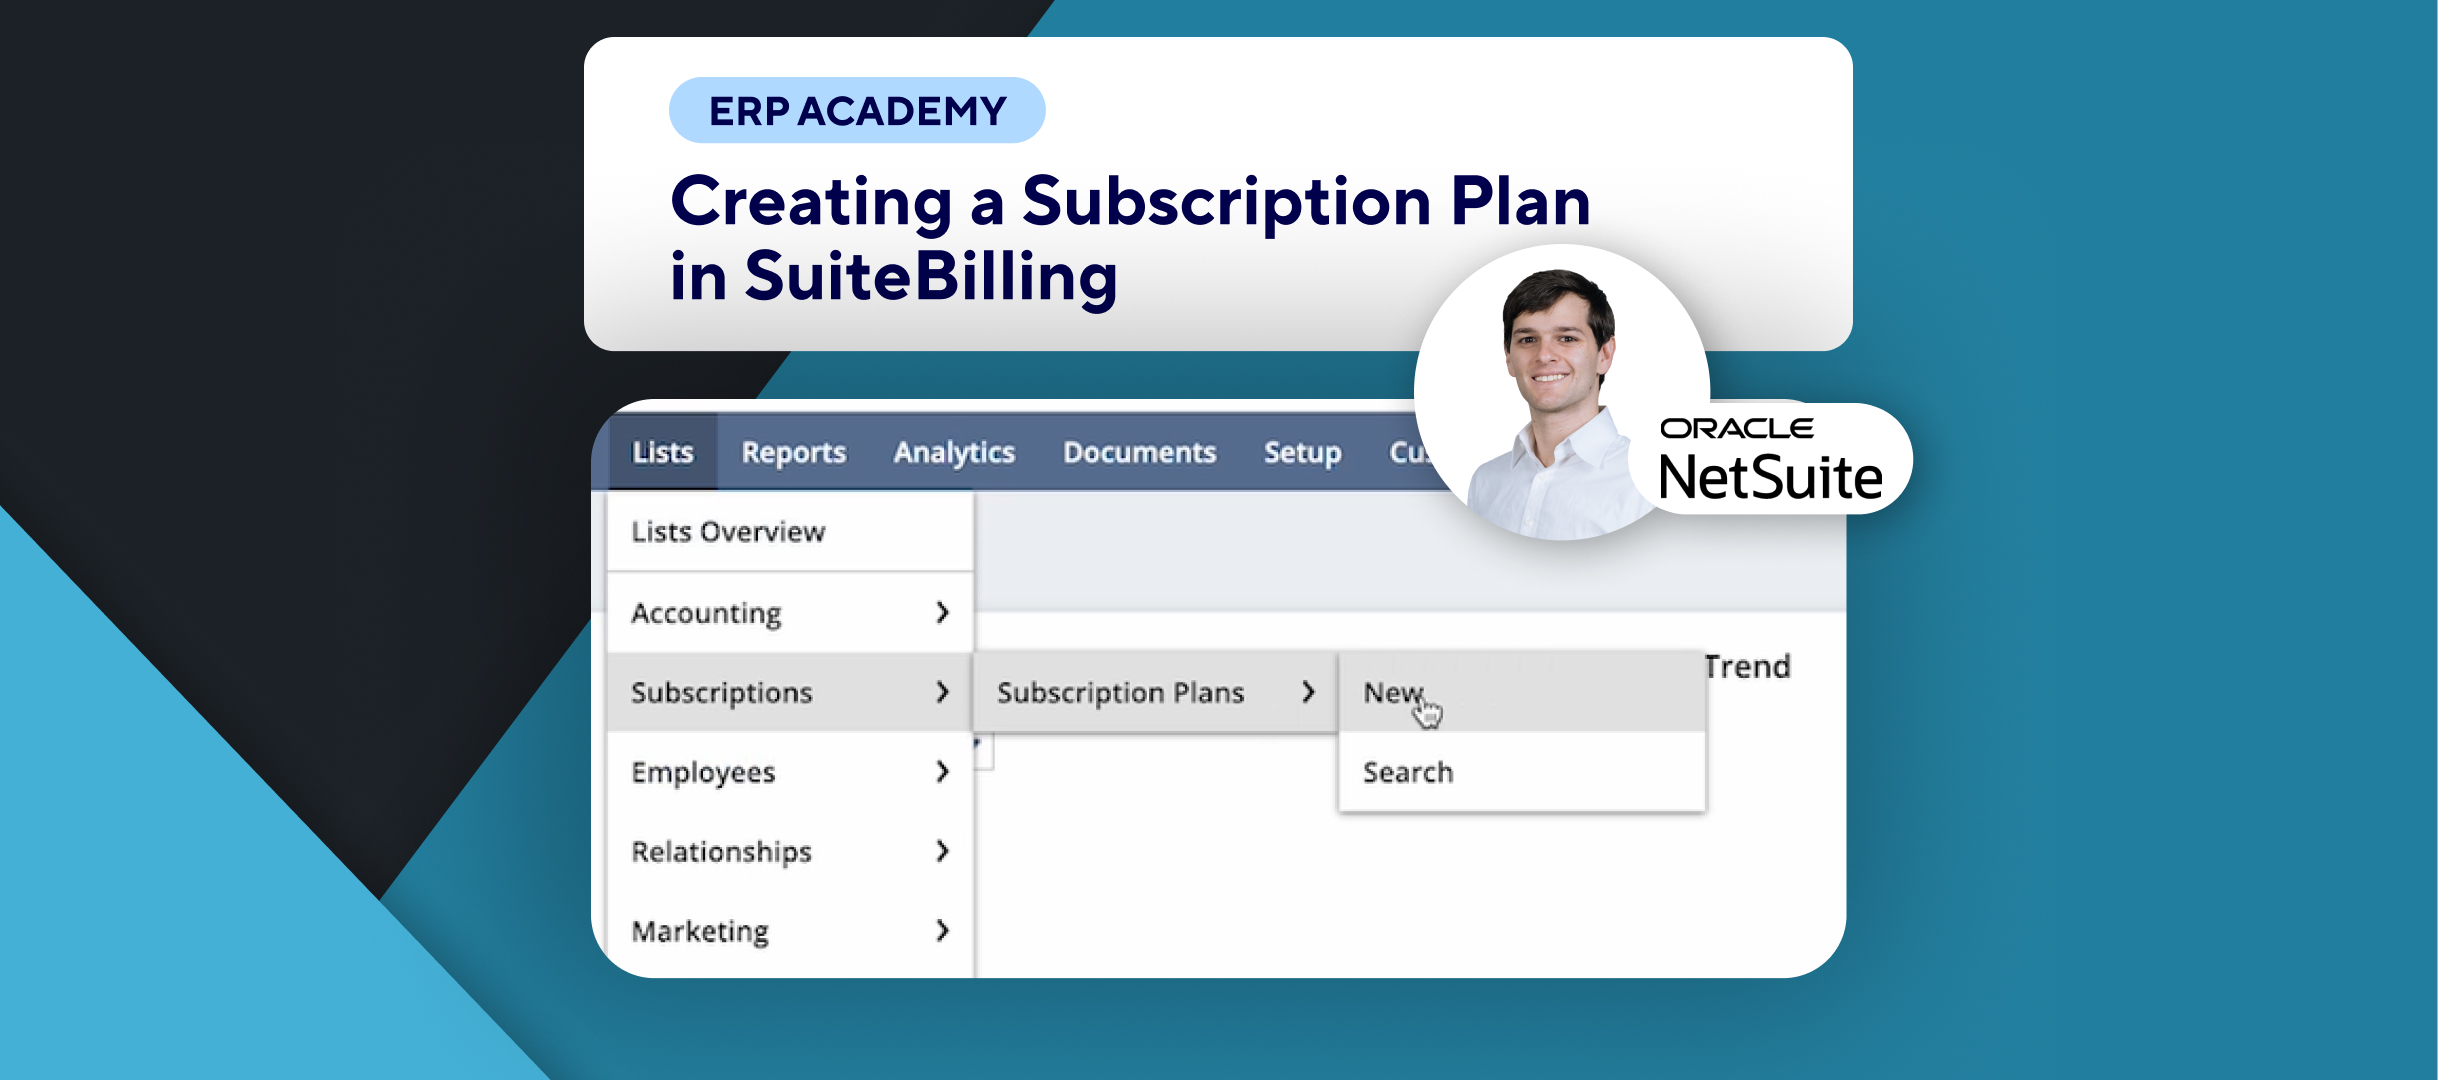
- Navigate to Subscription Plans
- First, we will go to Lists > Subscriptions > Subscription Plans. 📜
- Then we will find the subscription plan we created earlier in another video and click on View. 👀
- Open Price Books Tab
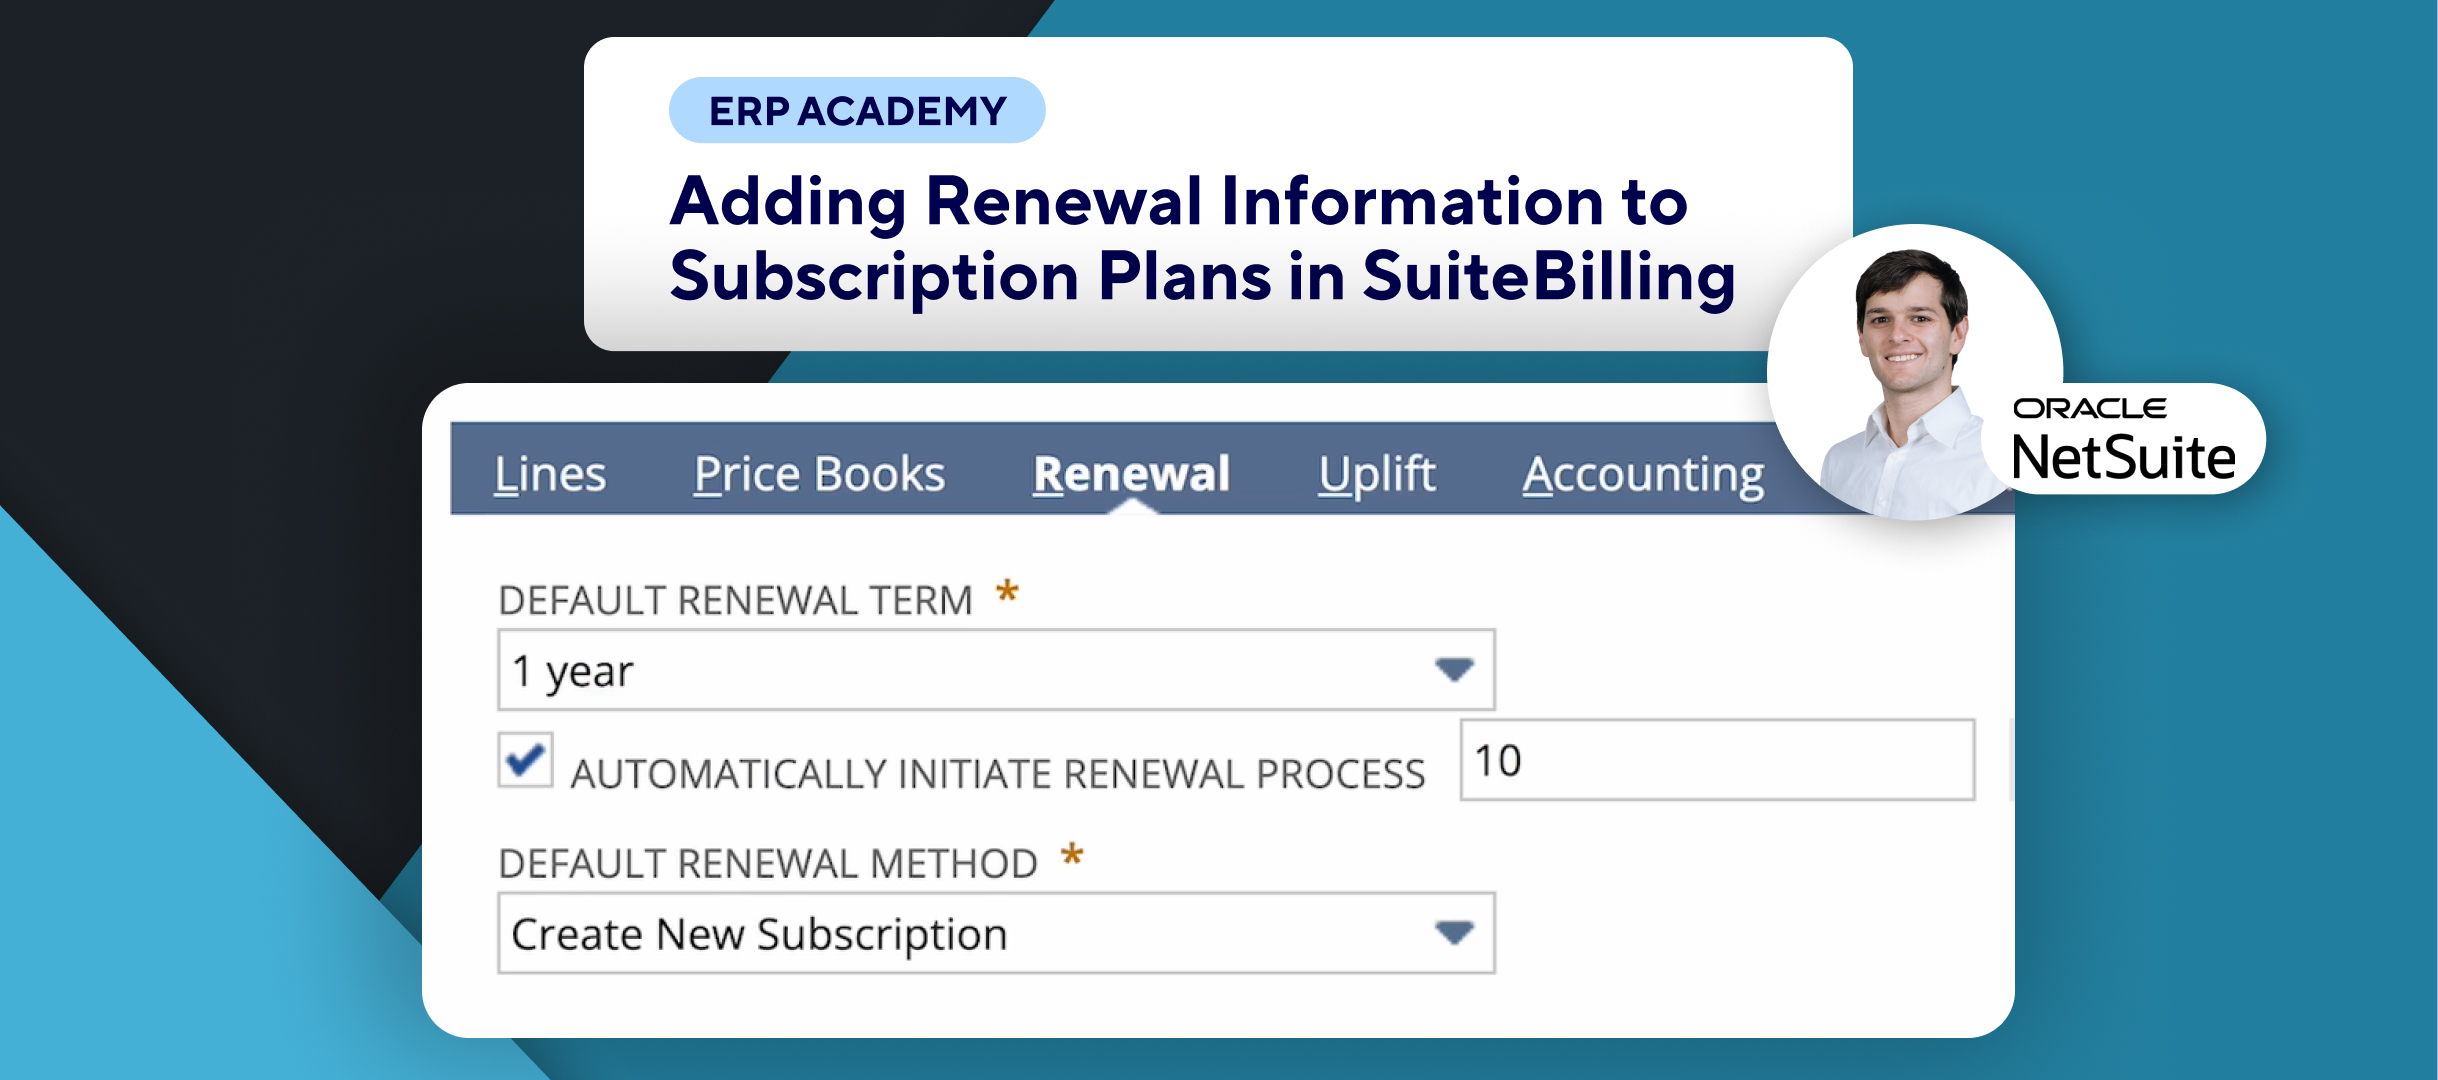
- Here, we will go to the Price Books tab. 💼
- Click on New Price Book to create a new price book. ➕
- Create New Price Book
- A pop-up will appear; give it a name (e.g., “My First Price Book”). 🏷️
- Choose the corresponding currency (e.g., US Dollar). 💵
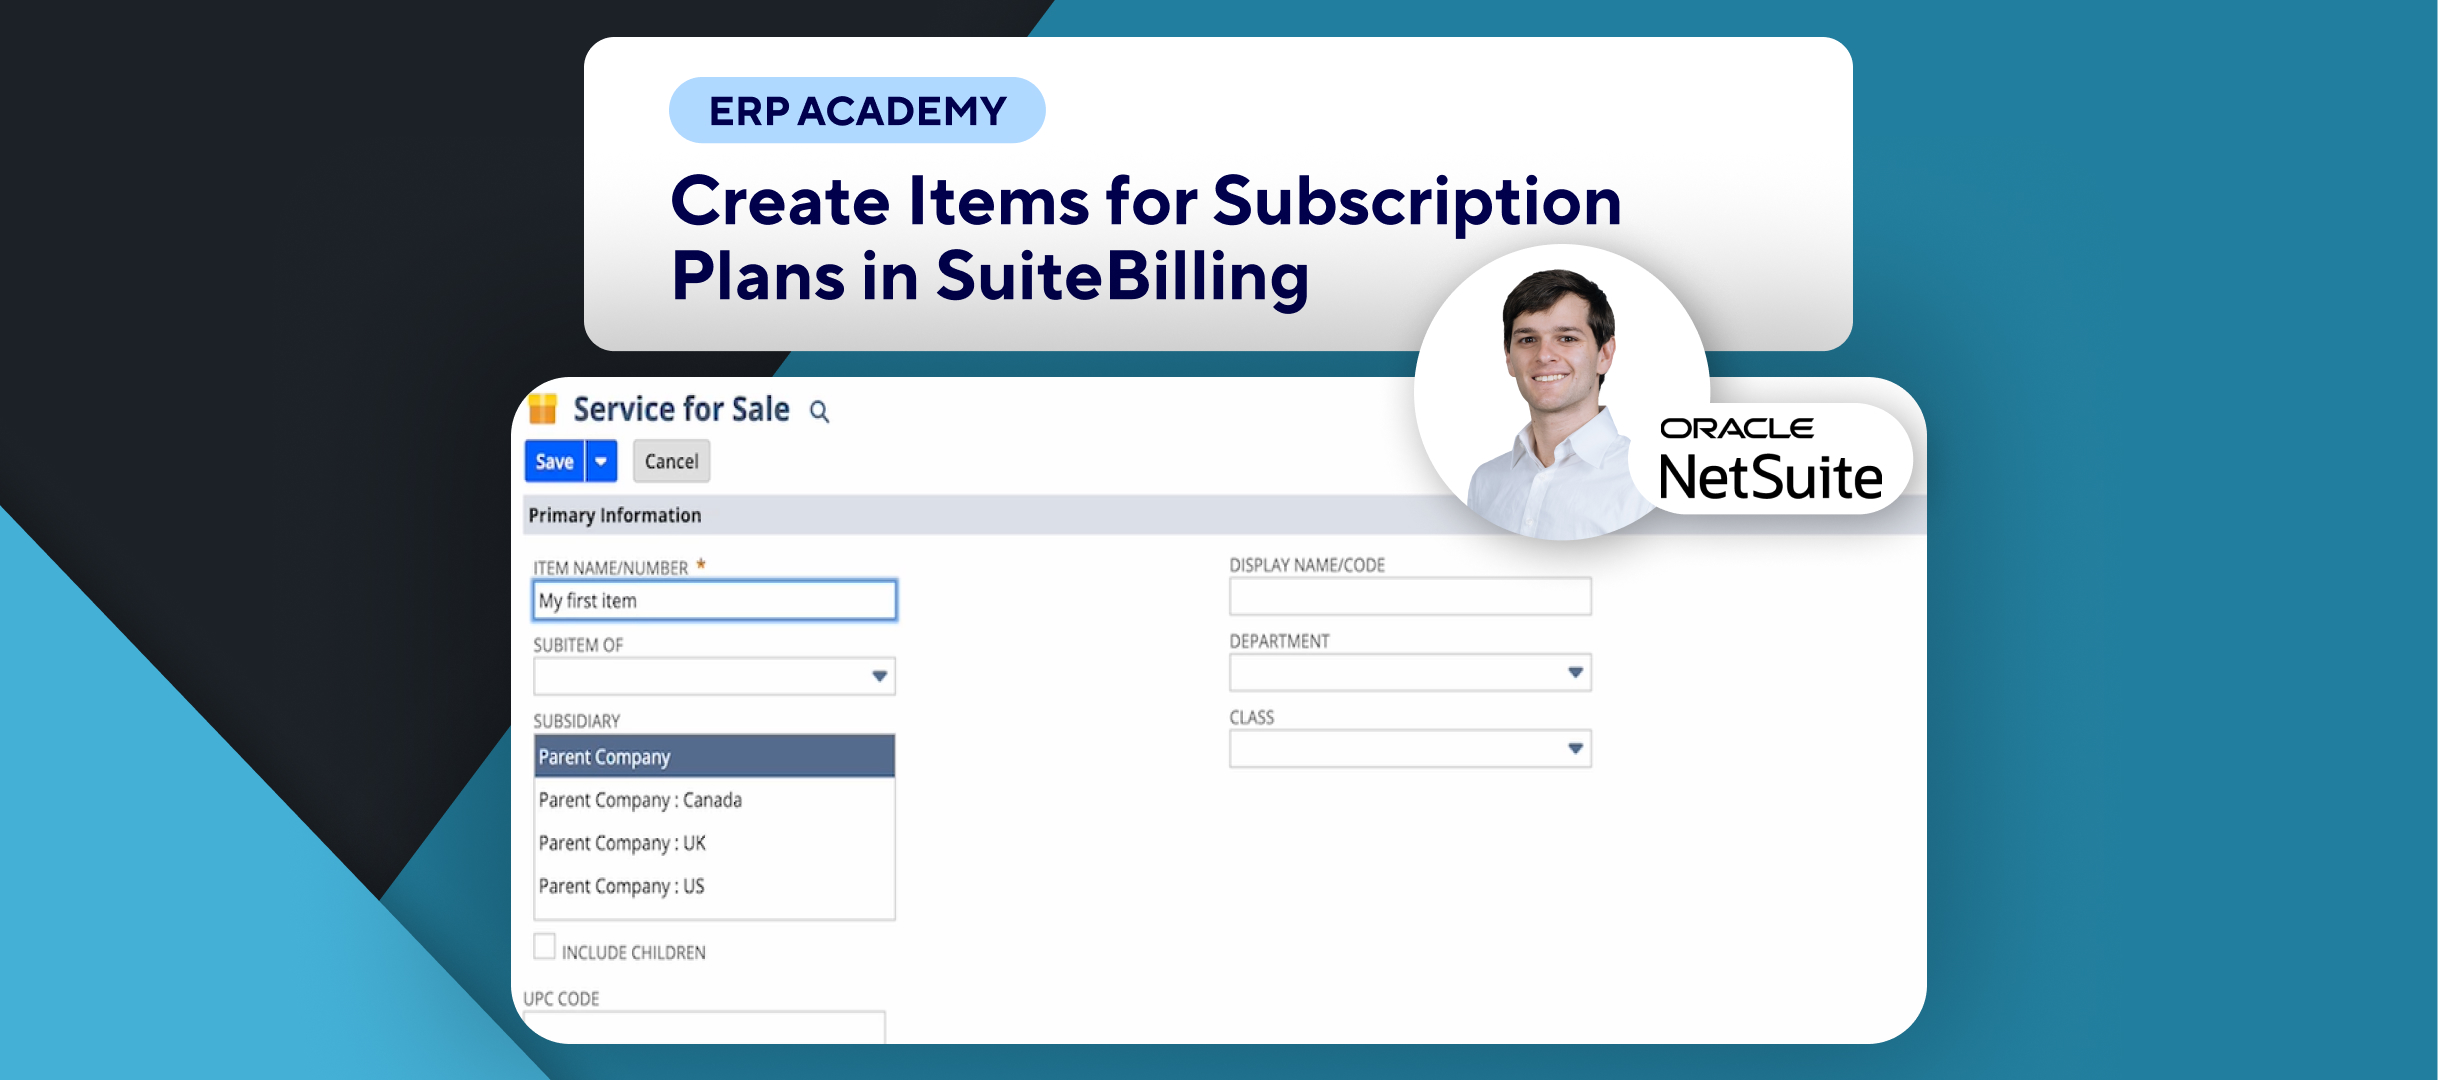
- Under the Price Book Lines subtab, click on the edit icon next to the item to create a price plan for each item in your subscription plan. ✏️
- Complete Required Fields
- A new pop-up will open, where you need to complete all required fields, such as interval and start date. 📅
- (In another video, I tell you exactly how to create the price plans, but here we’re just focusing on the price book part.) 🔍
- Review Price Plan
- Now we have a price plan, as you can see here. ✅
- If you find this tutorial helpful, don’t forget to subscribe to this channel for more NetSuite insights. 🔔
- Choose Billing Frequency
- On this screen, you have different options. 🛠️
- First, choose the Interval field to select the billing frequency (e.g., month, week, year). 📆
- There’s also a Discount field where you can set either a percentage or a flat discount. 💸
- Set Charge Frequency
- Specify the Charge Frequency (e.g., monthly or annually) and how often the charge should occur using the Repeat Every field. 🔁
- On the right-hand side, you will see the Prorate By field where you can select how you want to prorate the charges. ⚖️
- Repeat Steps for All Items
- You simply repeat these steps for all the items in your price books. 📜
- Here I have only one item, so it’s pretty easy. 😊
- Finalize Price Book
- Click OK once done. ✔️
- After all items are in your price books, click on Save to finalize the price book. 💾
- Optimize Invoices
- To manage the invoices that will be generated by Suite Billing, Kolleno can help you optimize that with the Suite app seamlessly integrated with NetSuite. 🤝
Congratulations! 🎊By following these steps, you’ve successfully created a price book in SuiteBilling! 💰📈
If you found this tutorial helpful, please subscribe to this channel for more tips and tutorials. Visit www.kolleno.com for more tools to enhance your accounting processes! 🎥✨