🚨 Need to set up accounting periods in NetSuite? 🚨
This tutorial will show you how to set up accounting periods for a full year for subsidiaries in NetSuite.
Step-by-Step Guide 📋
- Introduction
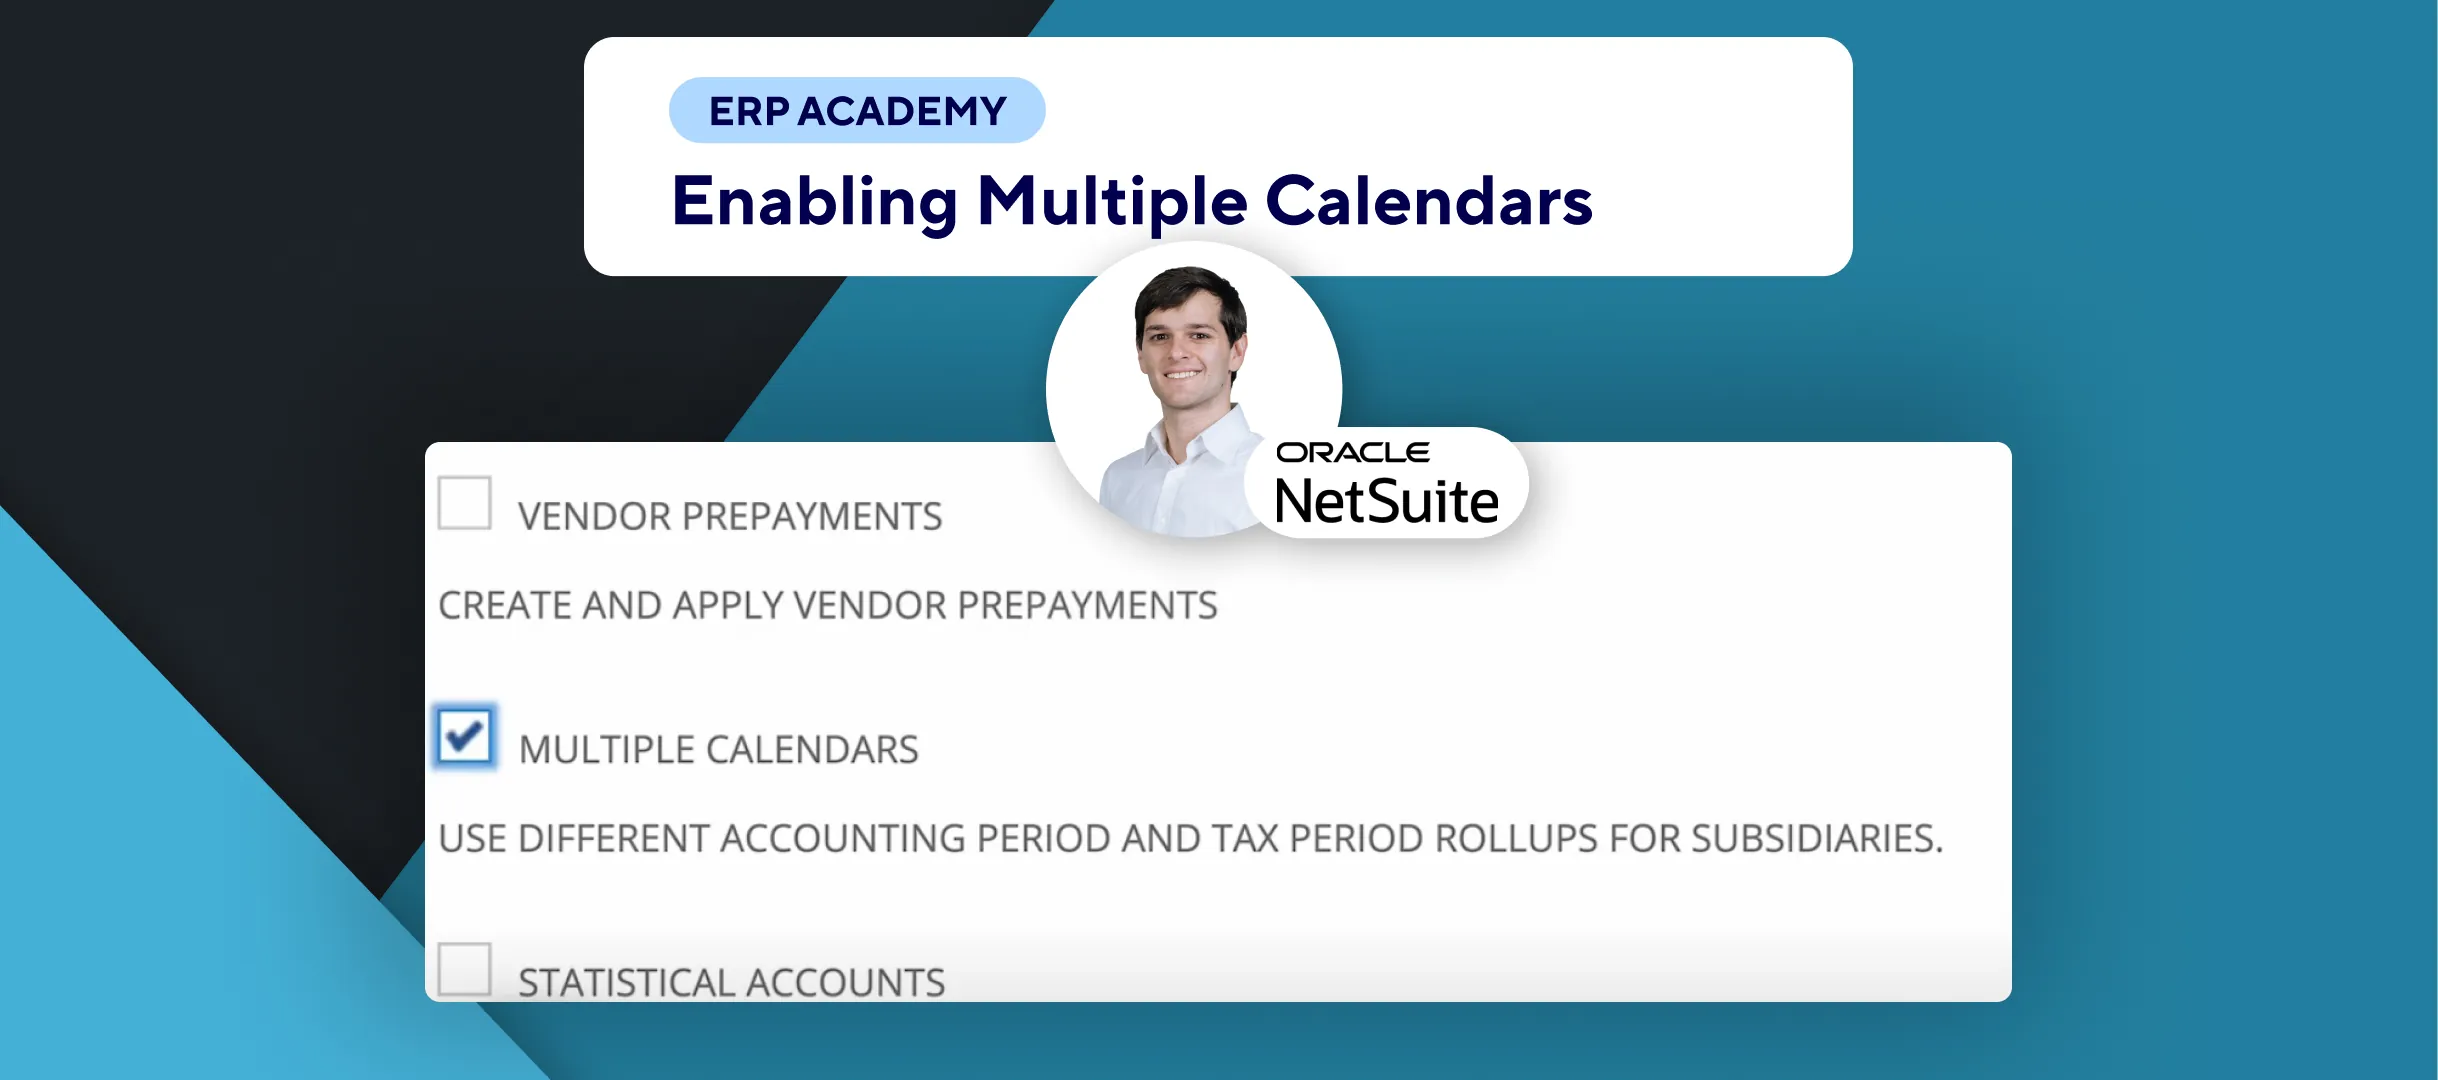
- Ensure you have the multiple calendars feature enabled.✔️
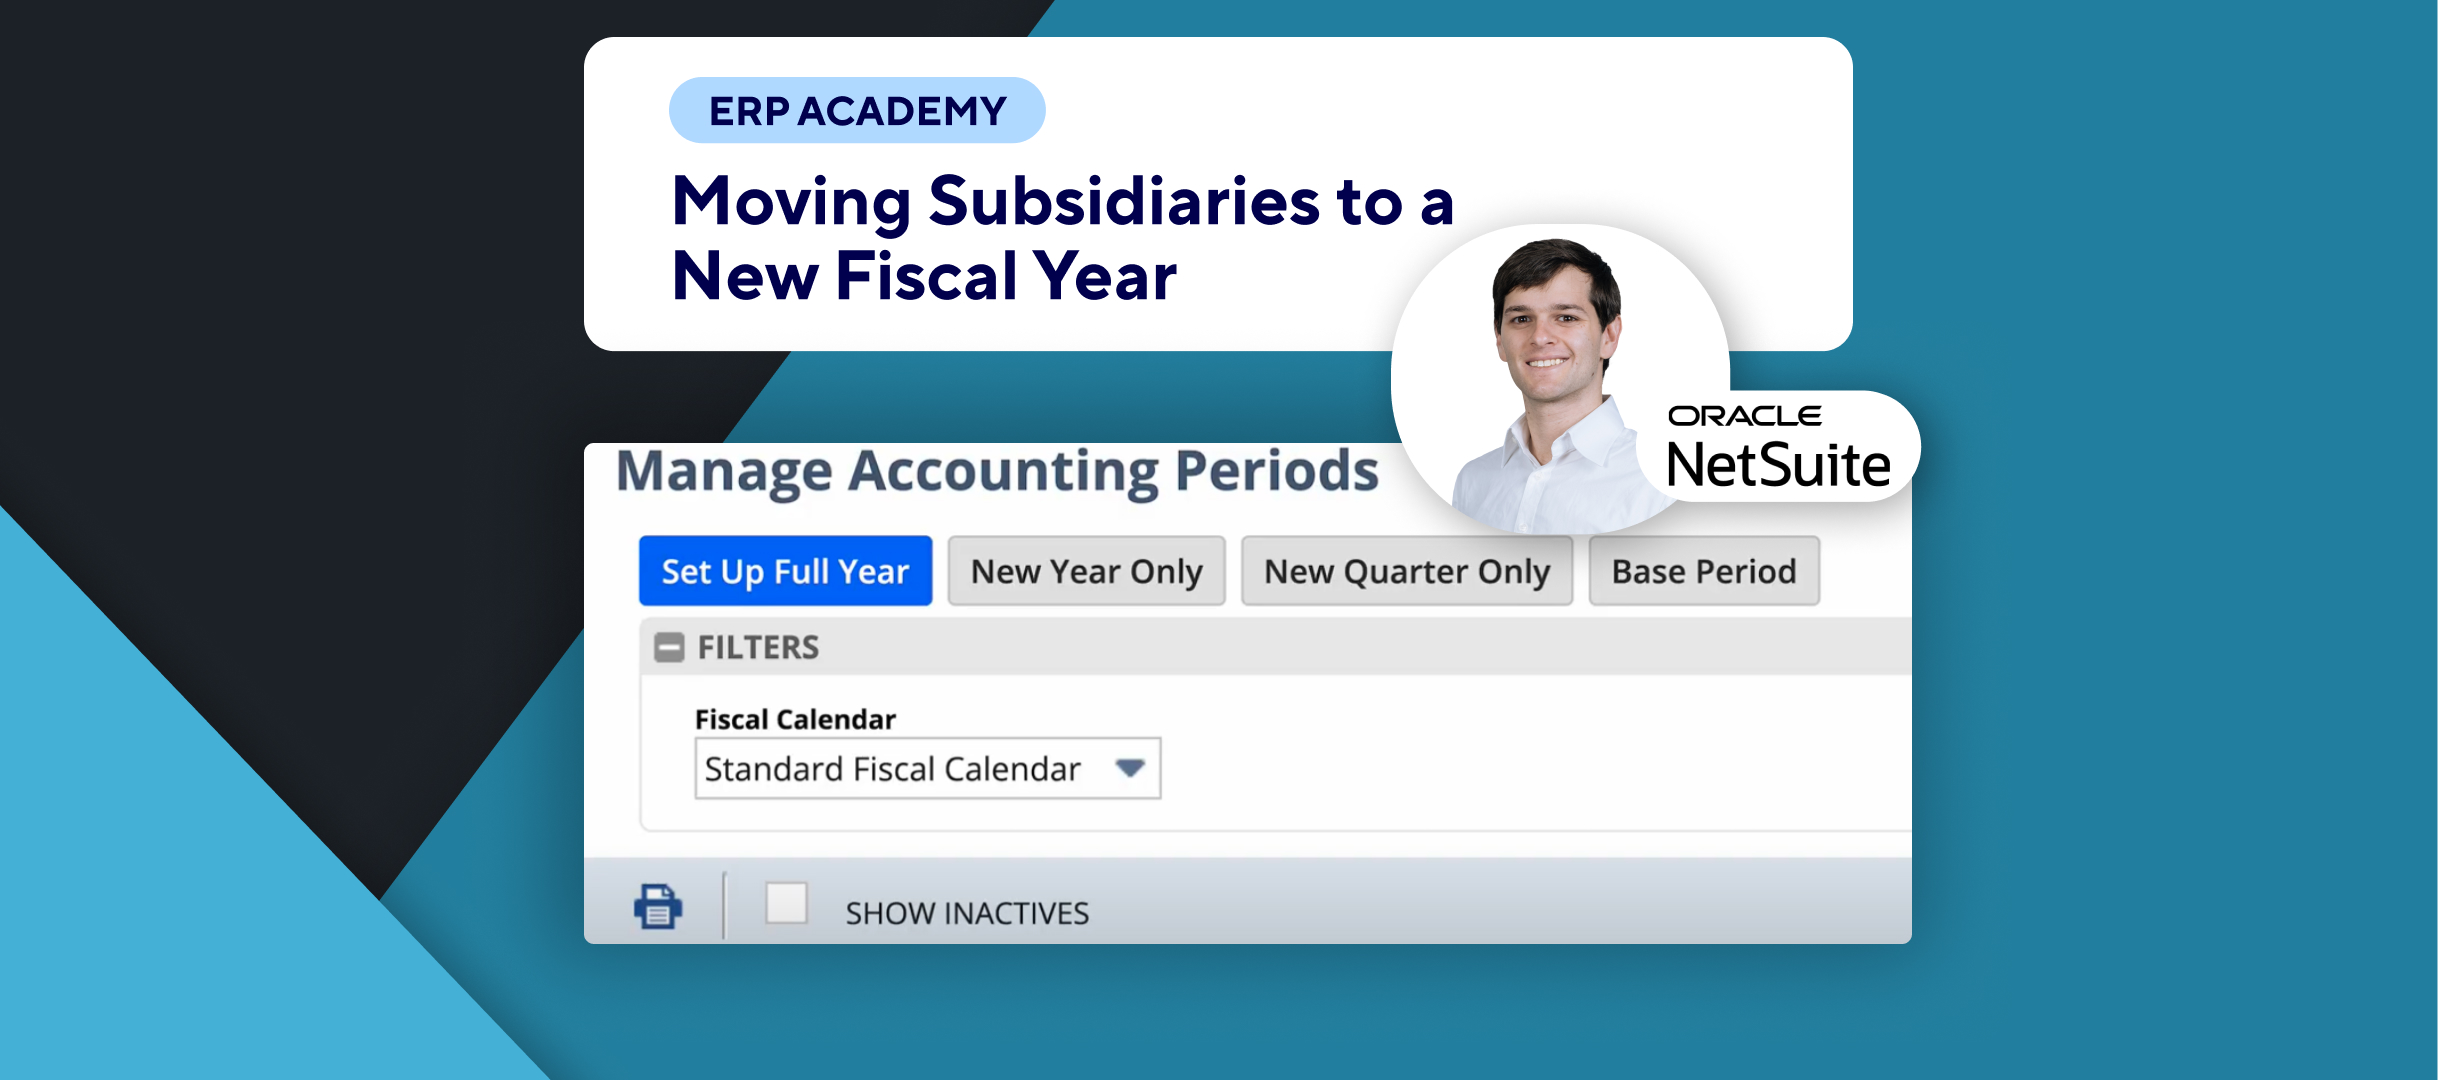
- Navigate to Manage Accounting Periods
- Go to the main menu: Setup > Accounting.⚙️
- In the Manage G/L section, select Manage Accounting Periods.📋
- Select Fiscal Year
- Choose the fiscal year for the subsidiary you want to set up.
- The fiscal year is based on the standard fiscal calendar you created.🗓️
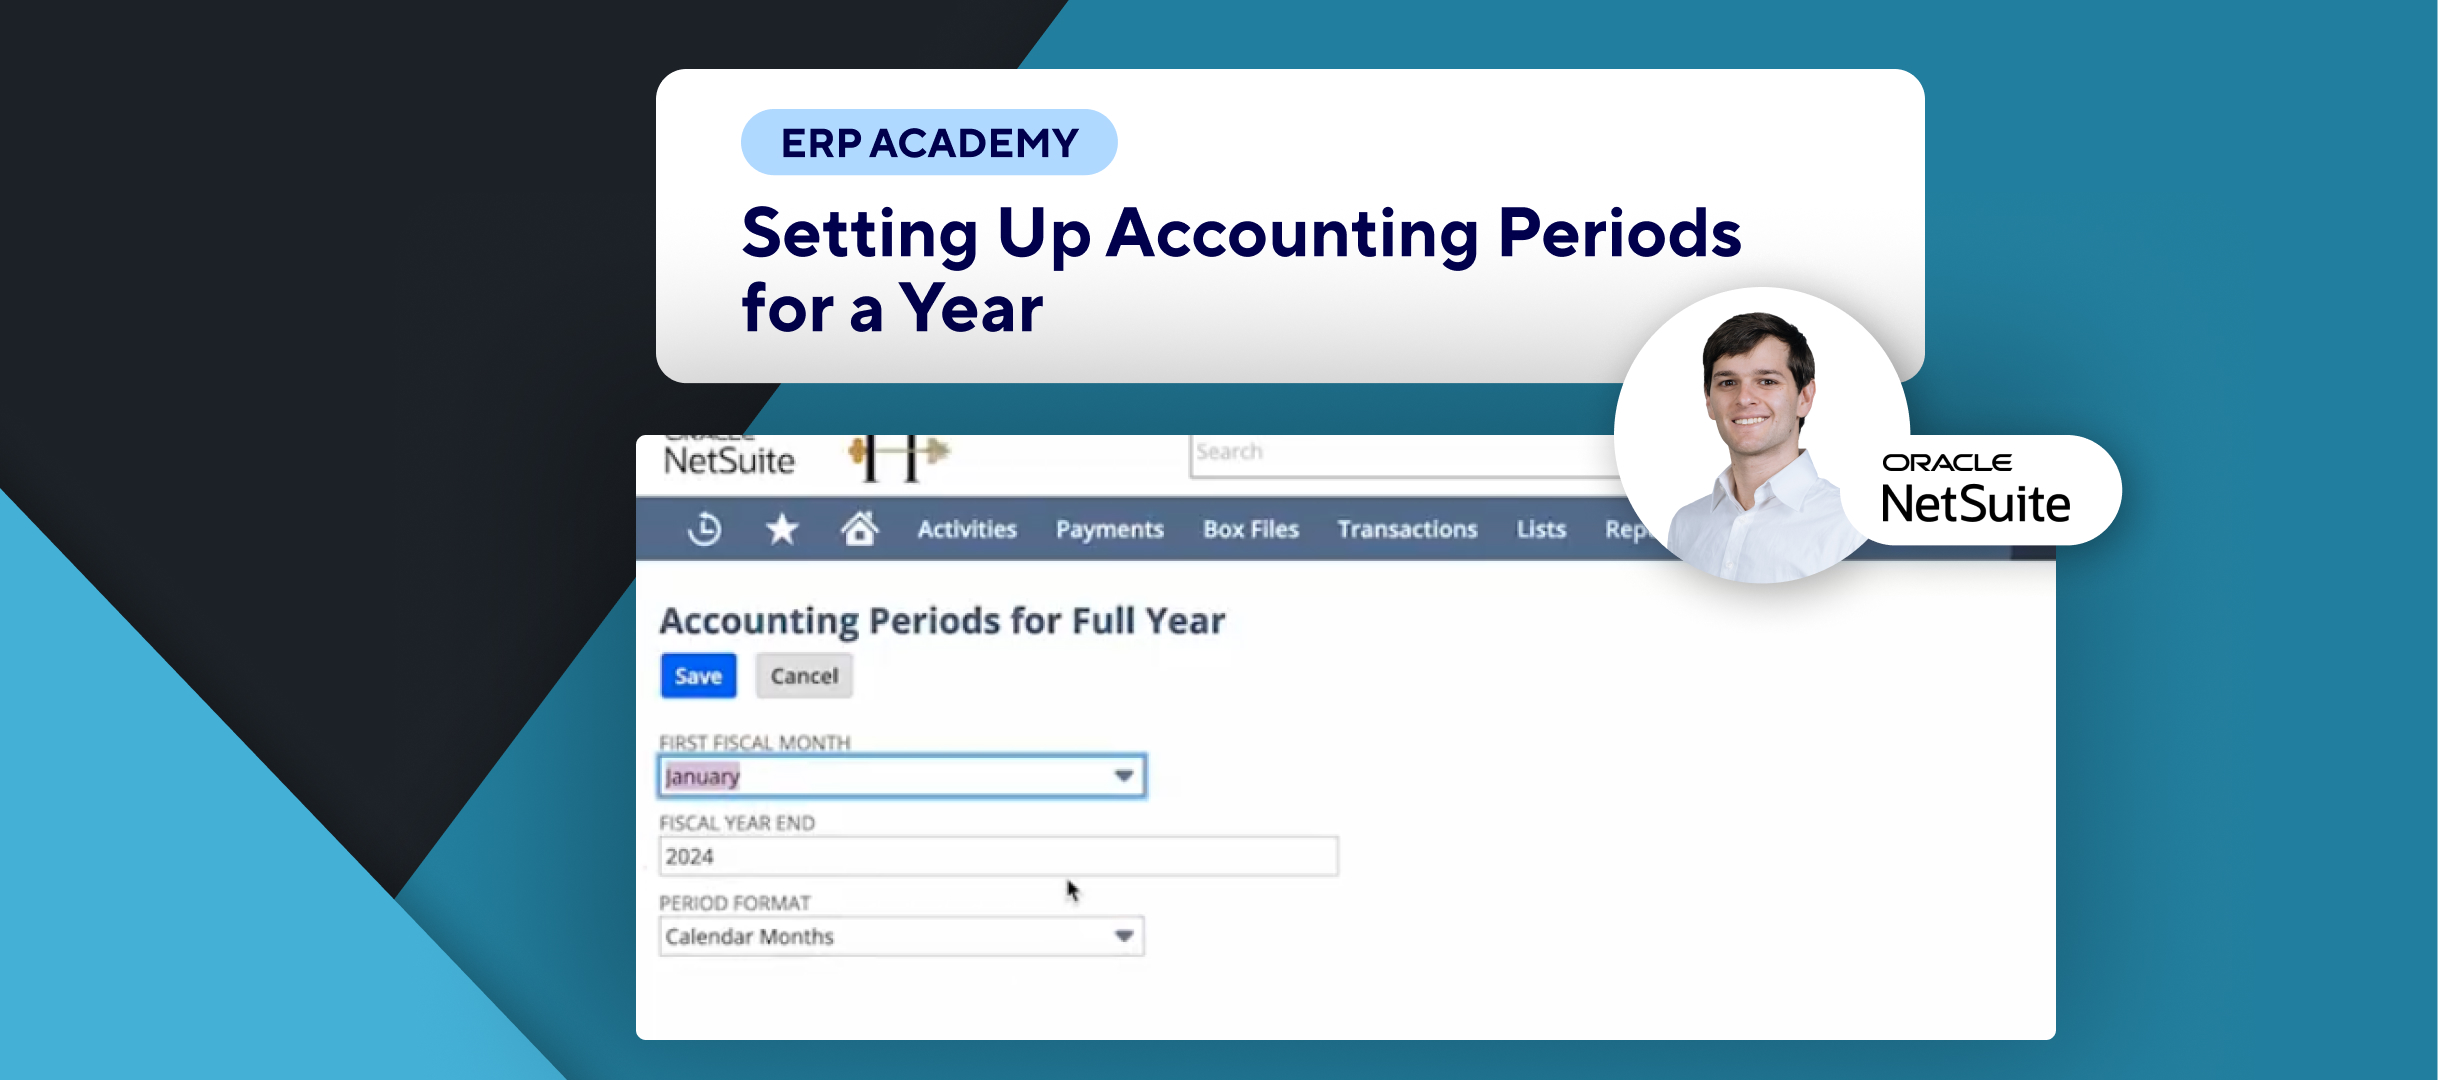
- Set Up Full Year
- Use the button to set up the full year.
- Verify the fiscal calendar year is correct.✔️
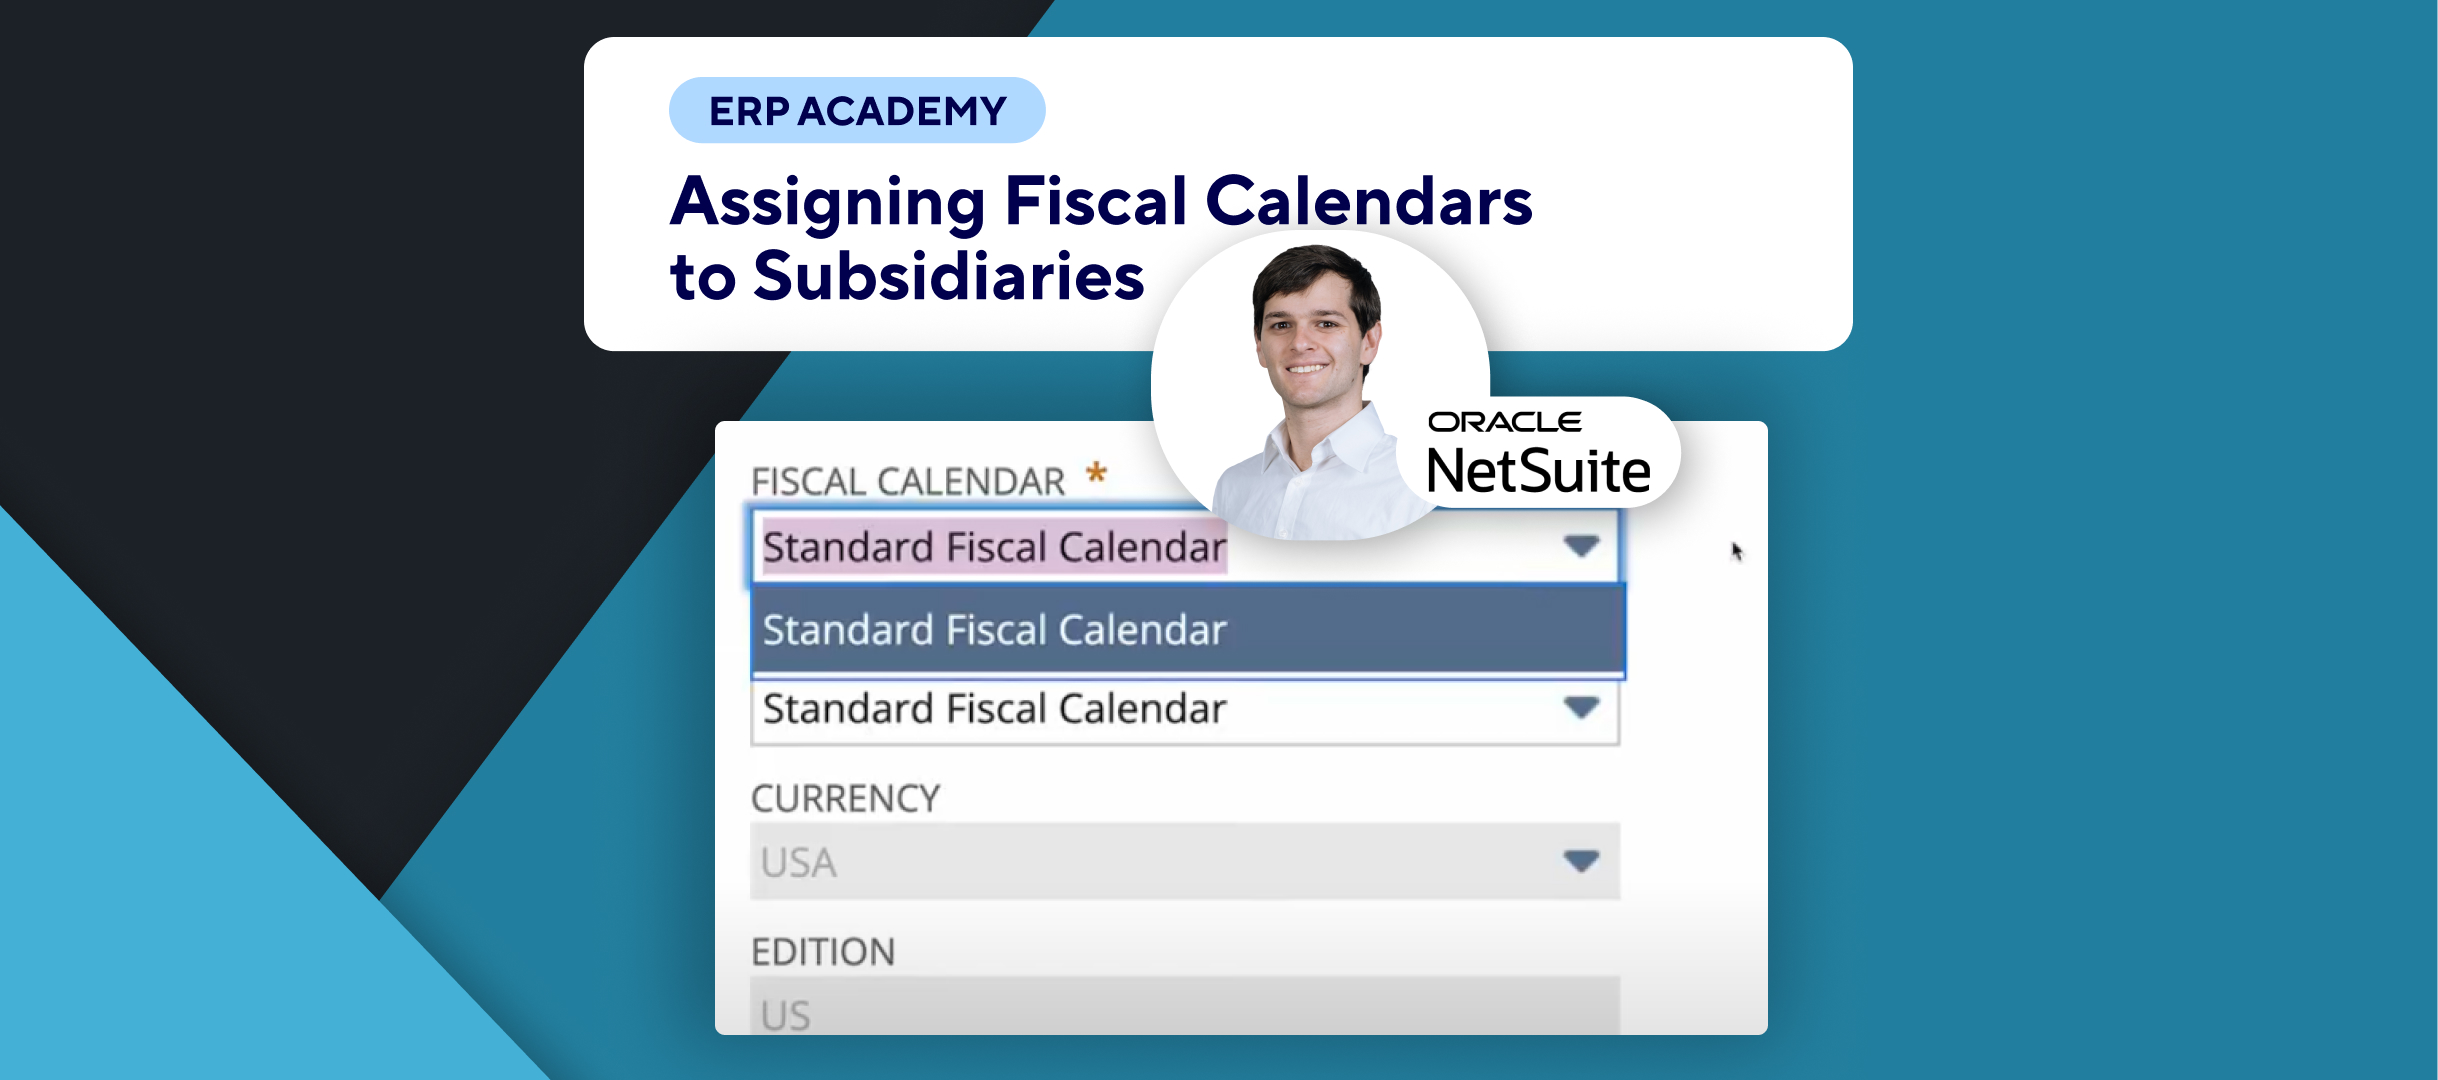
- Select Fiscal Calendar Month
- Select the first fiscal calendar month from your chosen fiscal calendar.🌙
- Choose Period Format
- Select the period format (e.g., 4 weeks or 4-4-5 weeks).🔄
- The 4-4-5 accounting calendar divides the year into four quarters of 13 weeks, with two four-week months and one five-week month.📊
- Define Period Start and End
- Specify the starting and ending year of the period.📆
- Optionally check the One Day Year-End adjustment period box if needed.✅
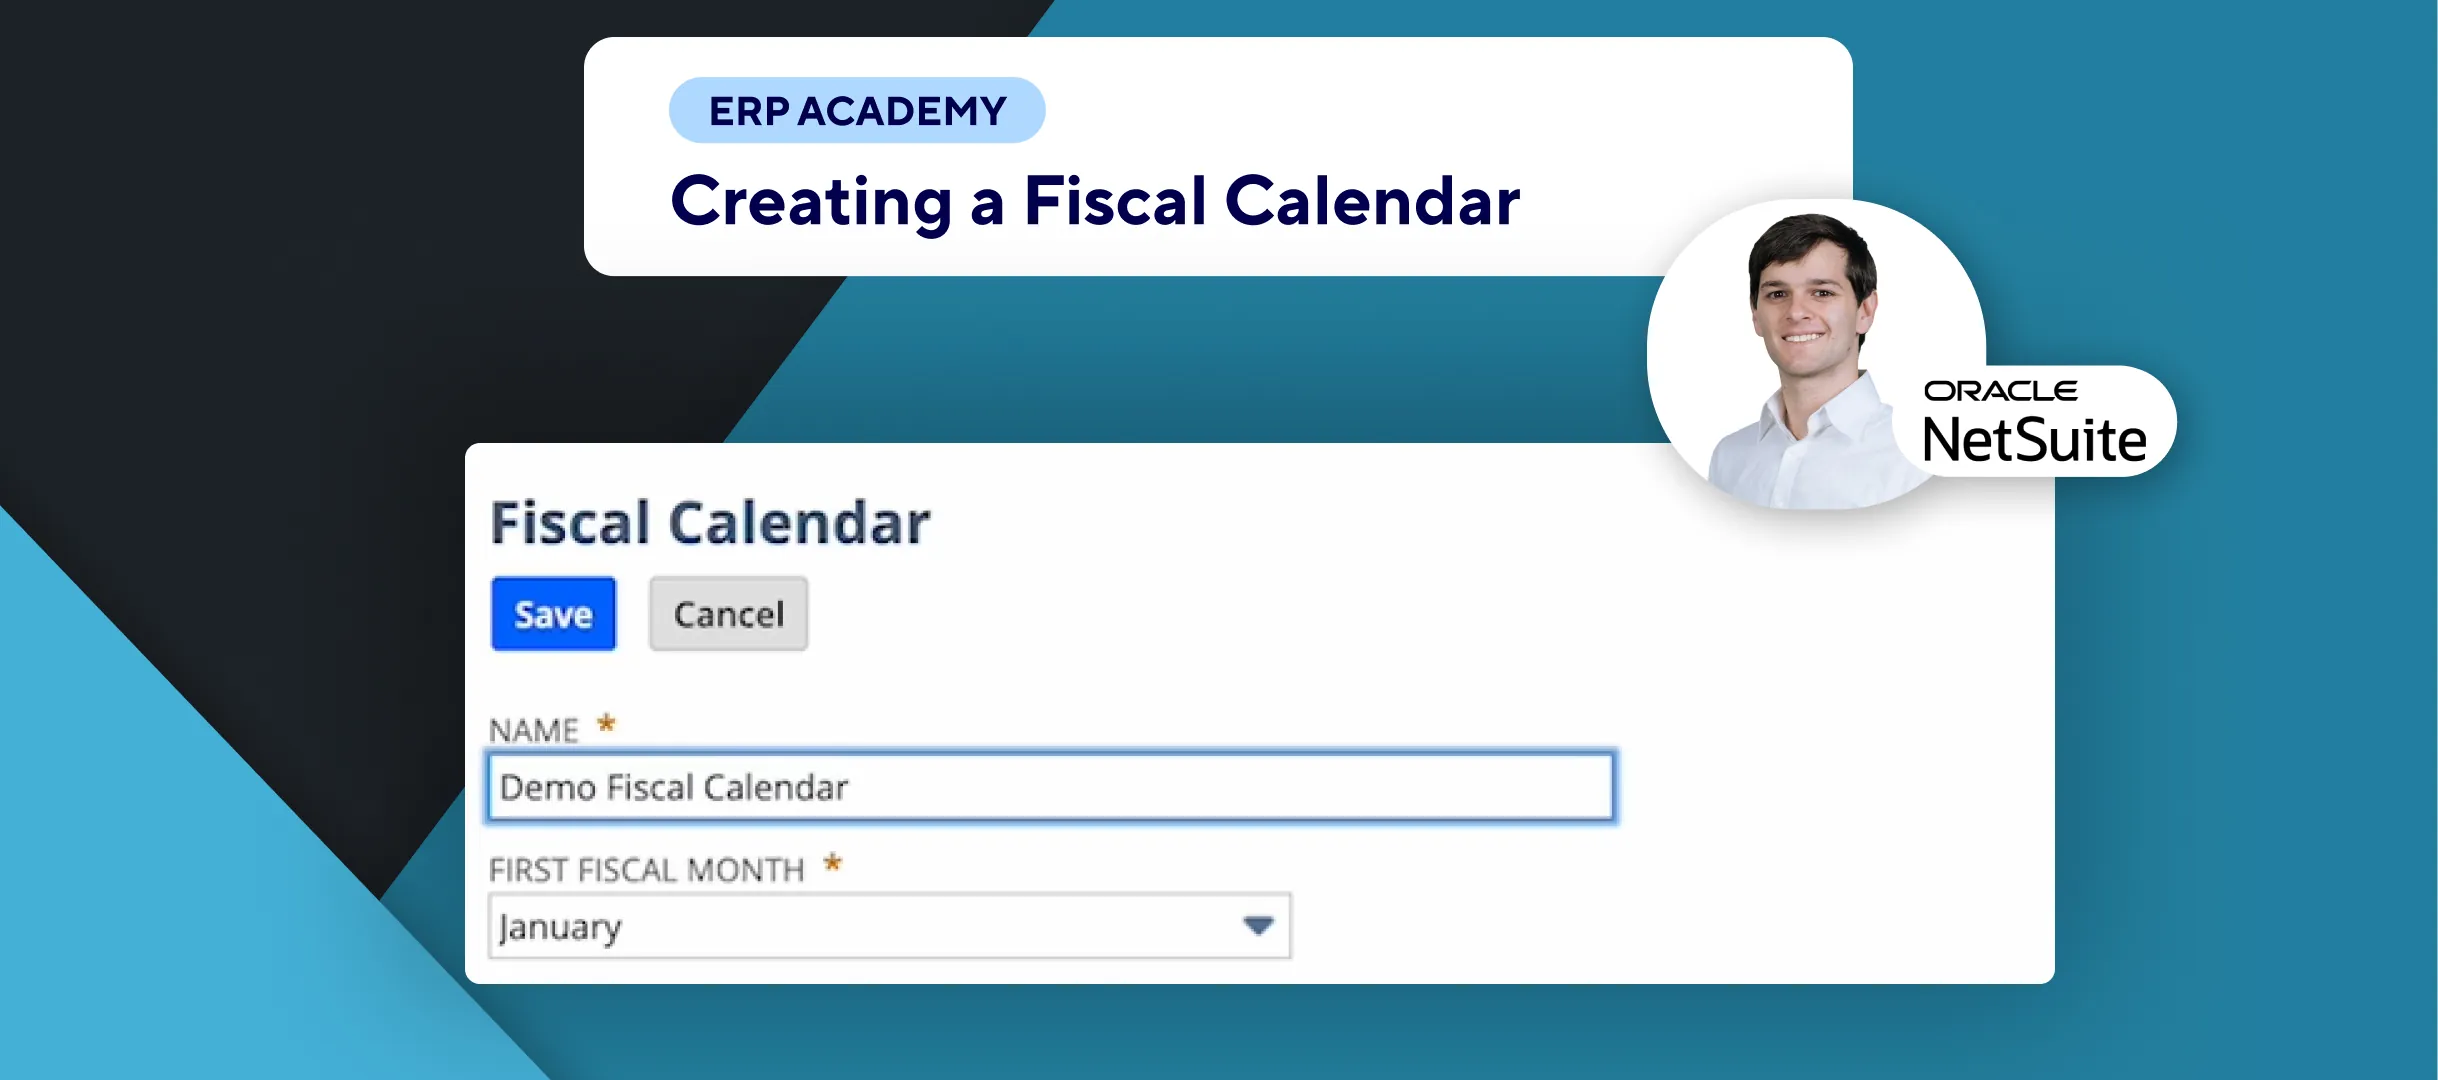
- Save Your Settings
- Click the Save button to finalize your settings. 💾
Congratulations! 🎊 You’ve successfully set up accounting periods for a full year for subsidiaries in NetSuite! 🌟🎉
If you found this tutorial helpful, please subscribe to this channel for more tips and tutorials. Visit www.KOLLENO.com for more tools to enhance your accounting processes! 🎥✨