🚨 Problem: Managing overdue invoices can be time-consuming and challenging. Automating the process through dunning procedures in NetSuite ensures timely and consistent communication with customers about their overdue payments. This tutorial will guide you through setting up dunning procedures in NetSuite (but it will be easier if you use Kolleno).
Steps to Set Up a Dunning Procedure
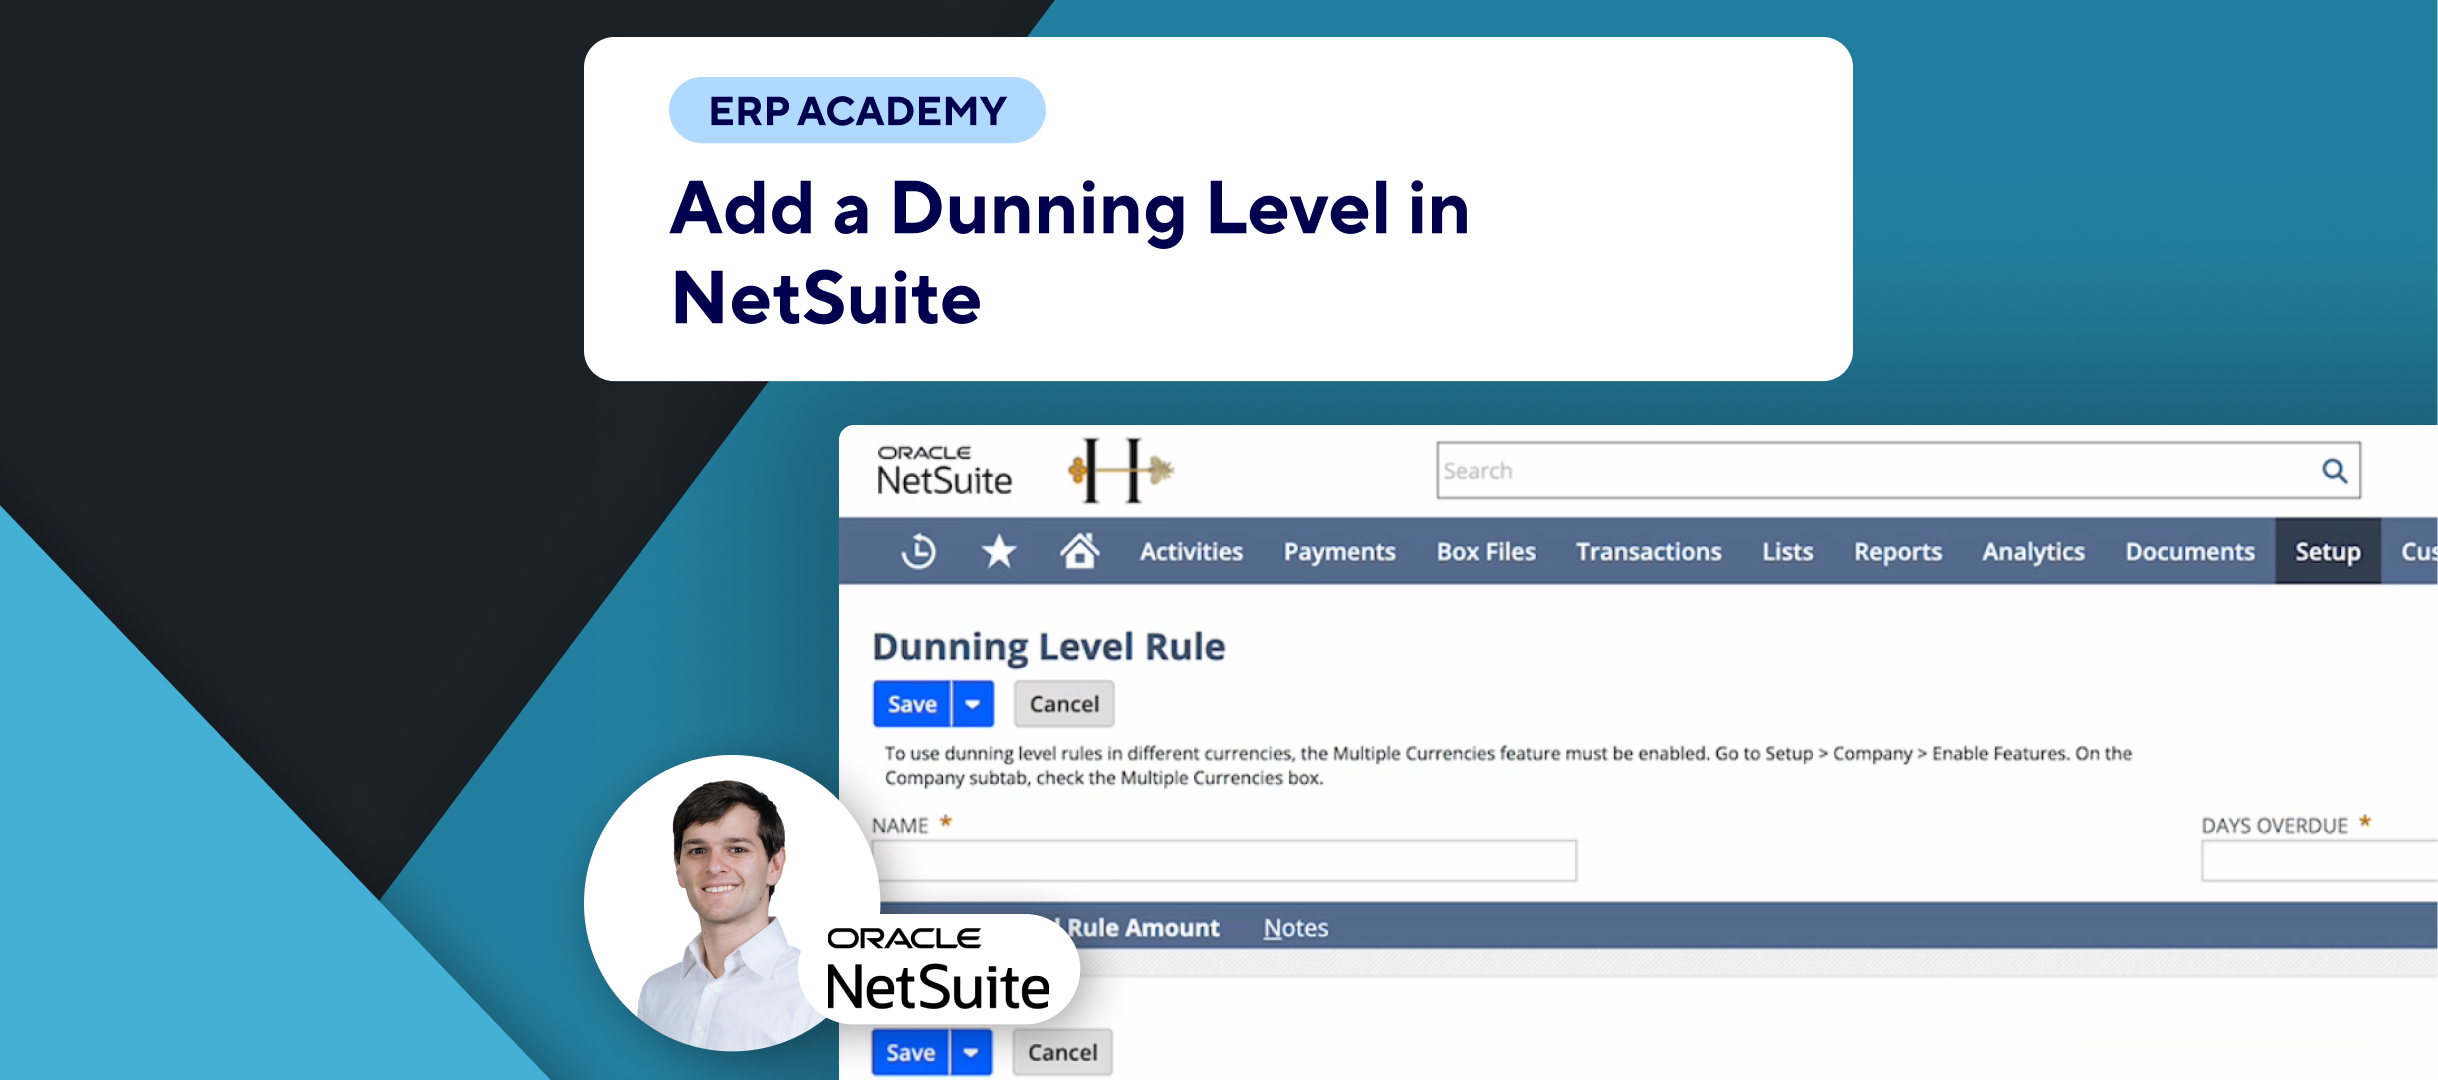
- Navigate to Dunning Procedure Setup:
- 📂 Go to: Setup > Dunning > Dunning Procedure > New.
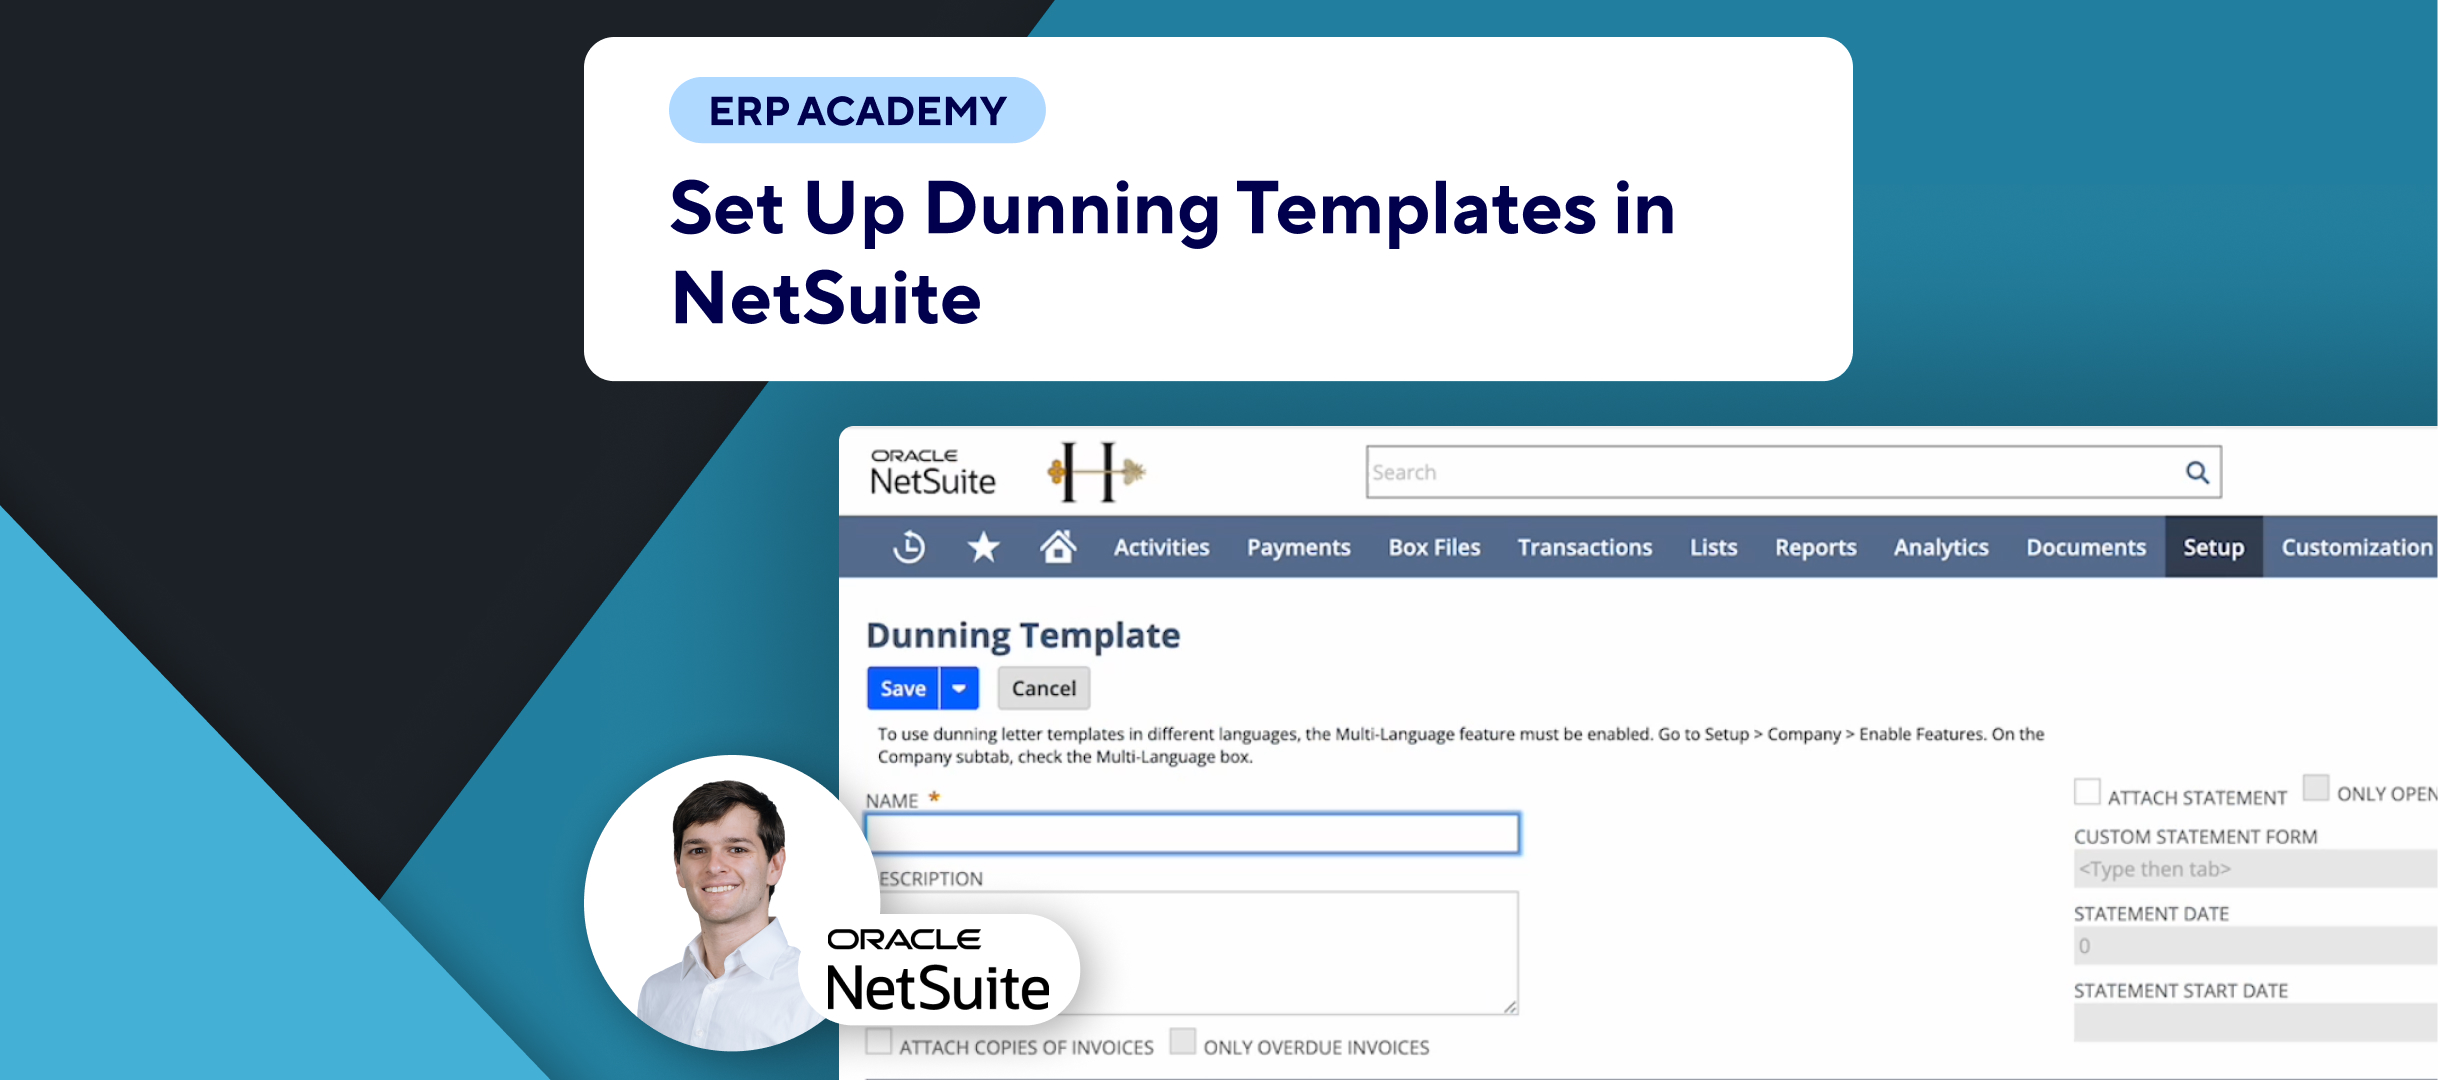
- Fill in Basic Information:
- 🏷️ Name: Enter a name for the dunning procedure, e.g., “My Dunning Procedure.”
- 📝 Description: Fill in a description to help you remember the purpose of this procedure. This is useful as you create more procedures over time.
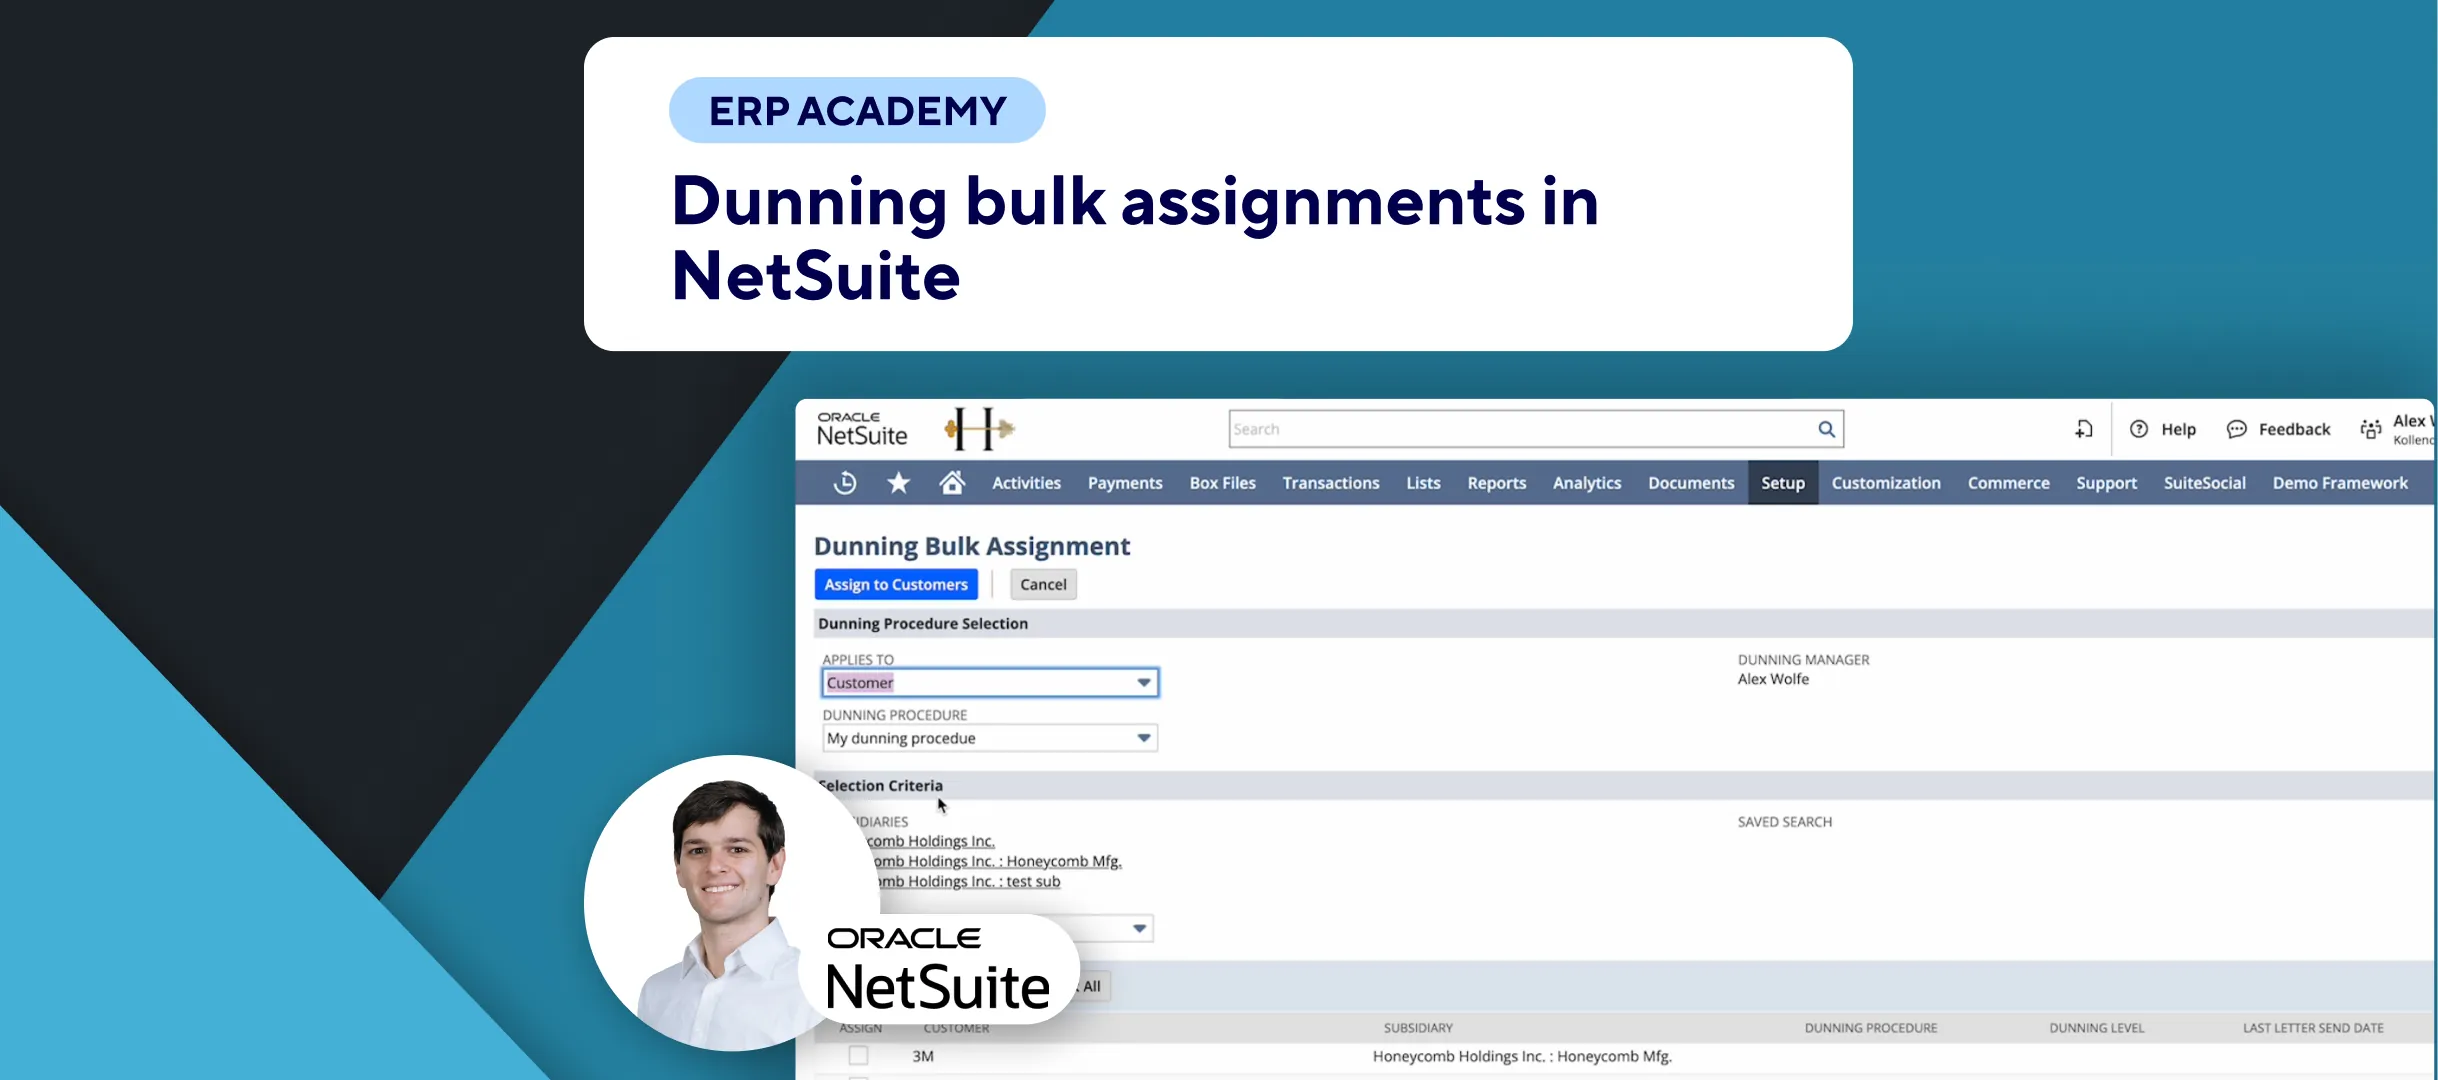
- Determine Applicability:
- Applies To:
- Customer: Applies to all invoices from a customer. Optionally allow overrides by invoice level procedures.
- Invoice: Each invoice is evaluated individually.
- Invoice Group: All invoices in the group are considered together.
- 🧩 For this tutorial, we’ll choose Customer.
- Applies To:
- Set Dunning Options:
- Sending Schedule:
- 🕒 Automatic: Automates the sending of dunning letters.
- ✋ Manual: Requires manual initiation. (Automatic is generally preferred.)
- Minimum Dunning Interval: Set the minimum number of days between dunning letters for the same customer.
- To bypass this limit, check “Disable Minimum Dunning Interval.”
- Default Dunning Manager: Assign the person responsible for managing this procedure.
- This is typically the creator, but it can be assigned to someone else.
- Sending Schedule:
- Automatic Assignment:
- Automatically Assign to New Records: Check this box if you want this procedure to automatically apply to new invoices, customers, or invoice groups based on predefined criteria.
- Define Selection Criteria:
- 🌍 Subsidiary: Select the subsidiary. This is a mandatory field.
- More detailed selection criteria can be defined, which will be covered in future videos.
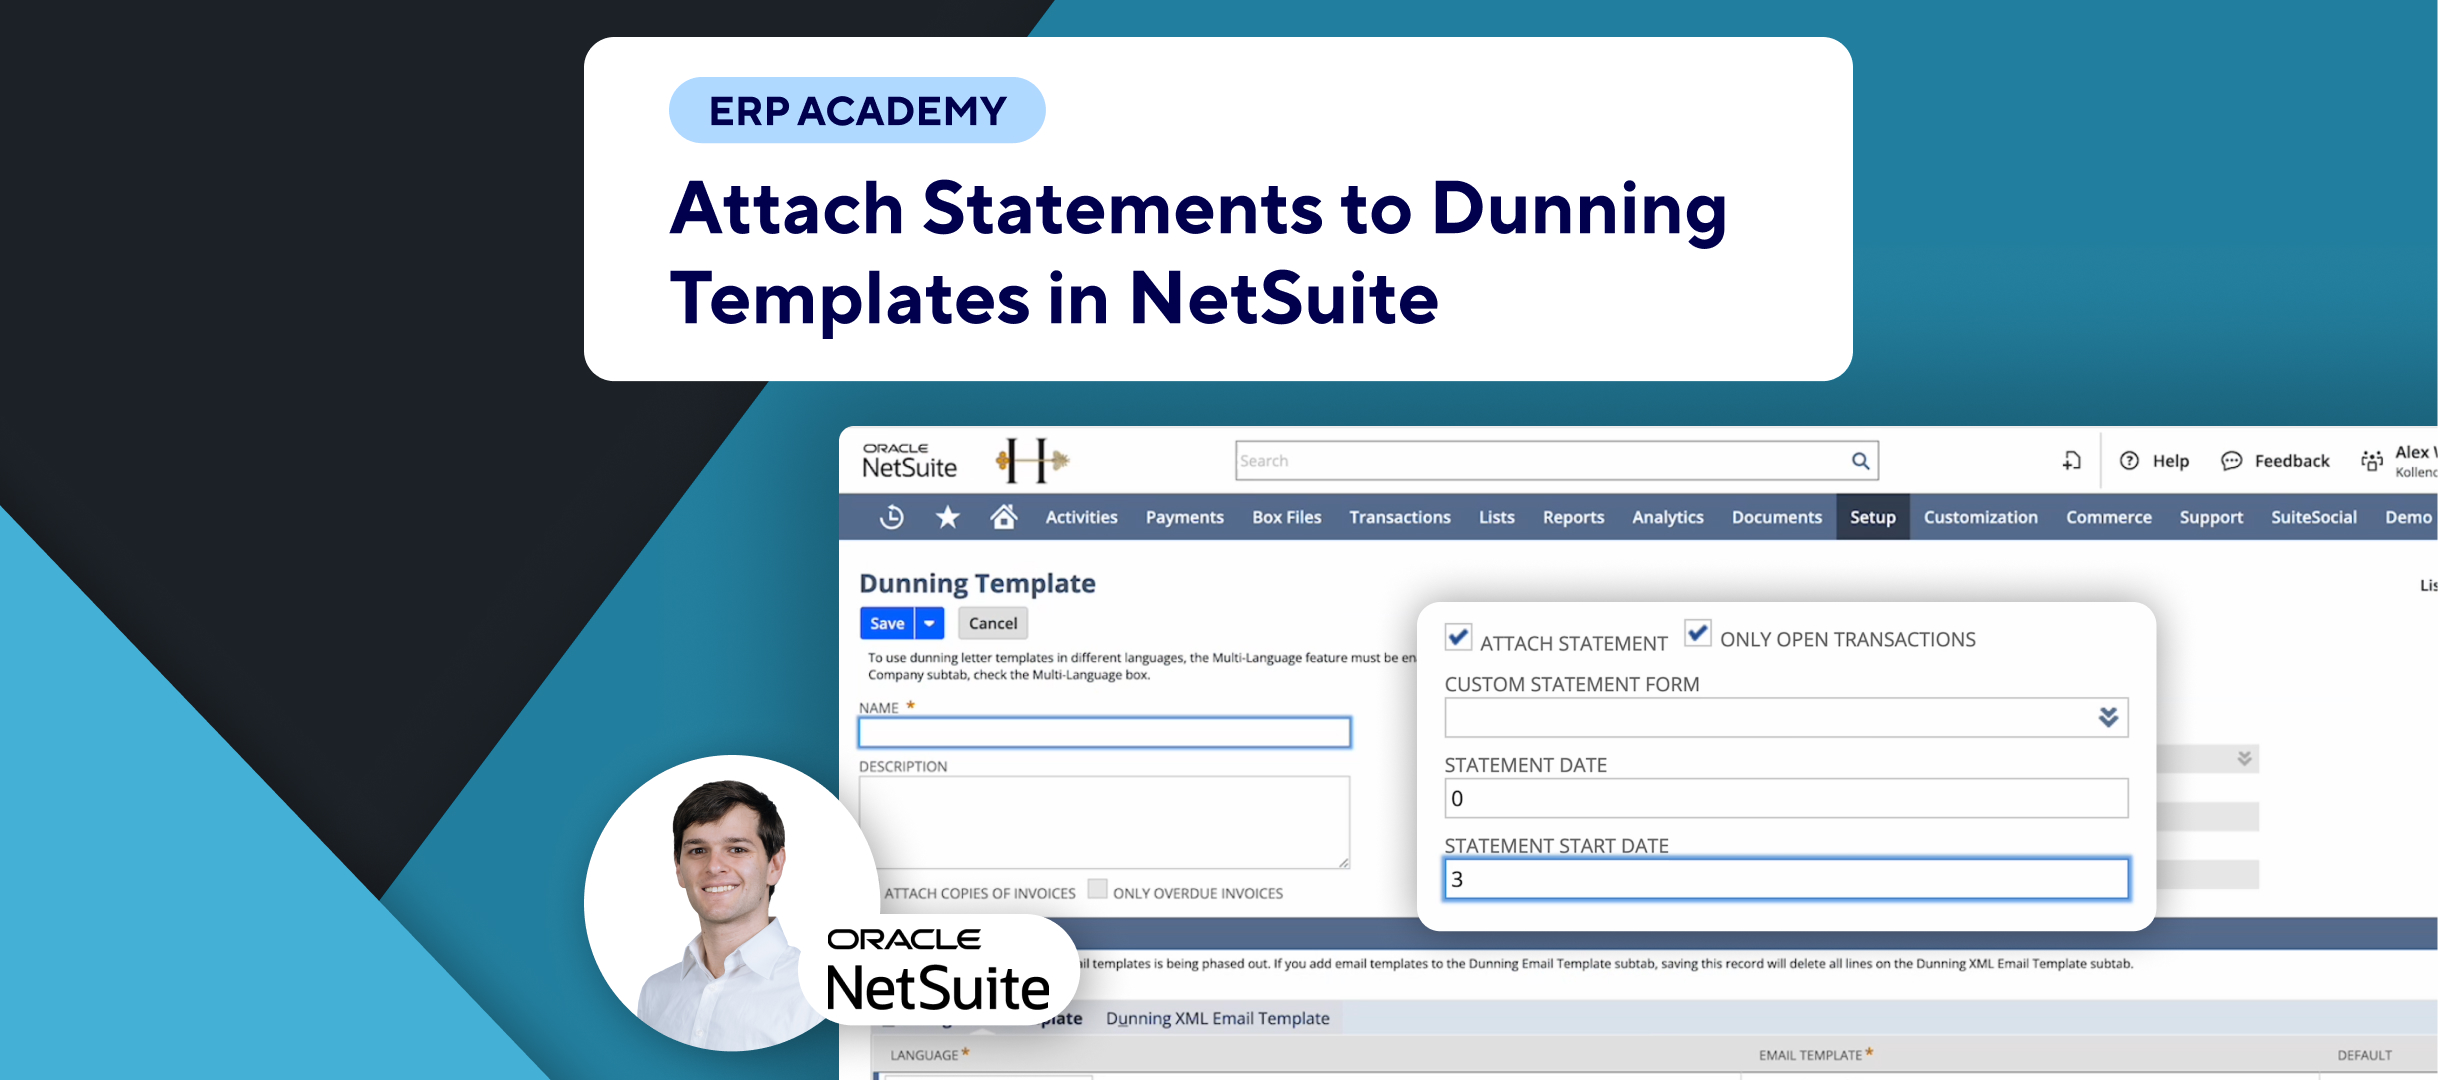
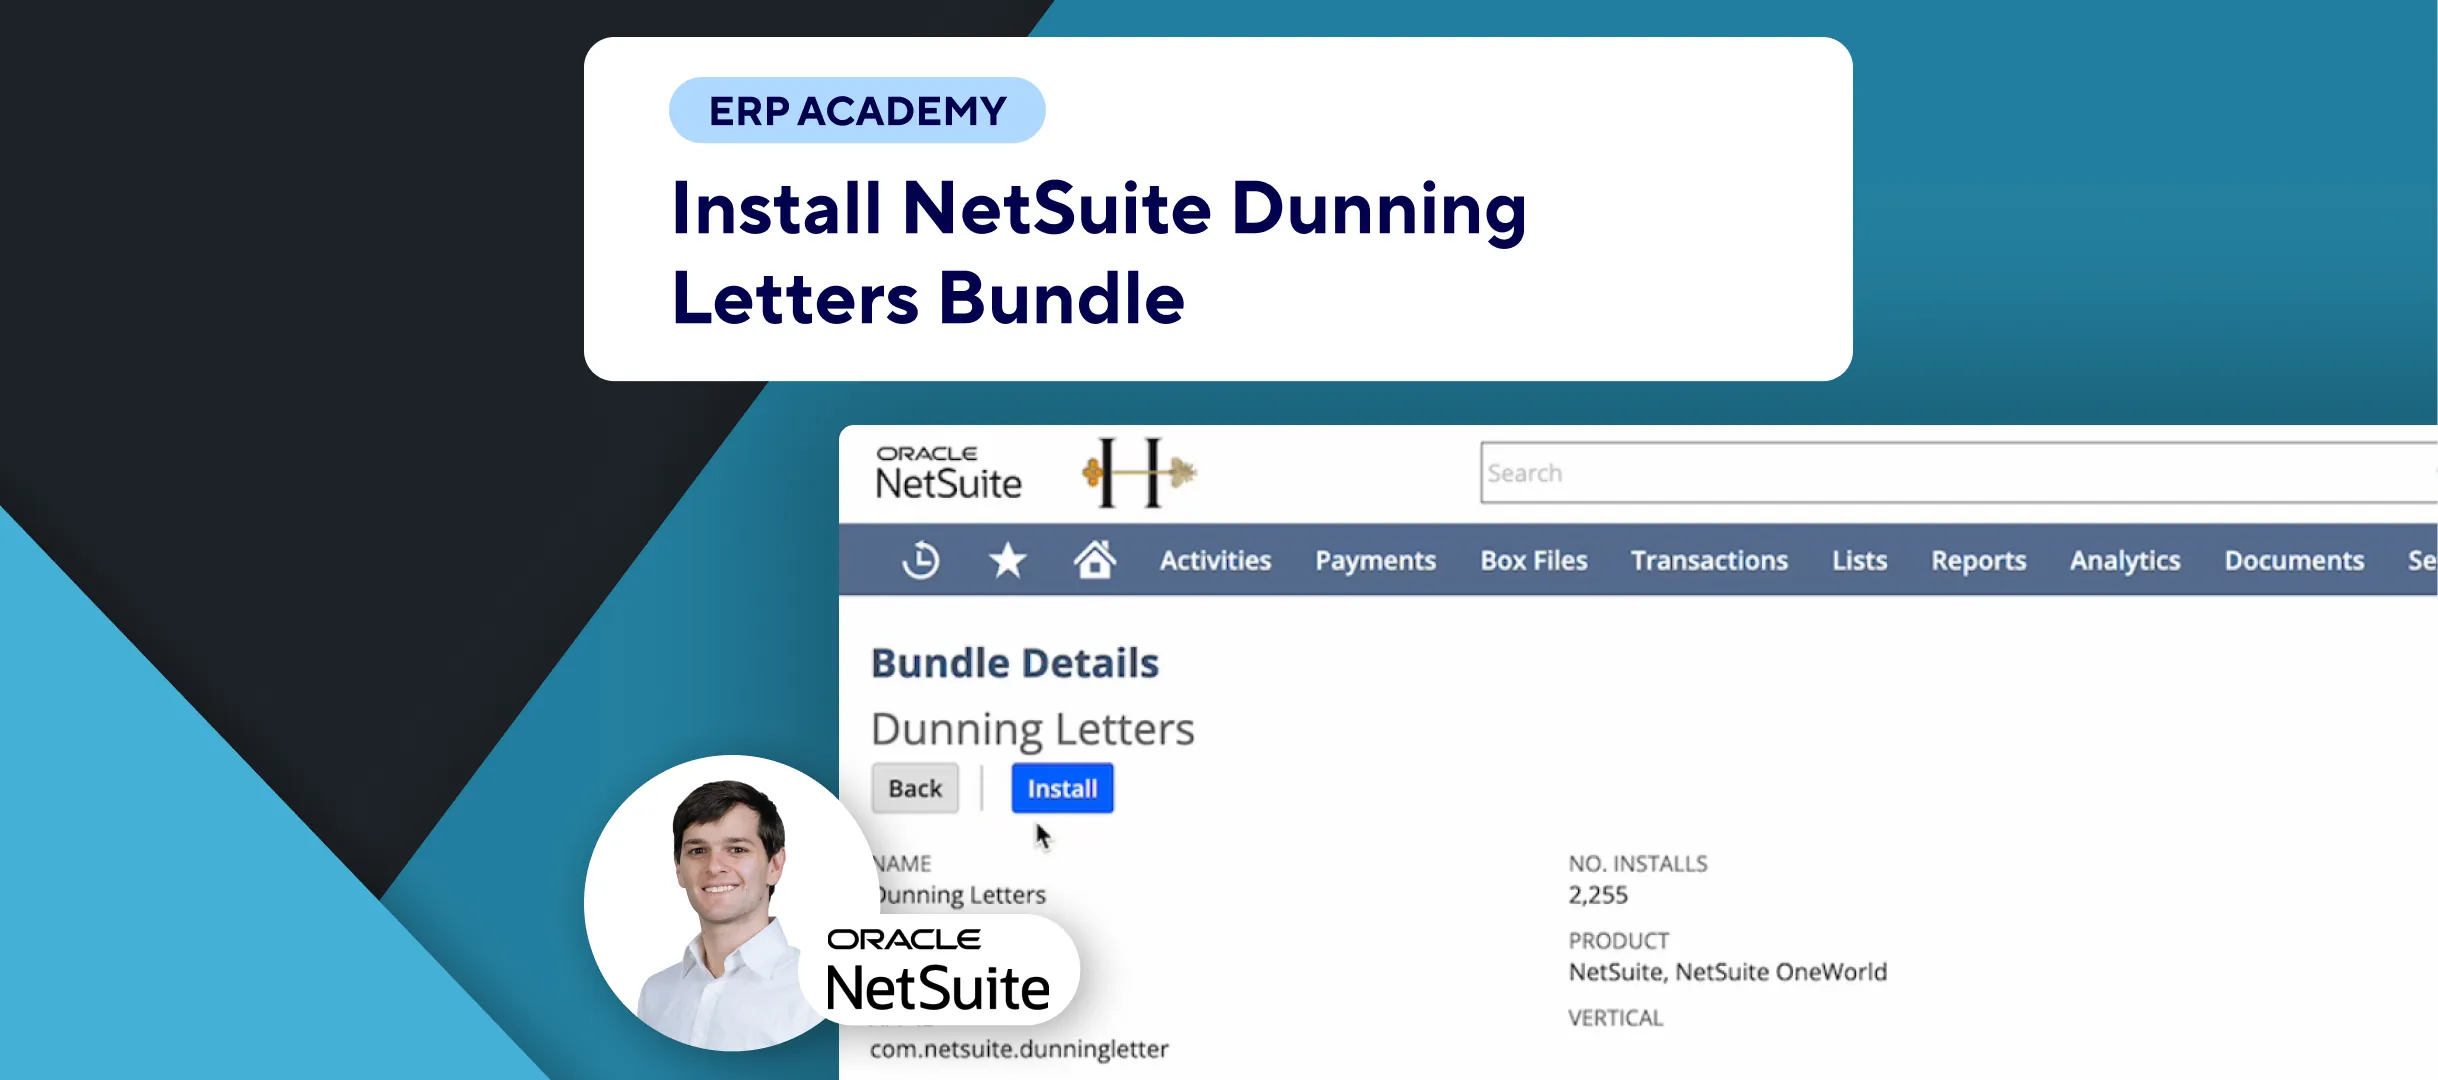
- Add Dunning Levels:
- ➕ Add Dunning Levels: Click to add a new dunning level.
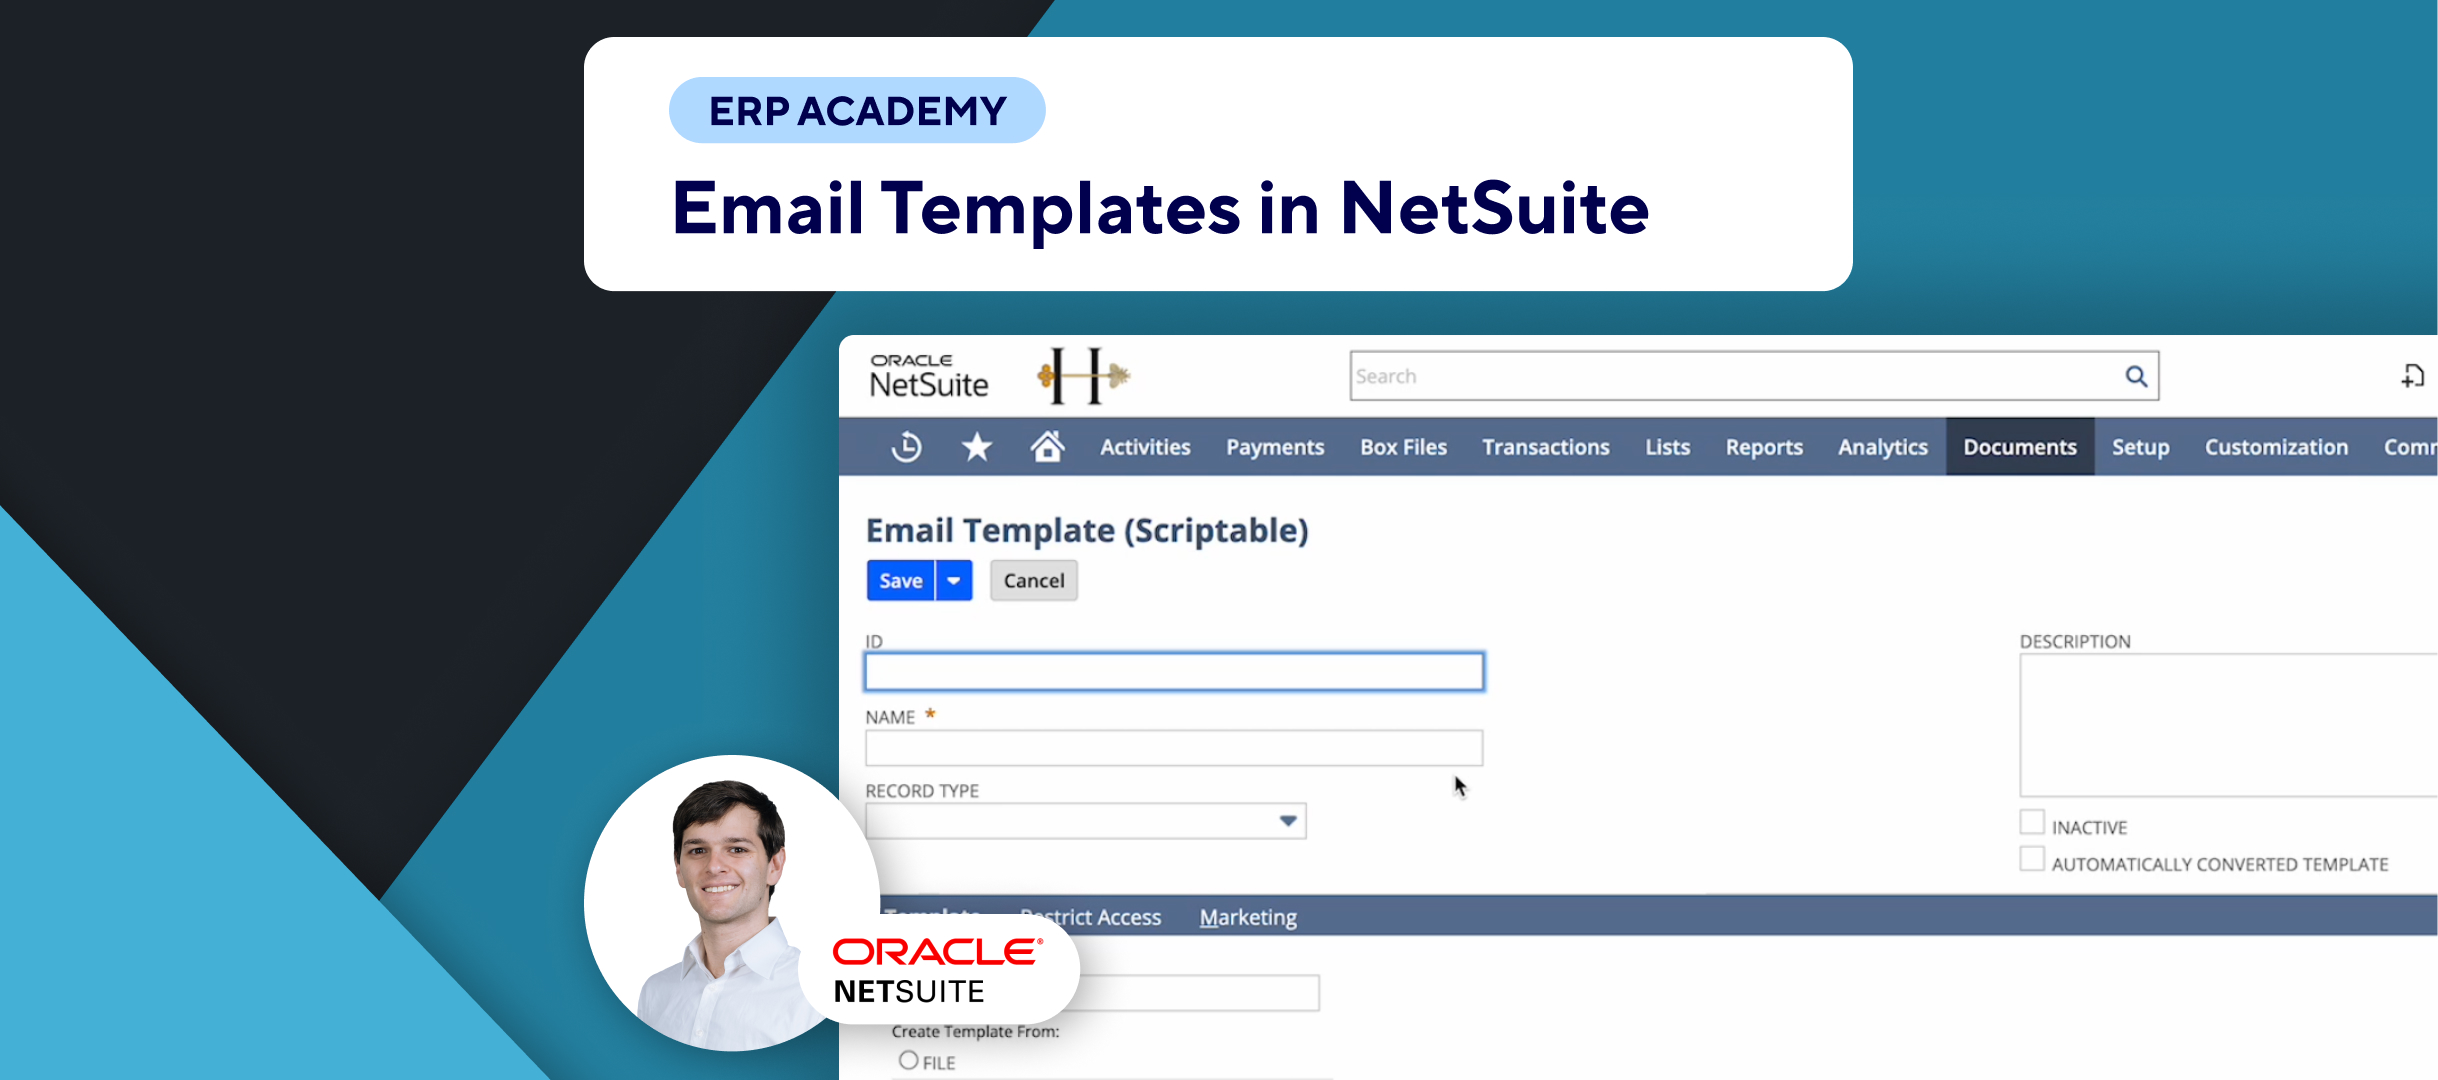
- 📋 Select Template: Choose the appropriate dunning template. Refer to previous videos on how to create templates.
- Option: Select the appropriate option for the dunning level.
- Save the Procedure:
- 💾 Click “Save” to finalize your dunning procedure.
Post-Creation Steps
- Set Priority:
- Determine which dunning procedure takes precedence when multiple procedures could apply.
- Arrange the procedures in the desired order through settings.
- Another video will cover setting priorities in more detail.
Summary
By following these steps, you can automate the process of managing overdue invoices through dunning procedures in NetSuite, ensuring timely reminders and efficient collections.