🚨 Need to set up single accounting periods in NetSuite? 🚨
This tutorial will show you how to set up single accounting periods for subsidiaries in NetSuite.
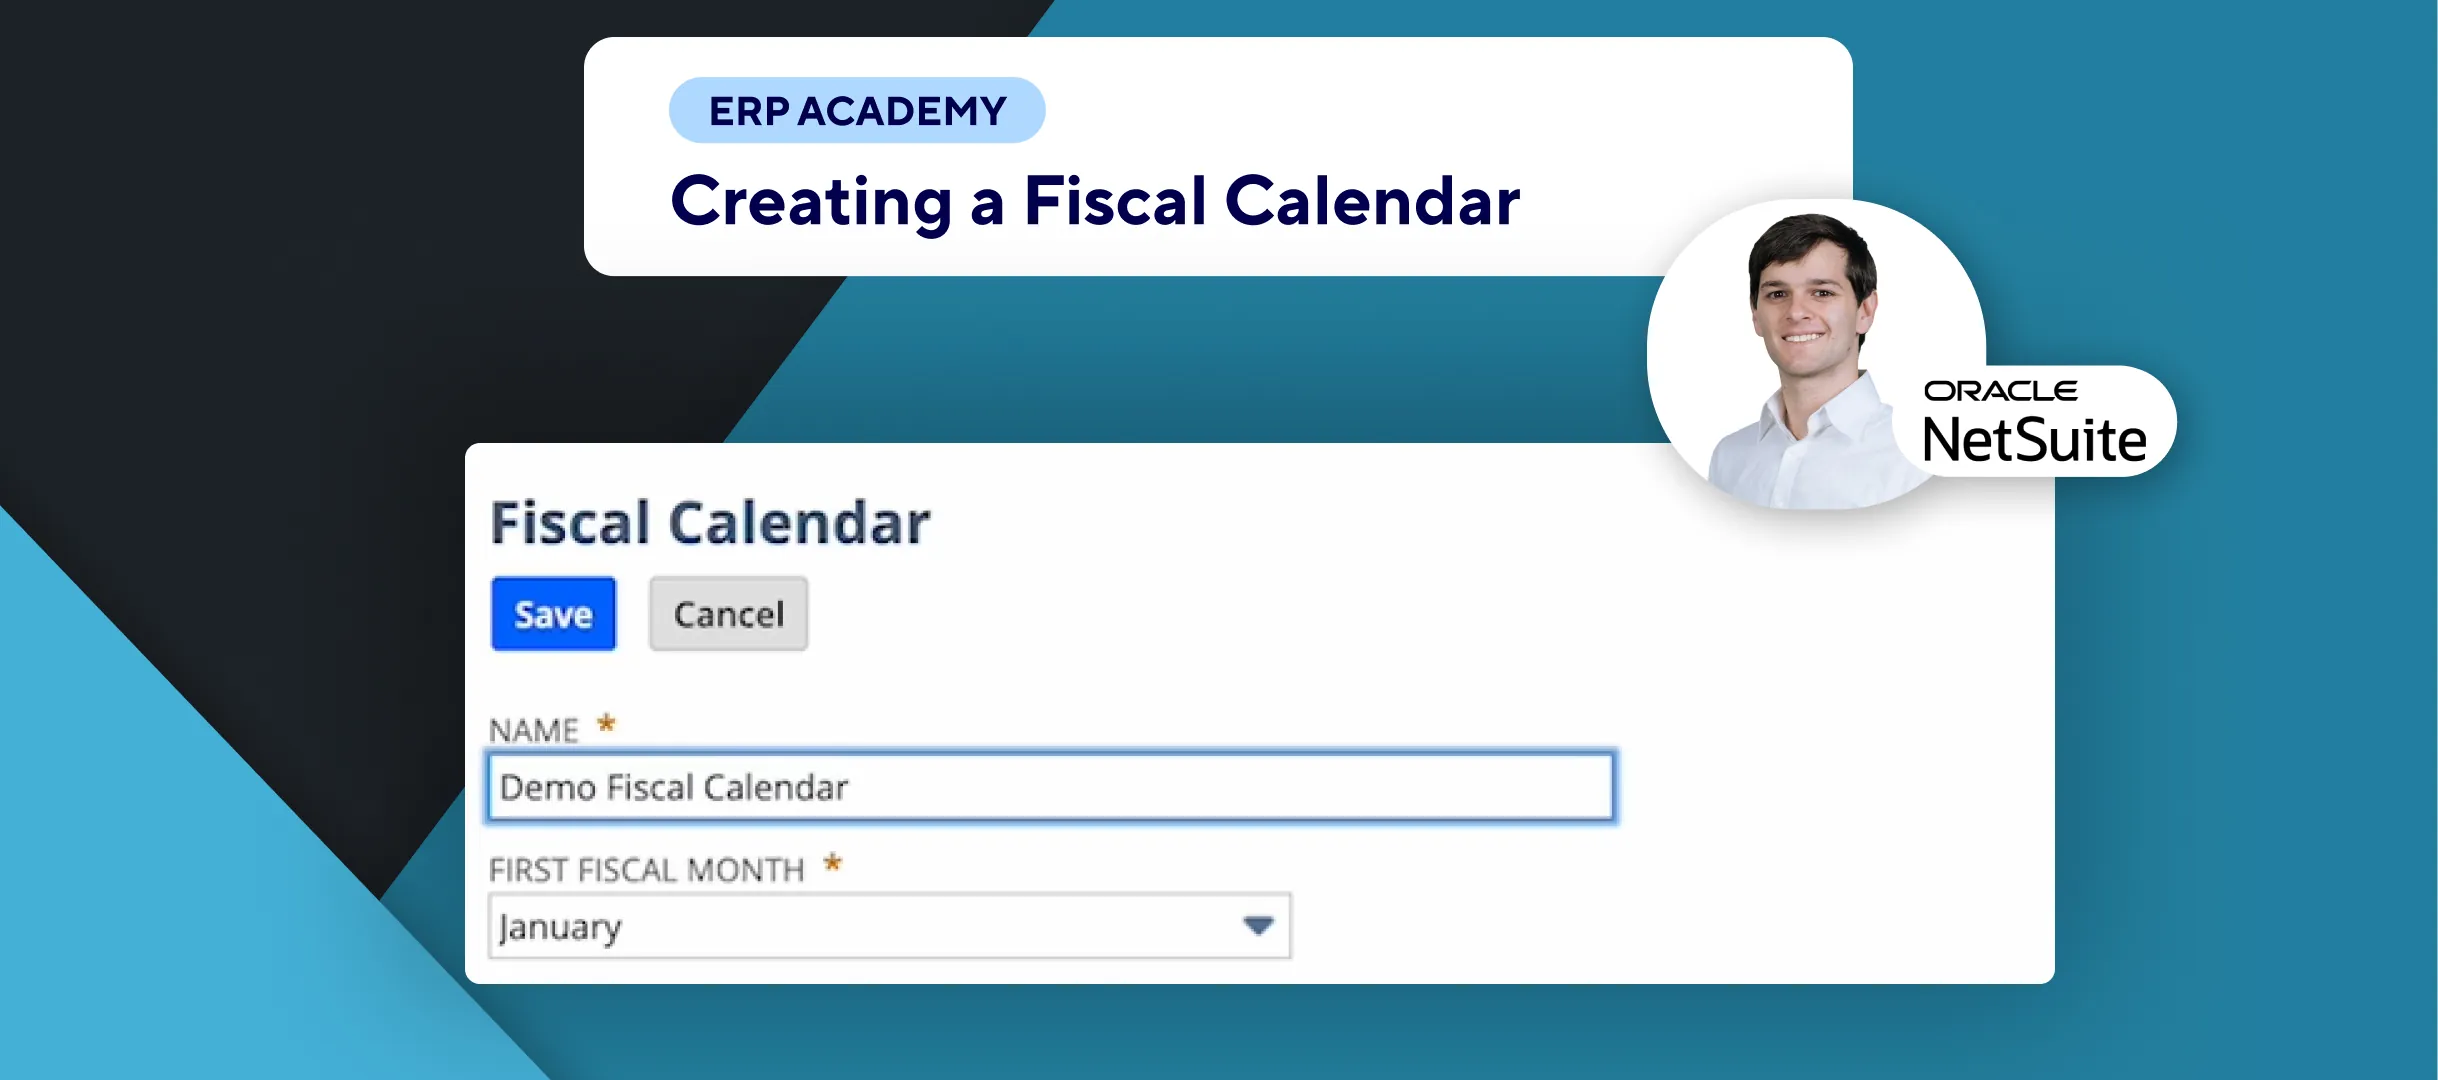
Step-by-Step Guide 📋
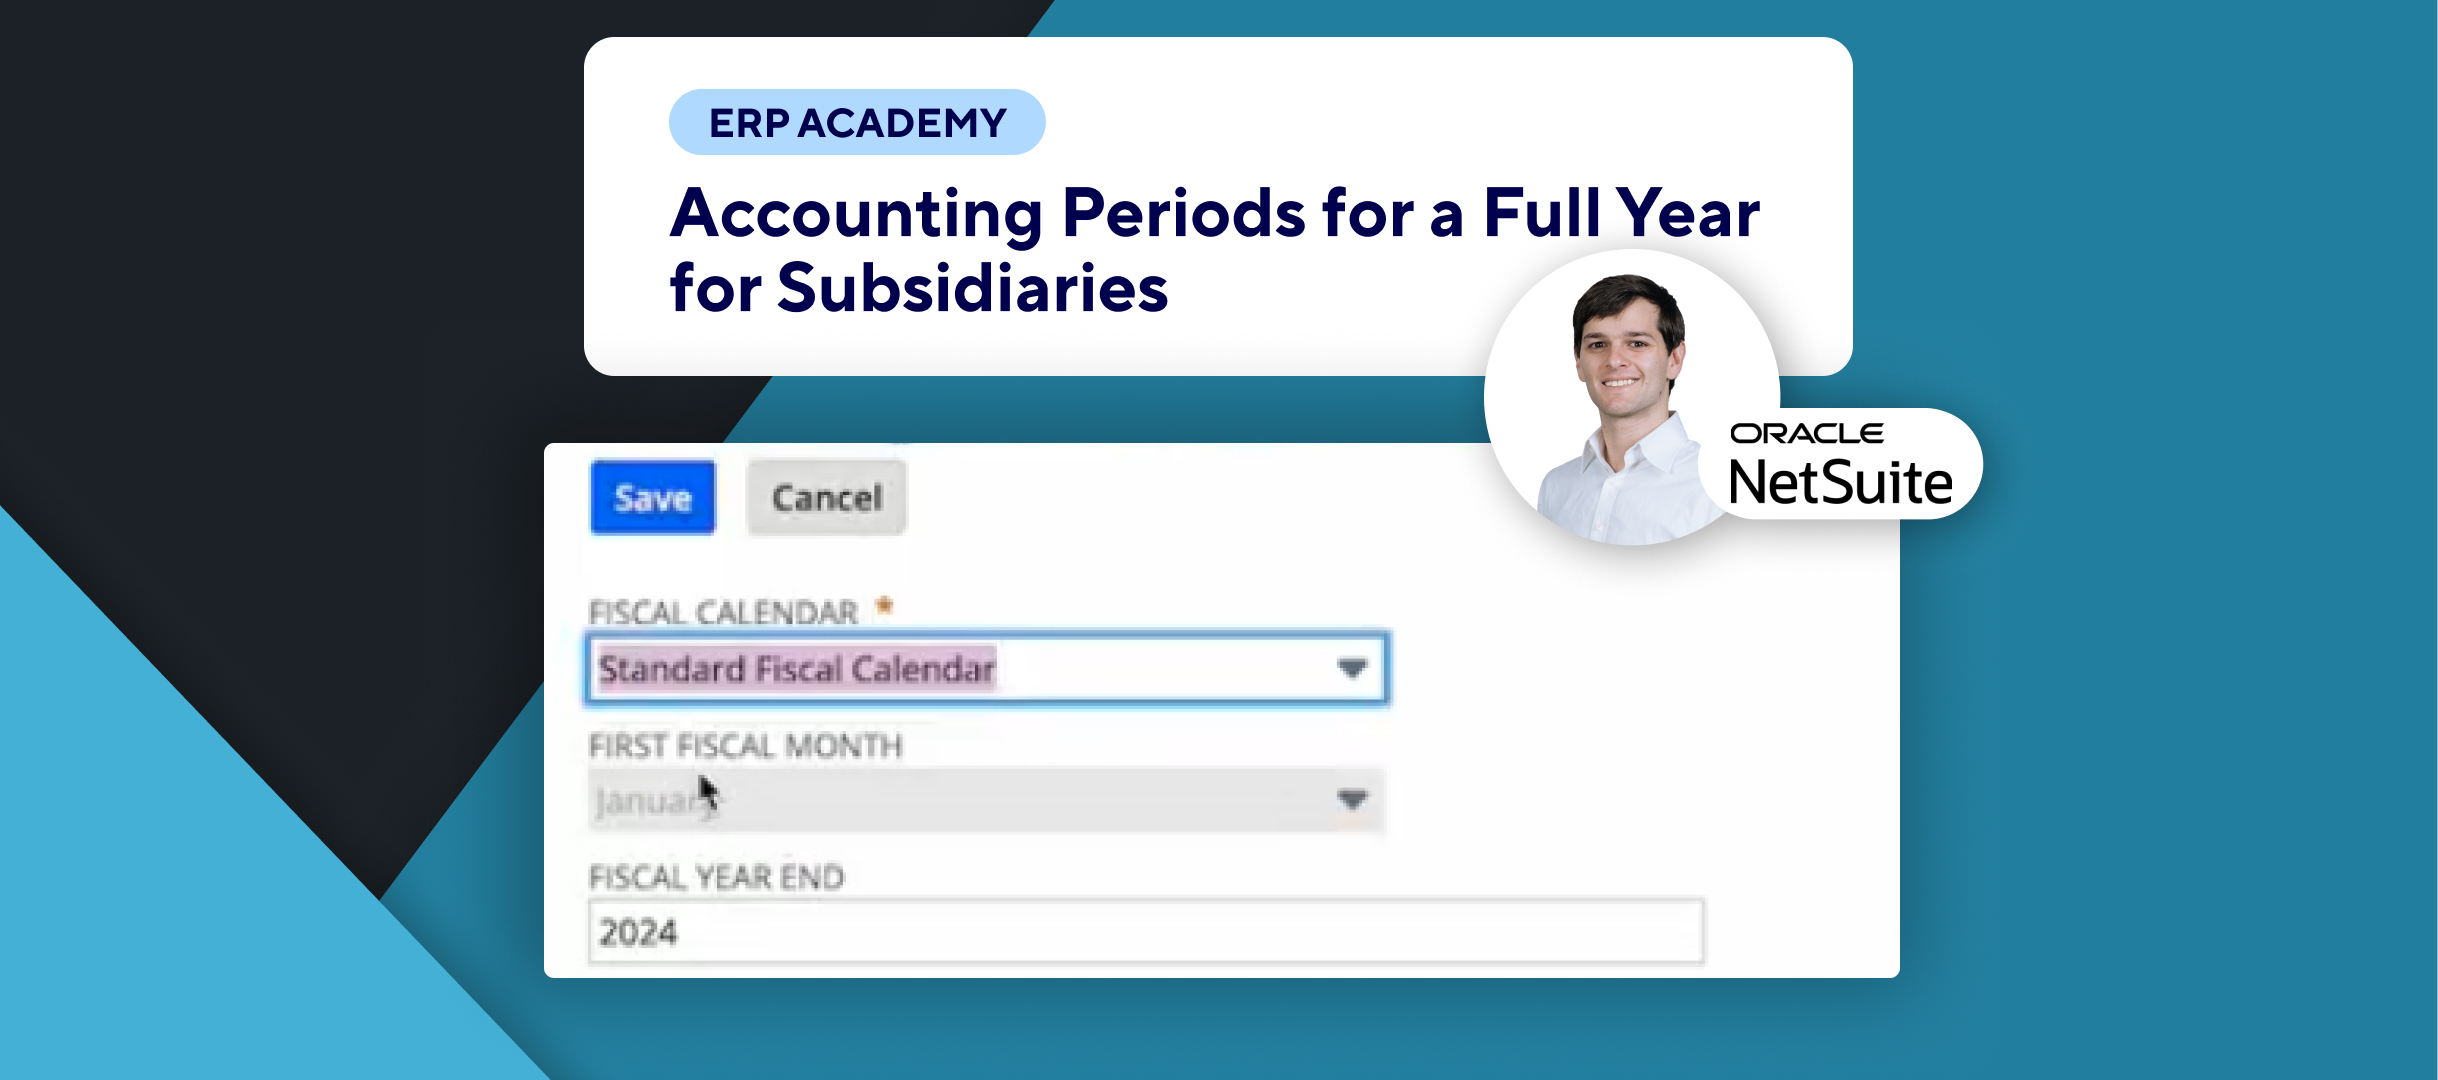
- Navigate to Accounting Period 🗂️
- Go to the accounting period:
- You can do this via the setup menu or through the search bar by typing Manage Accounting Periods. 🔍
- Go to the accounting period:
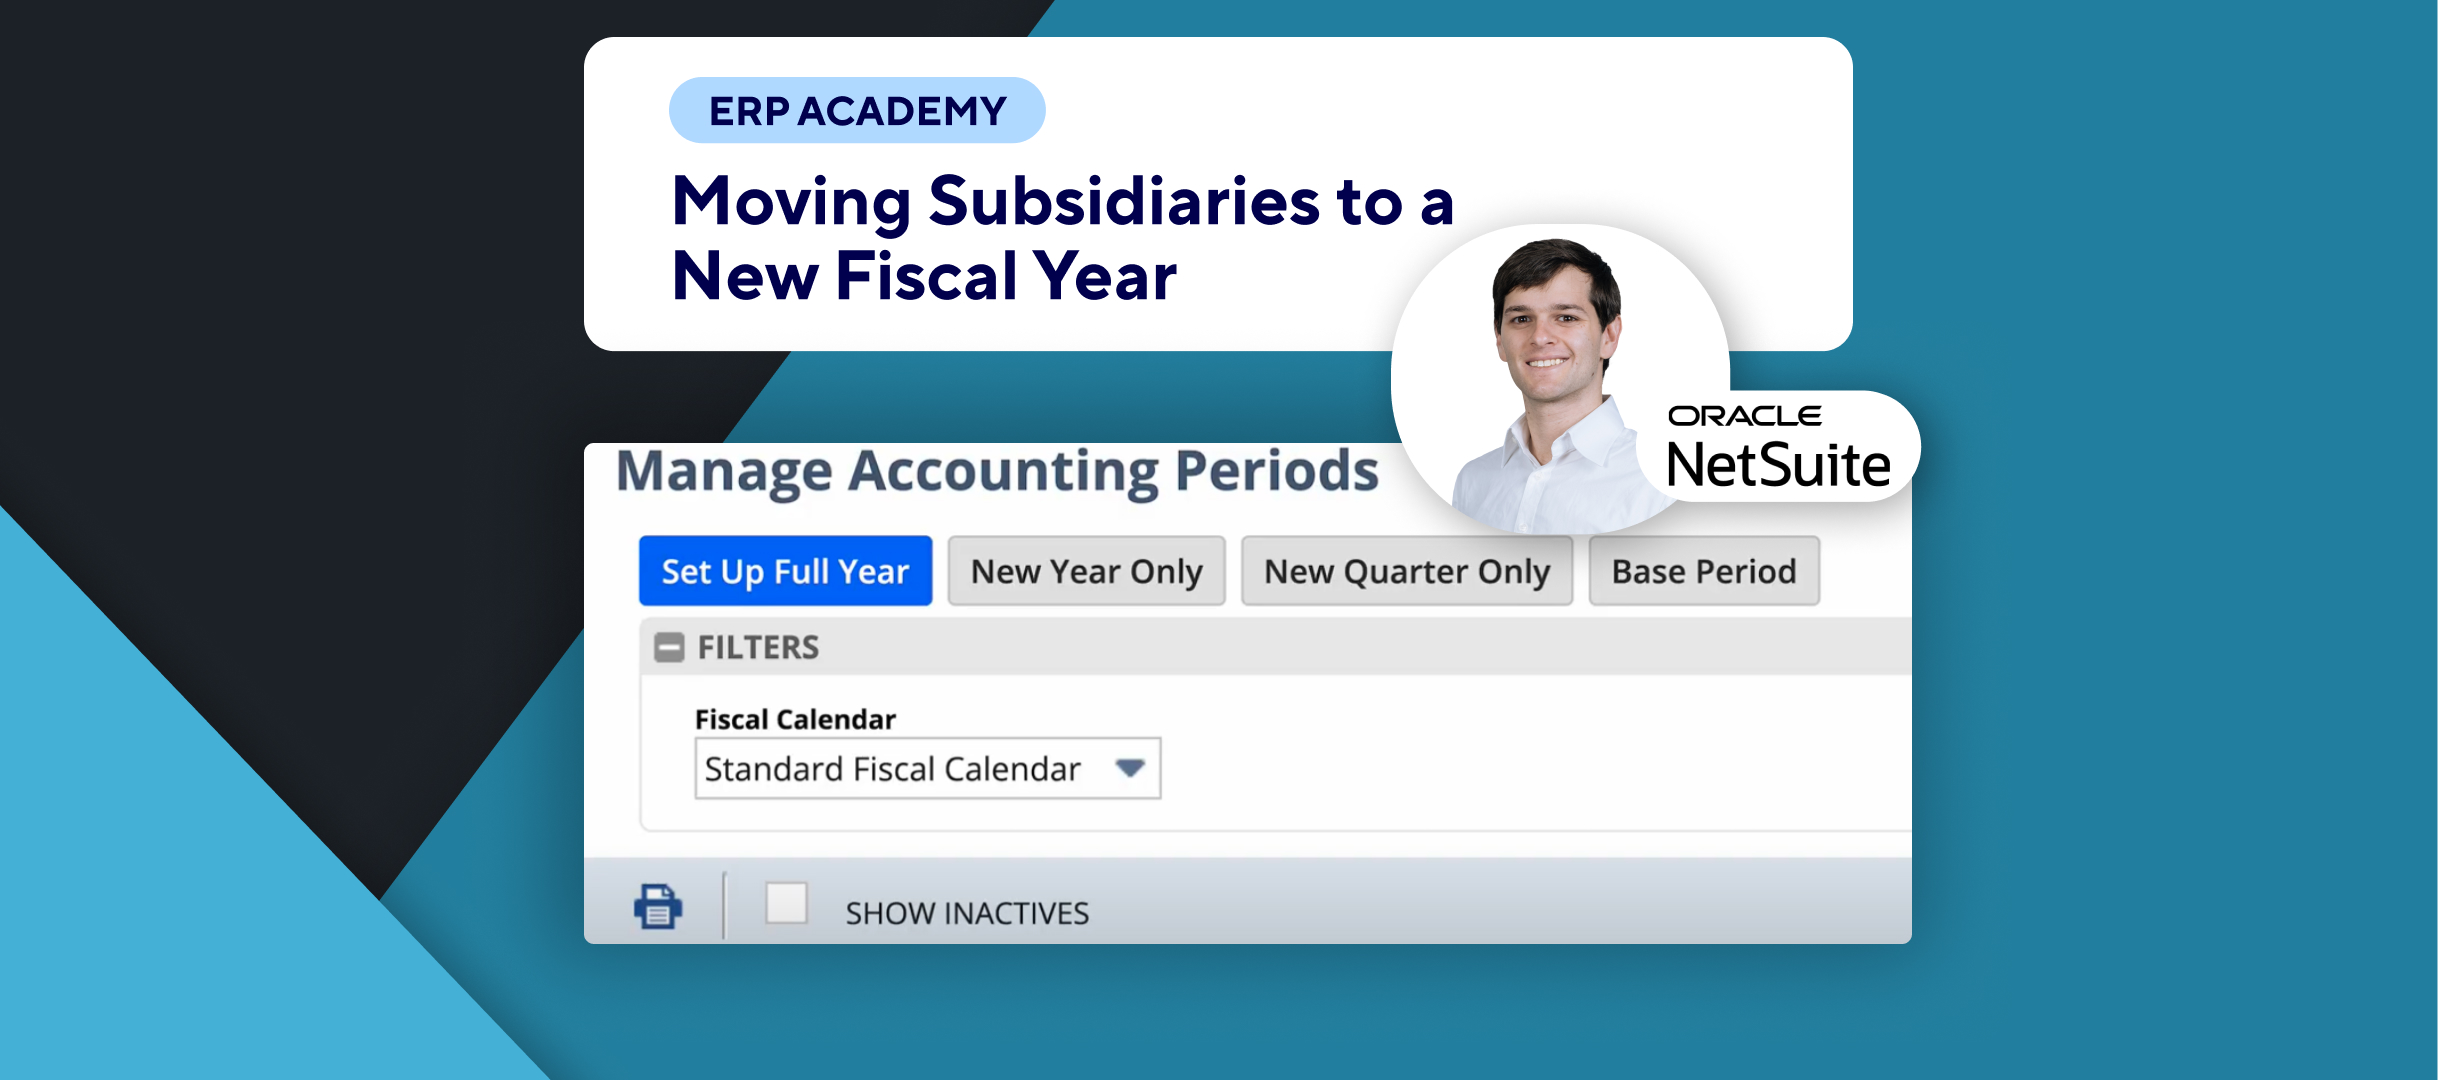
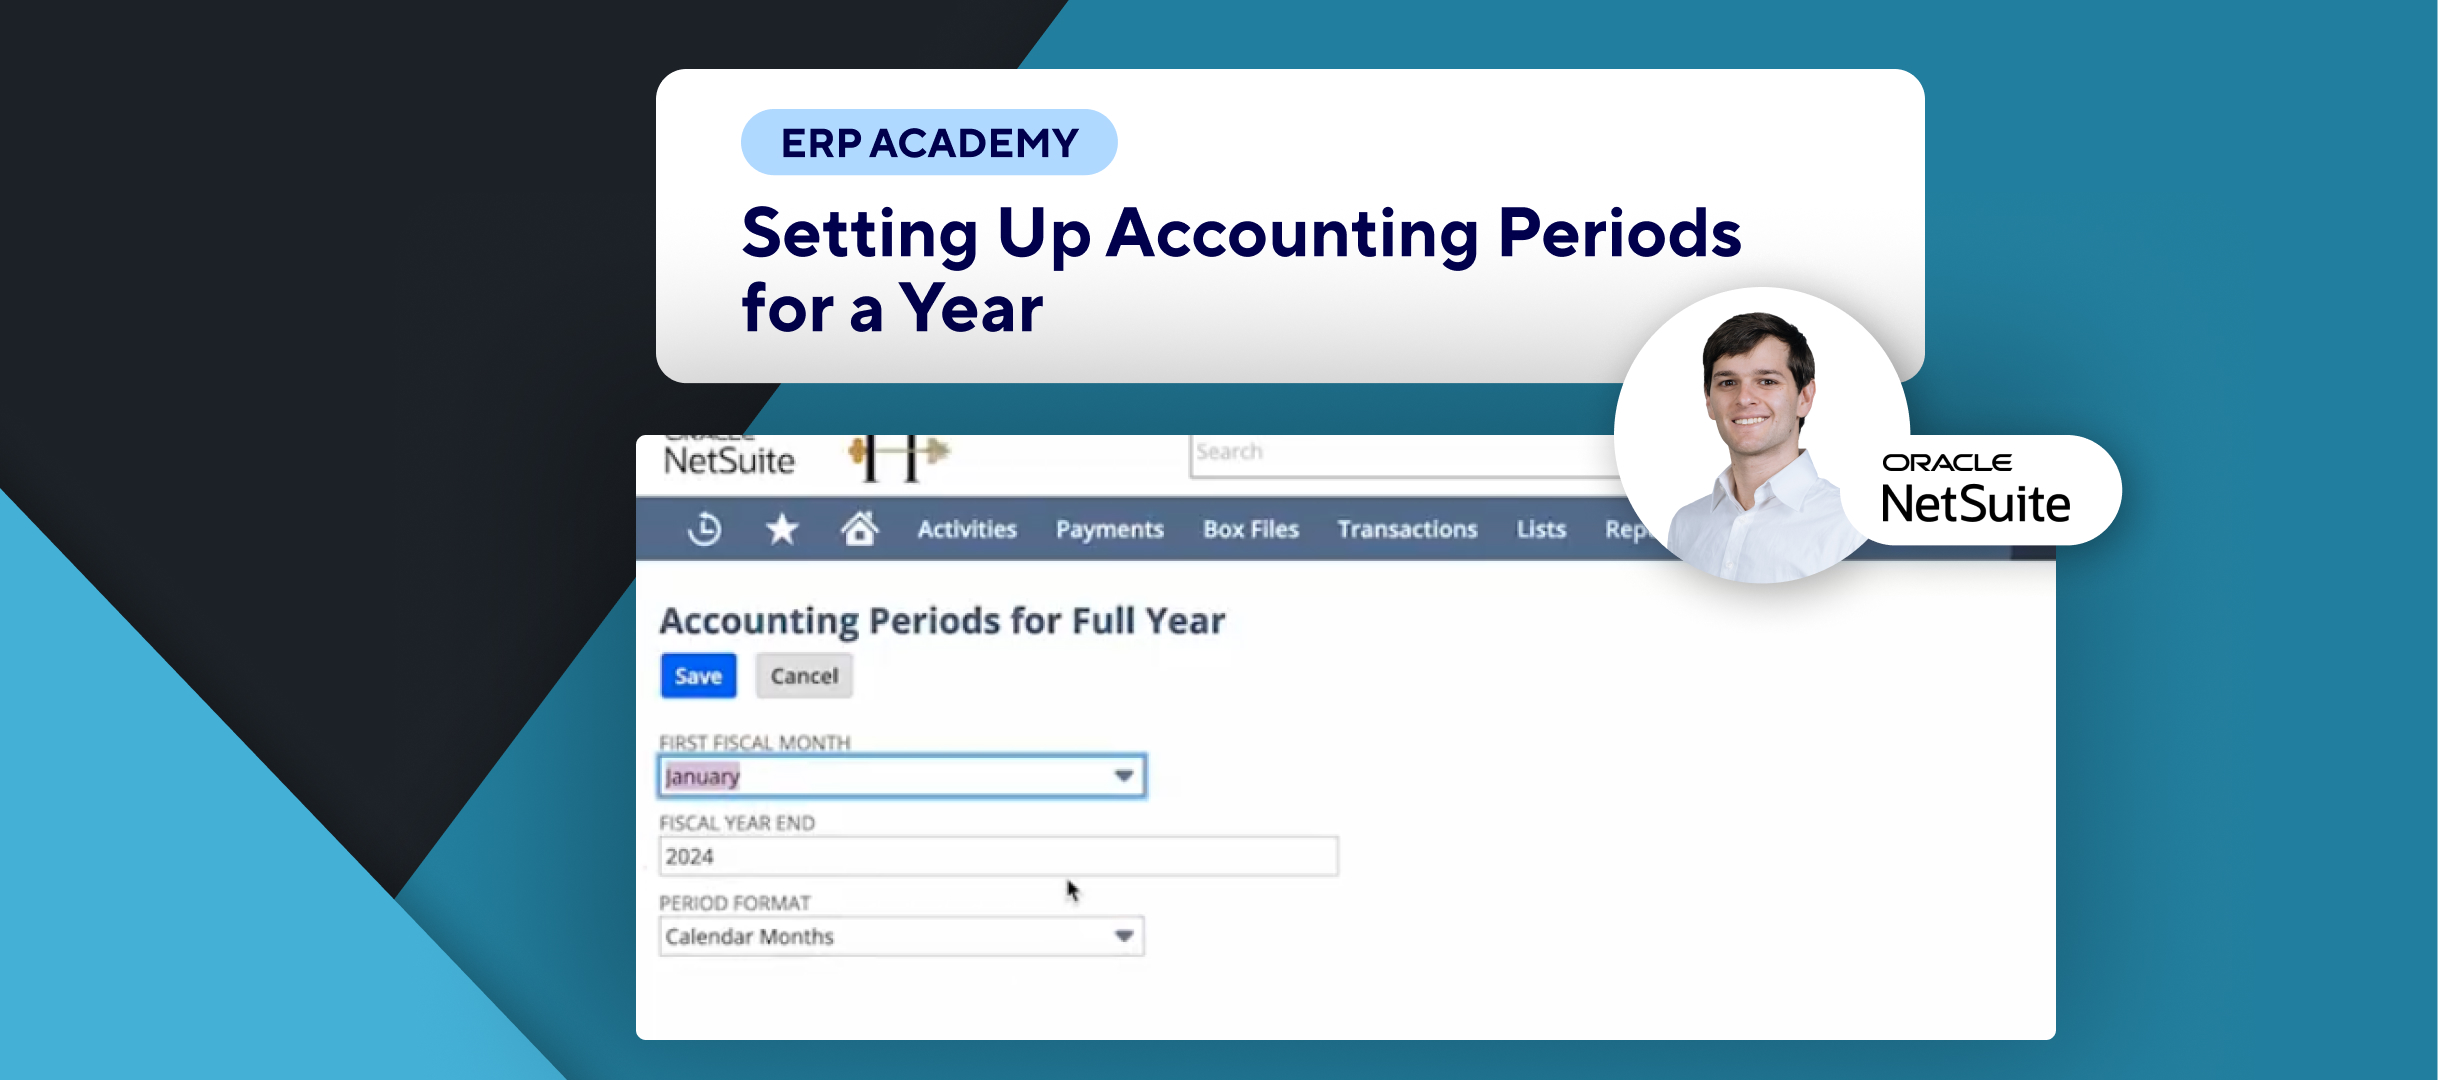
- Create a New Year 📅
- Select the fiscal calendar and click on the New Year button.
- Choose New Year Only.
- Enter the:
- Period name
- Start date
- End date (on the right side)
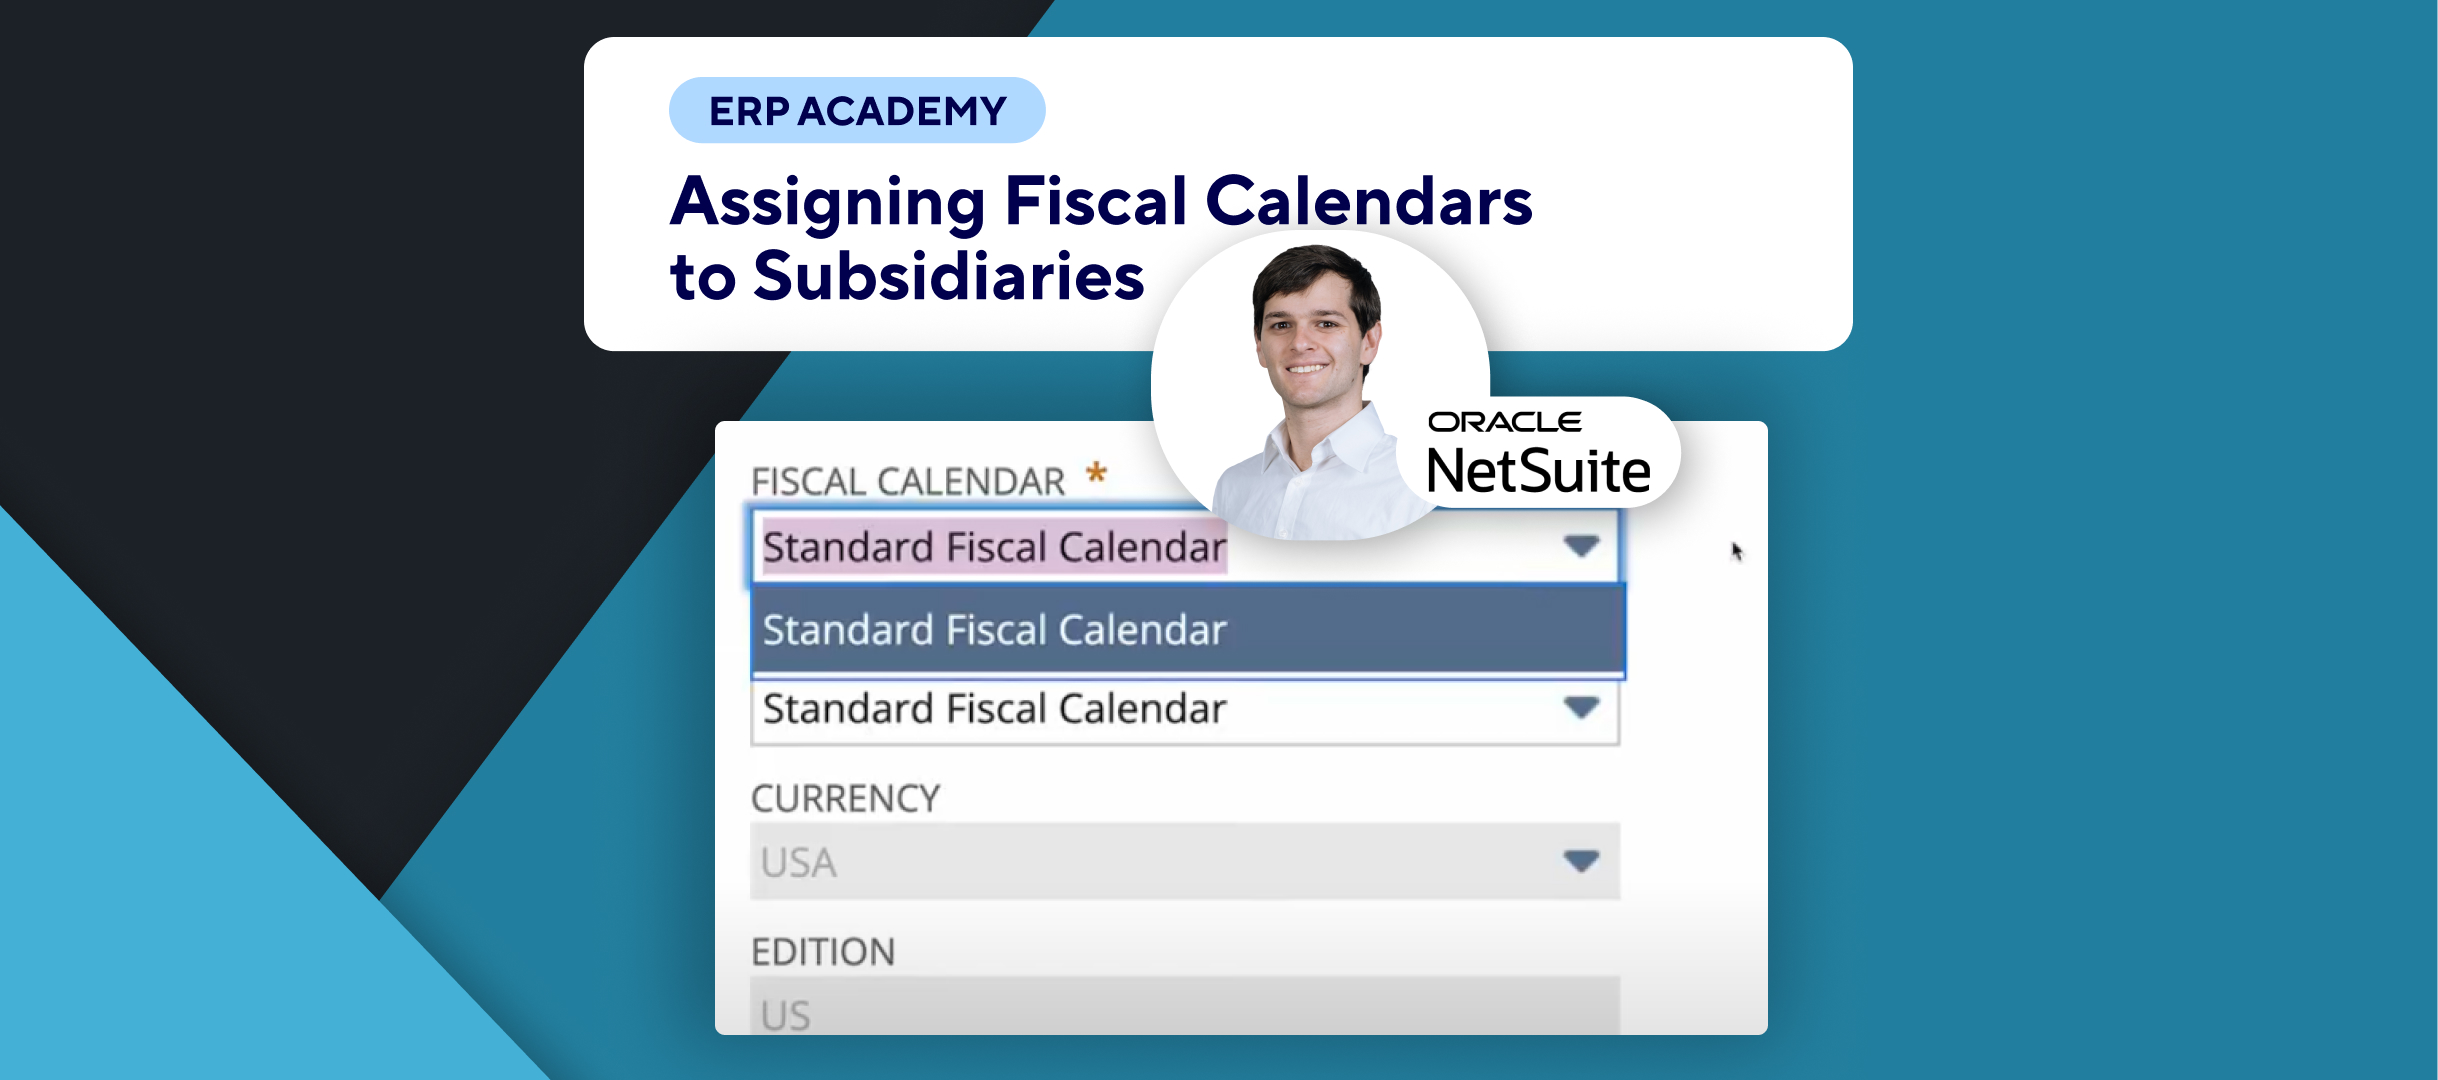
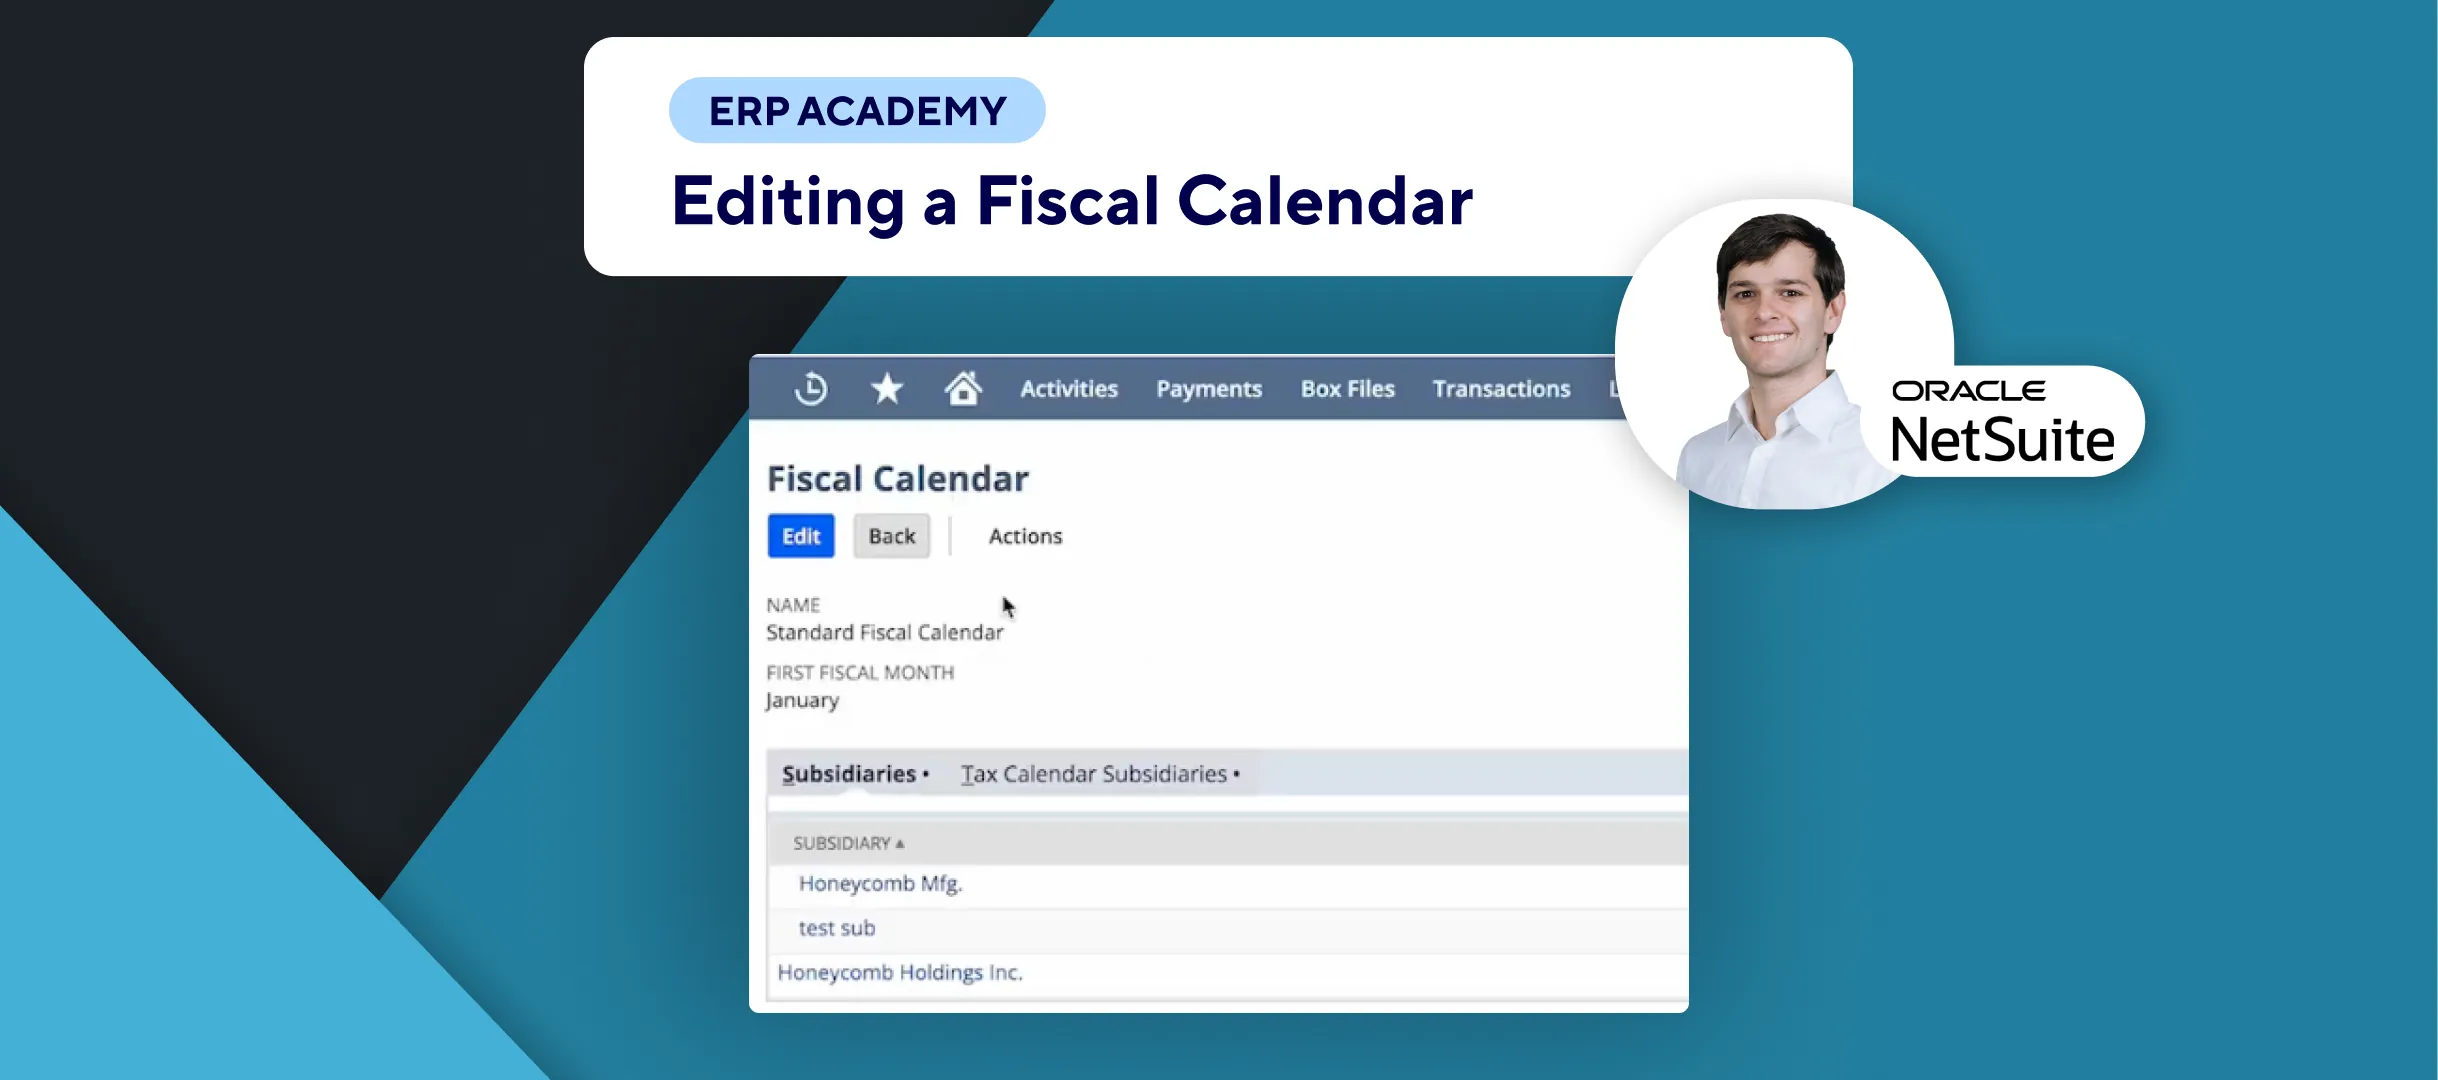
- Select the desired fiscal calendar.
- Save Your Year Settings 💾
- After entering the details, click Save.
- Set Up a New Quarter 🎉
- If you want to set up a new quarter:
- Please like this video! 👍
- Click on New Quarter Only.
- Enter the same type of information as you did for the year.
- If you want to set up a new quarter:
- Define Base Period 📆
- Go back to set a base period.
- You’ll see the same form where you can check if the period is an adjustment.
- Allow Non-G/L Changes ✔️
- Allow users to enter non-posting transactions to this period after it has been closed.
- Choose a parent period in the sub-period column.
- Save Your Settings 💾
- Once you’re happy with the settings, click Save.
Congratulations! 🎊 You’ve successfully set up single accounting periods for subsidiaries in NetSuite! 🌟🎉
If you found this tutorial helpful, please subscribe to this channel for more tips and tutorials. Visit www.KOLLENO.com for more tools to enhance your accounting processes! 🎥